
Like so many of you, Fall is my favorite time of year. And since most of us will be heading to the pumpkin patch {or down Washington Street!} for a pop of orange or white, I wanted to share two fun pumpkin DIYs that are sure to brighten up your home.
What you’ll need for DIY #1:
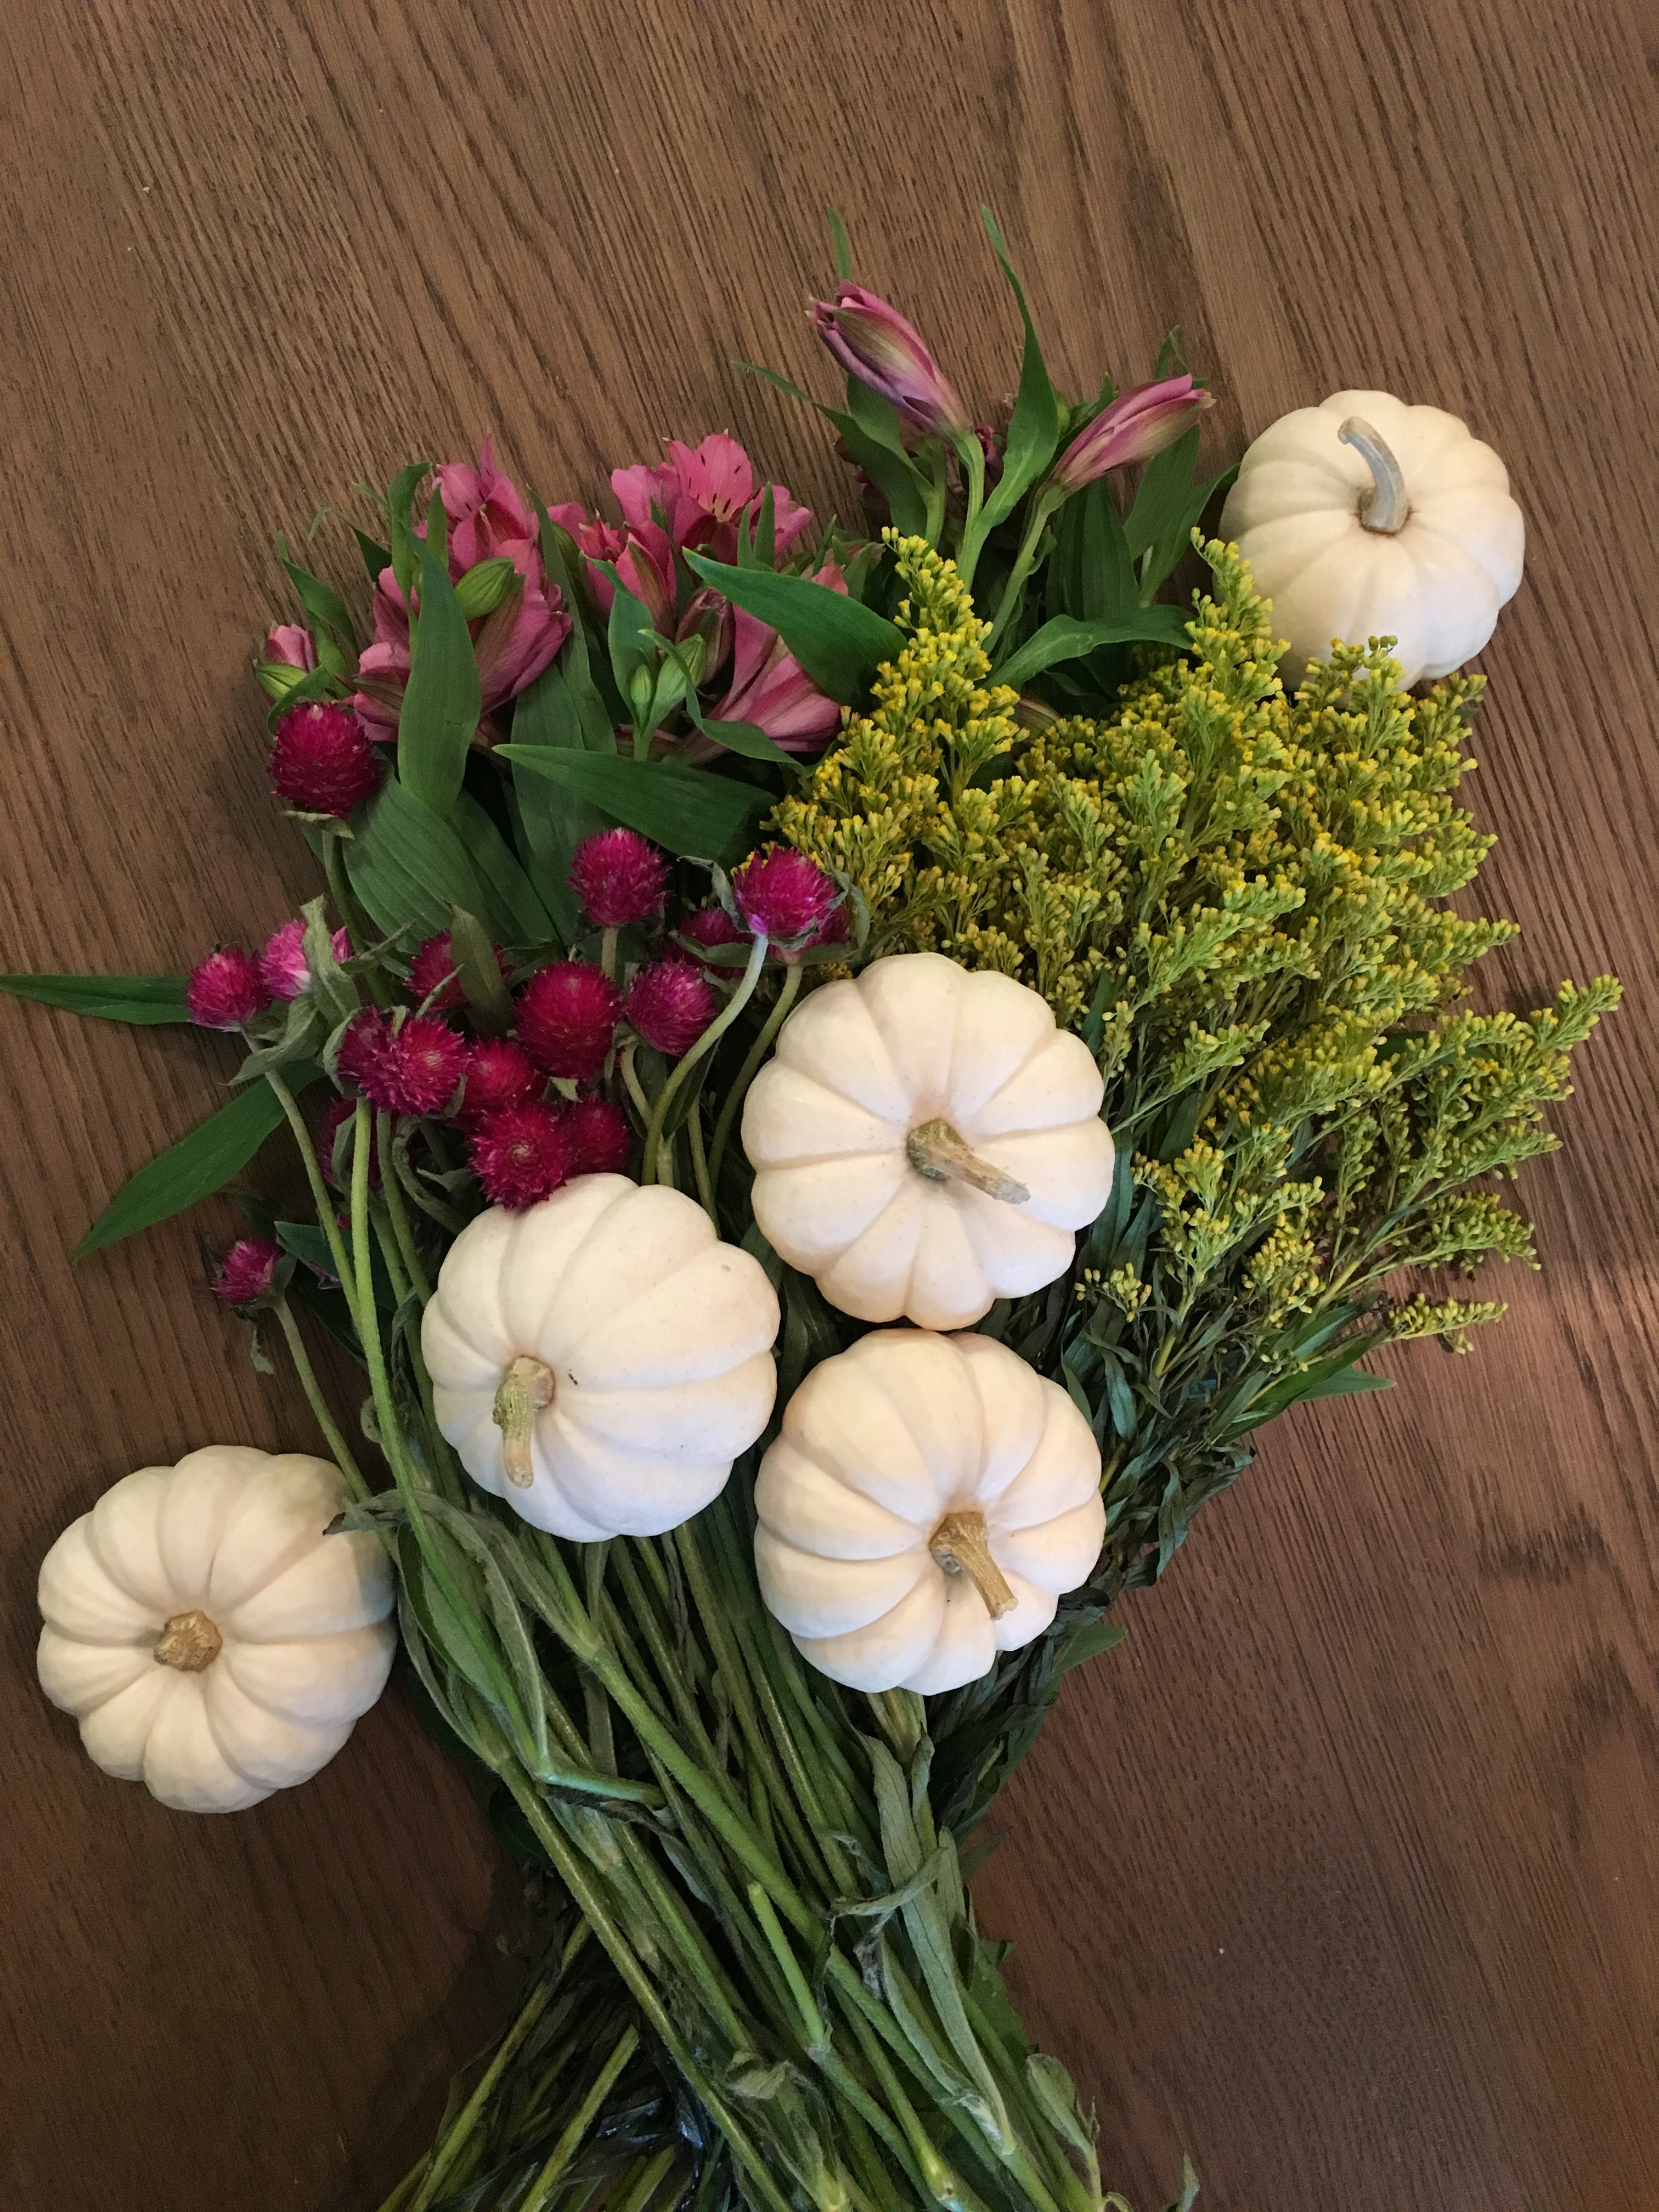
- An assortment of tiny pumpkins {I used white pumpkins, but orange would be just as cute!}
- Three different bunches of fresh flowers {choose whichever flowers you like!}
- Scissors
- Hot glue gun

First, wash your tiny pumpkins so there isn’t any dirt on them. I just use a mild soap and water – and then let them dry.

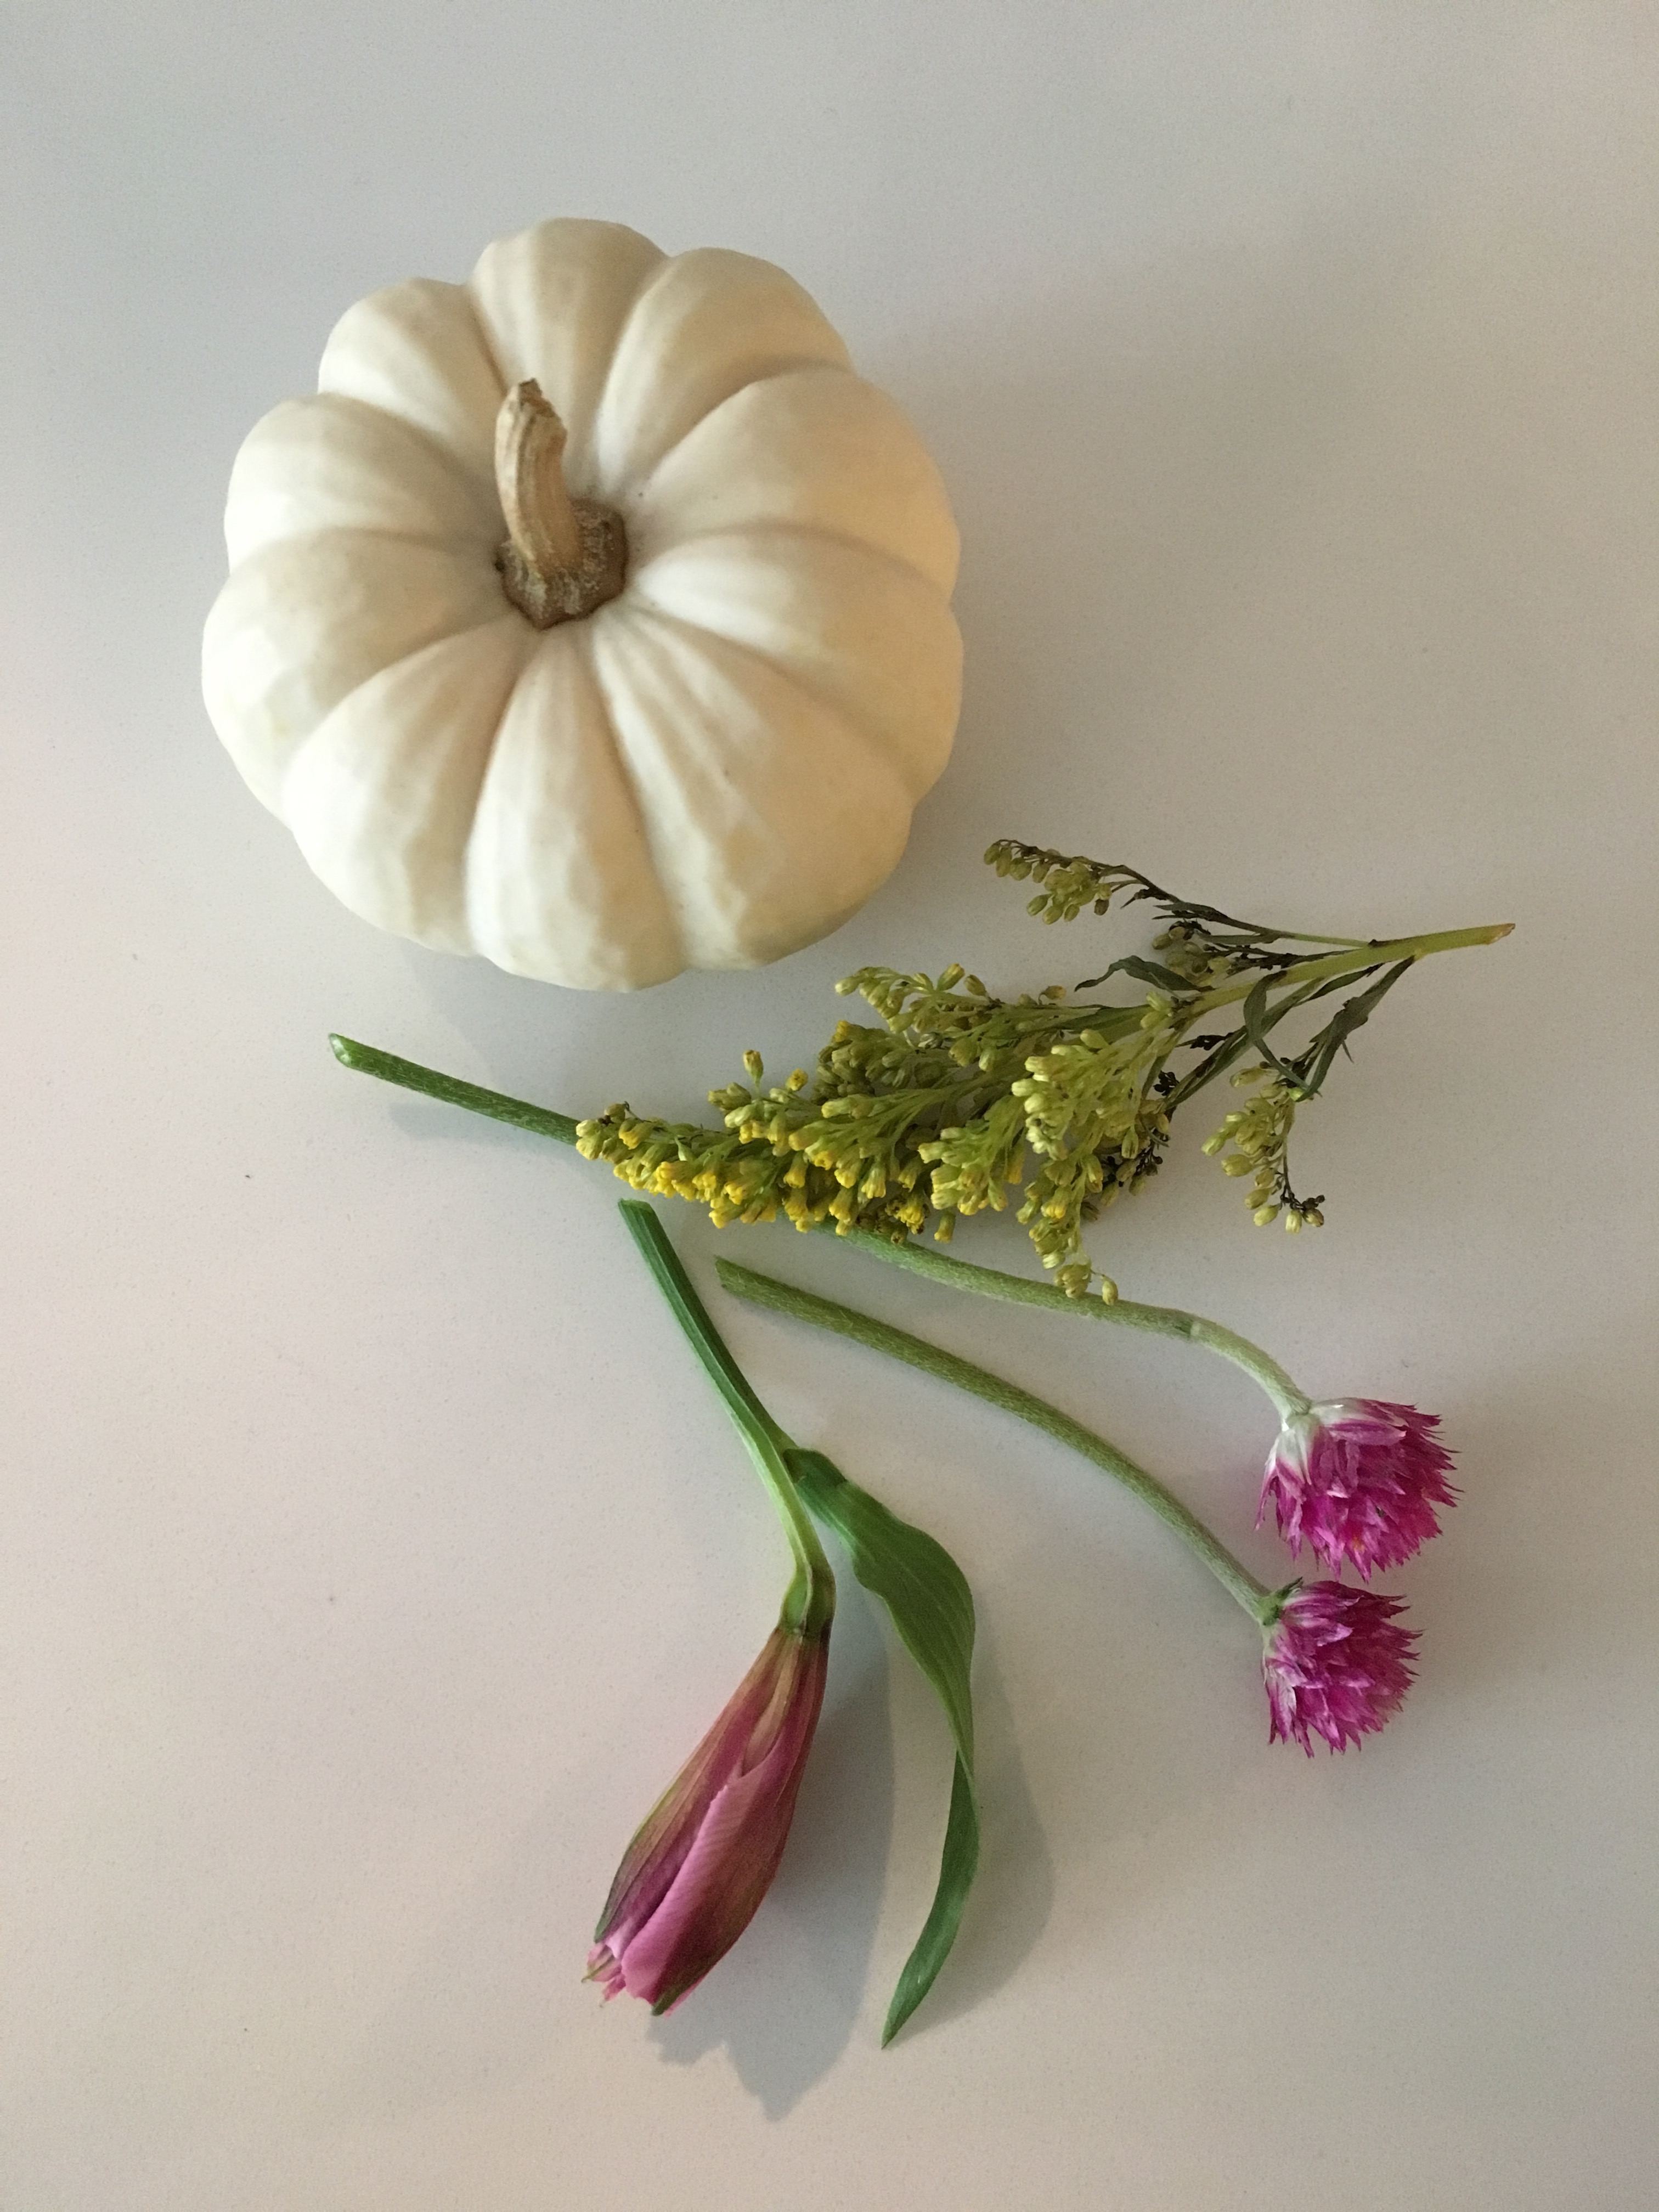
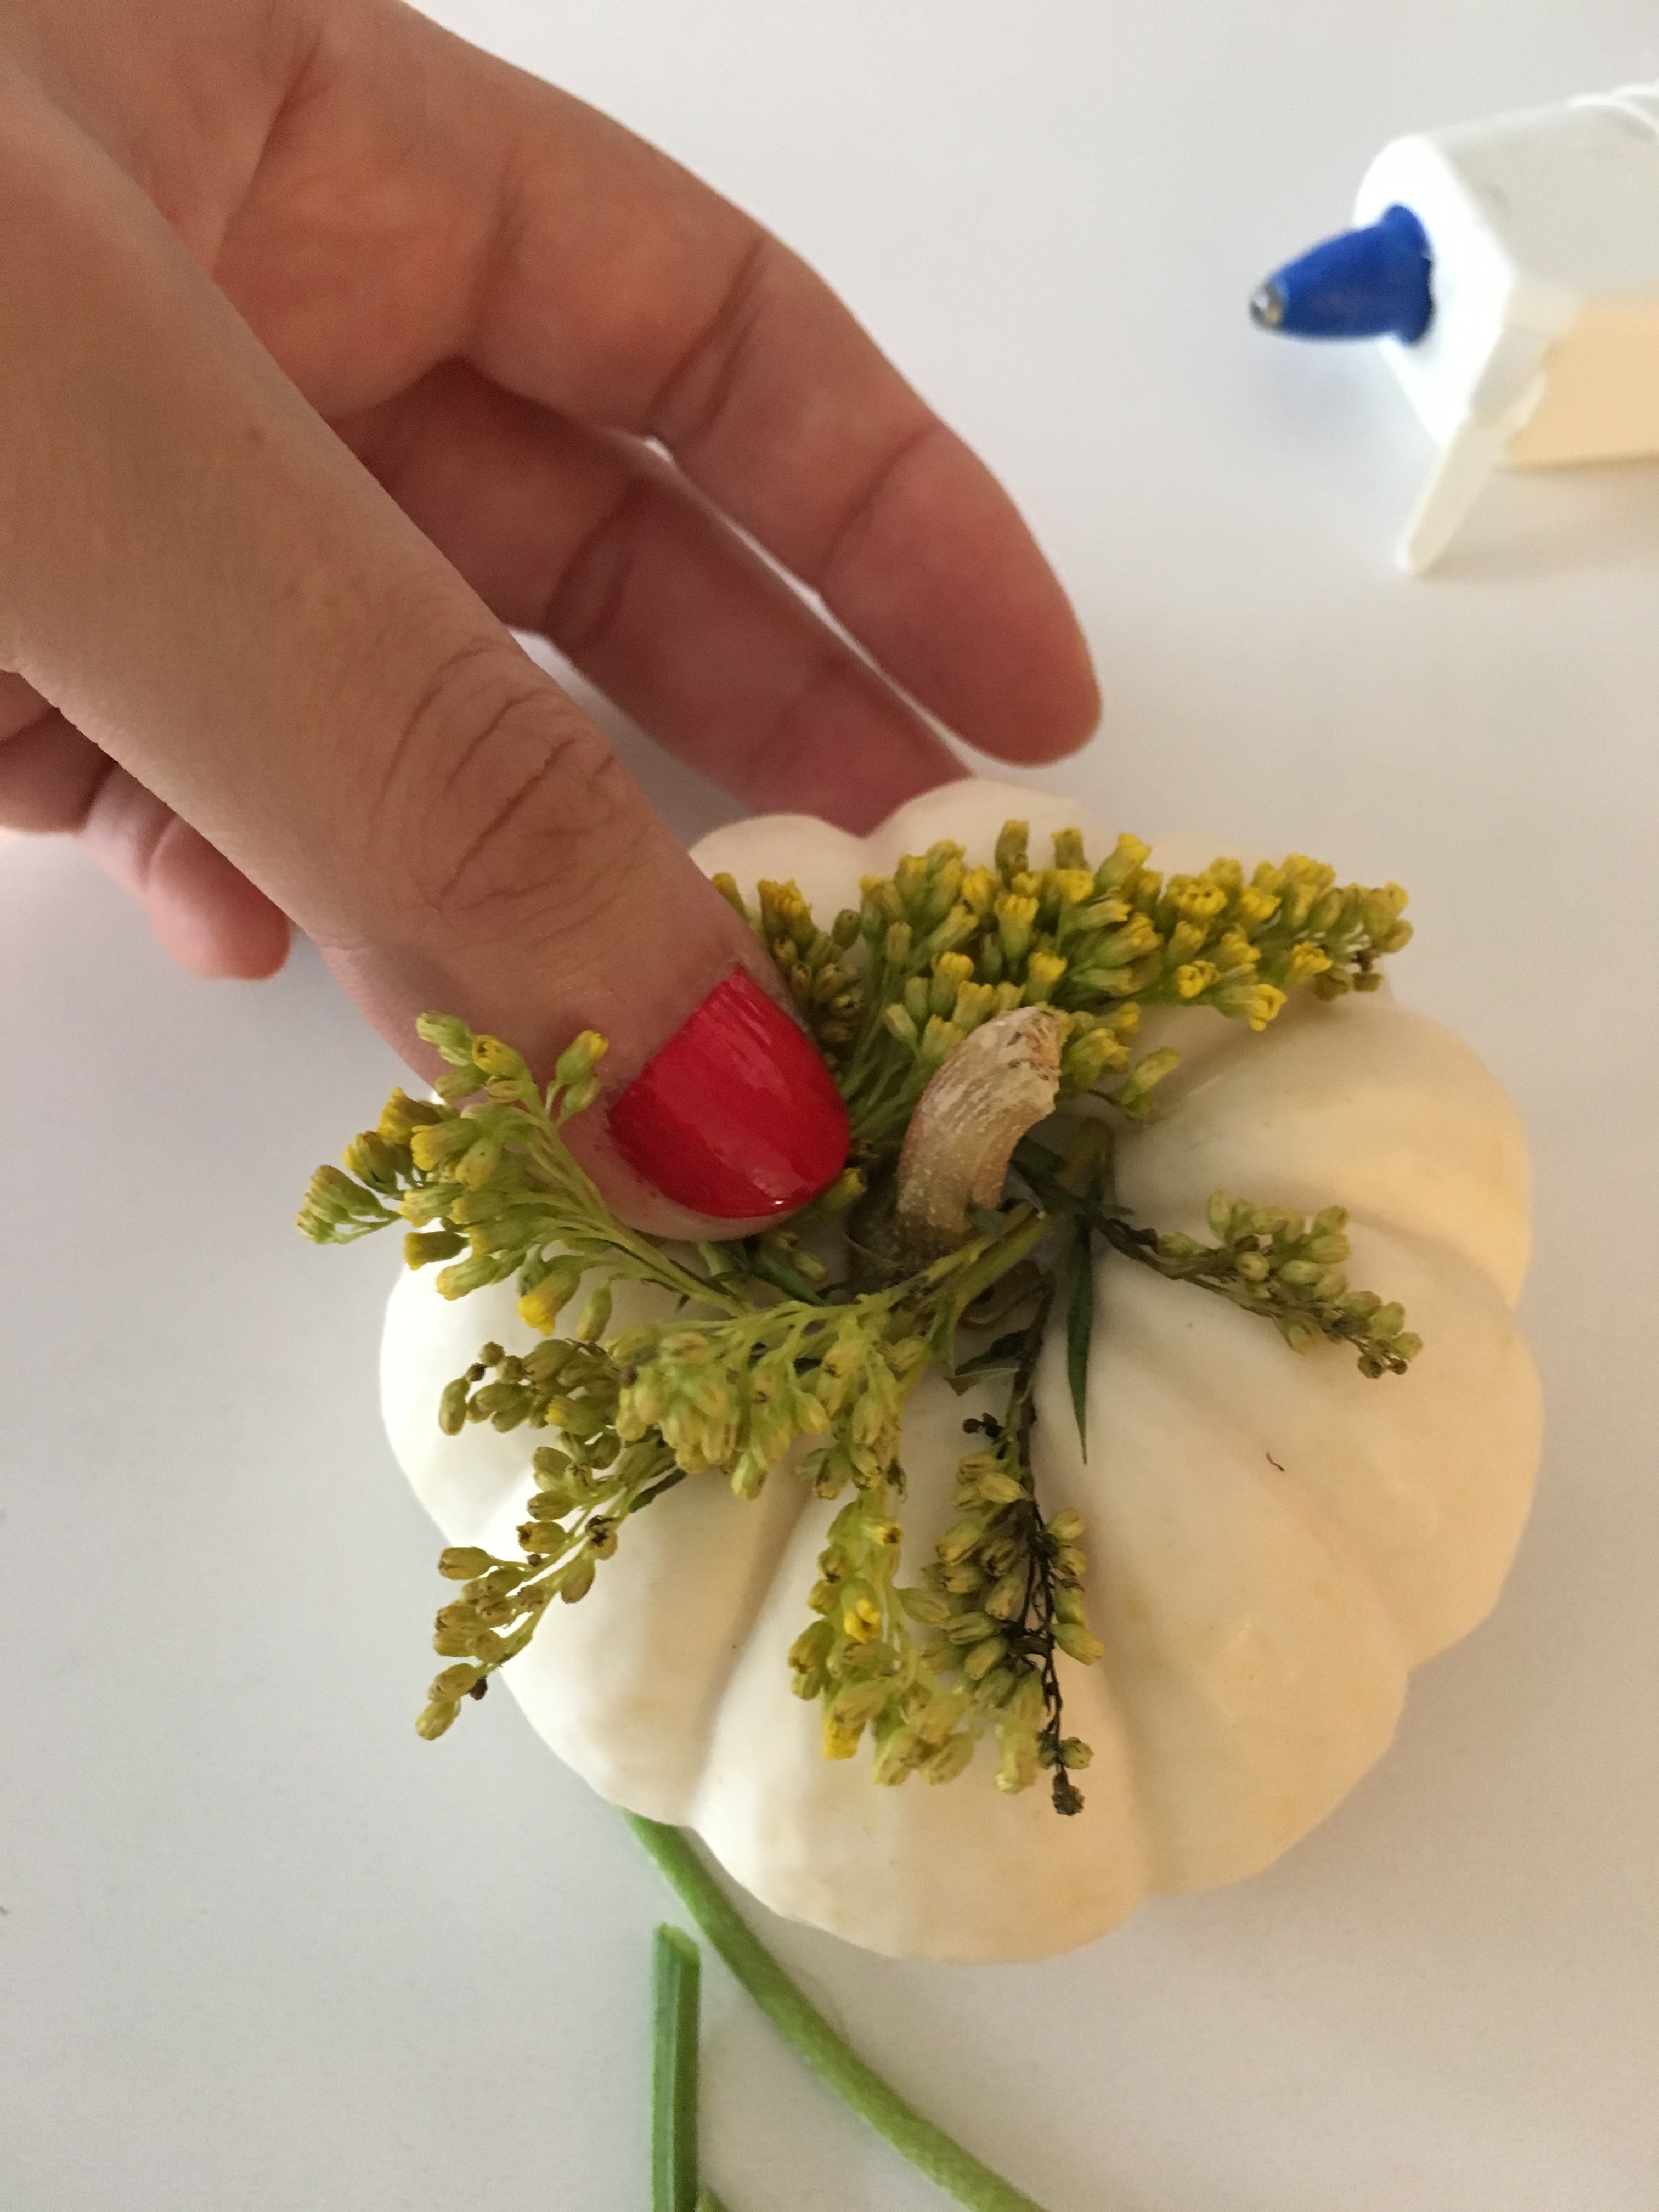
Next, grab one of each kind of flower and snip them with scissors so that just the flower and a small amount of the stem are left.

Wrap the stem of the first flower around the top of the pumpkin and secure with 1-2 drops of hot glue.
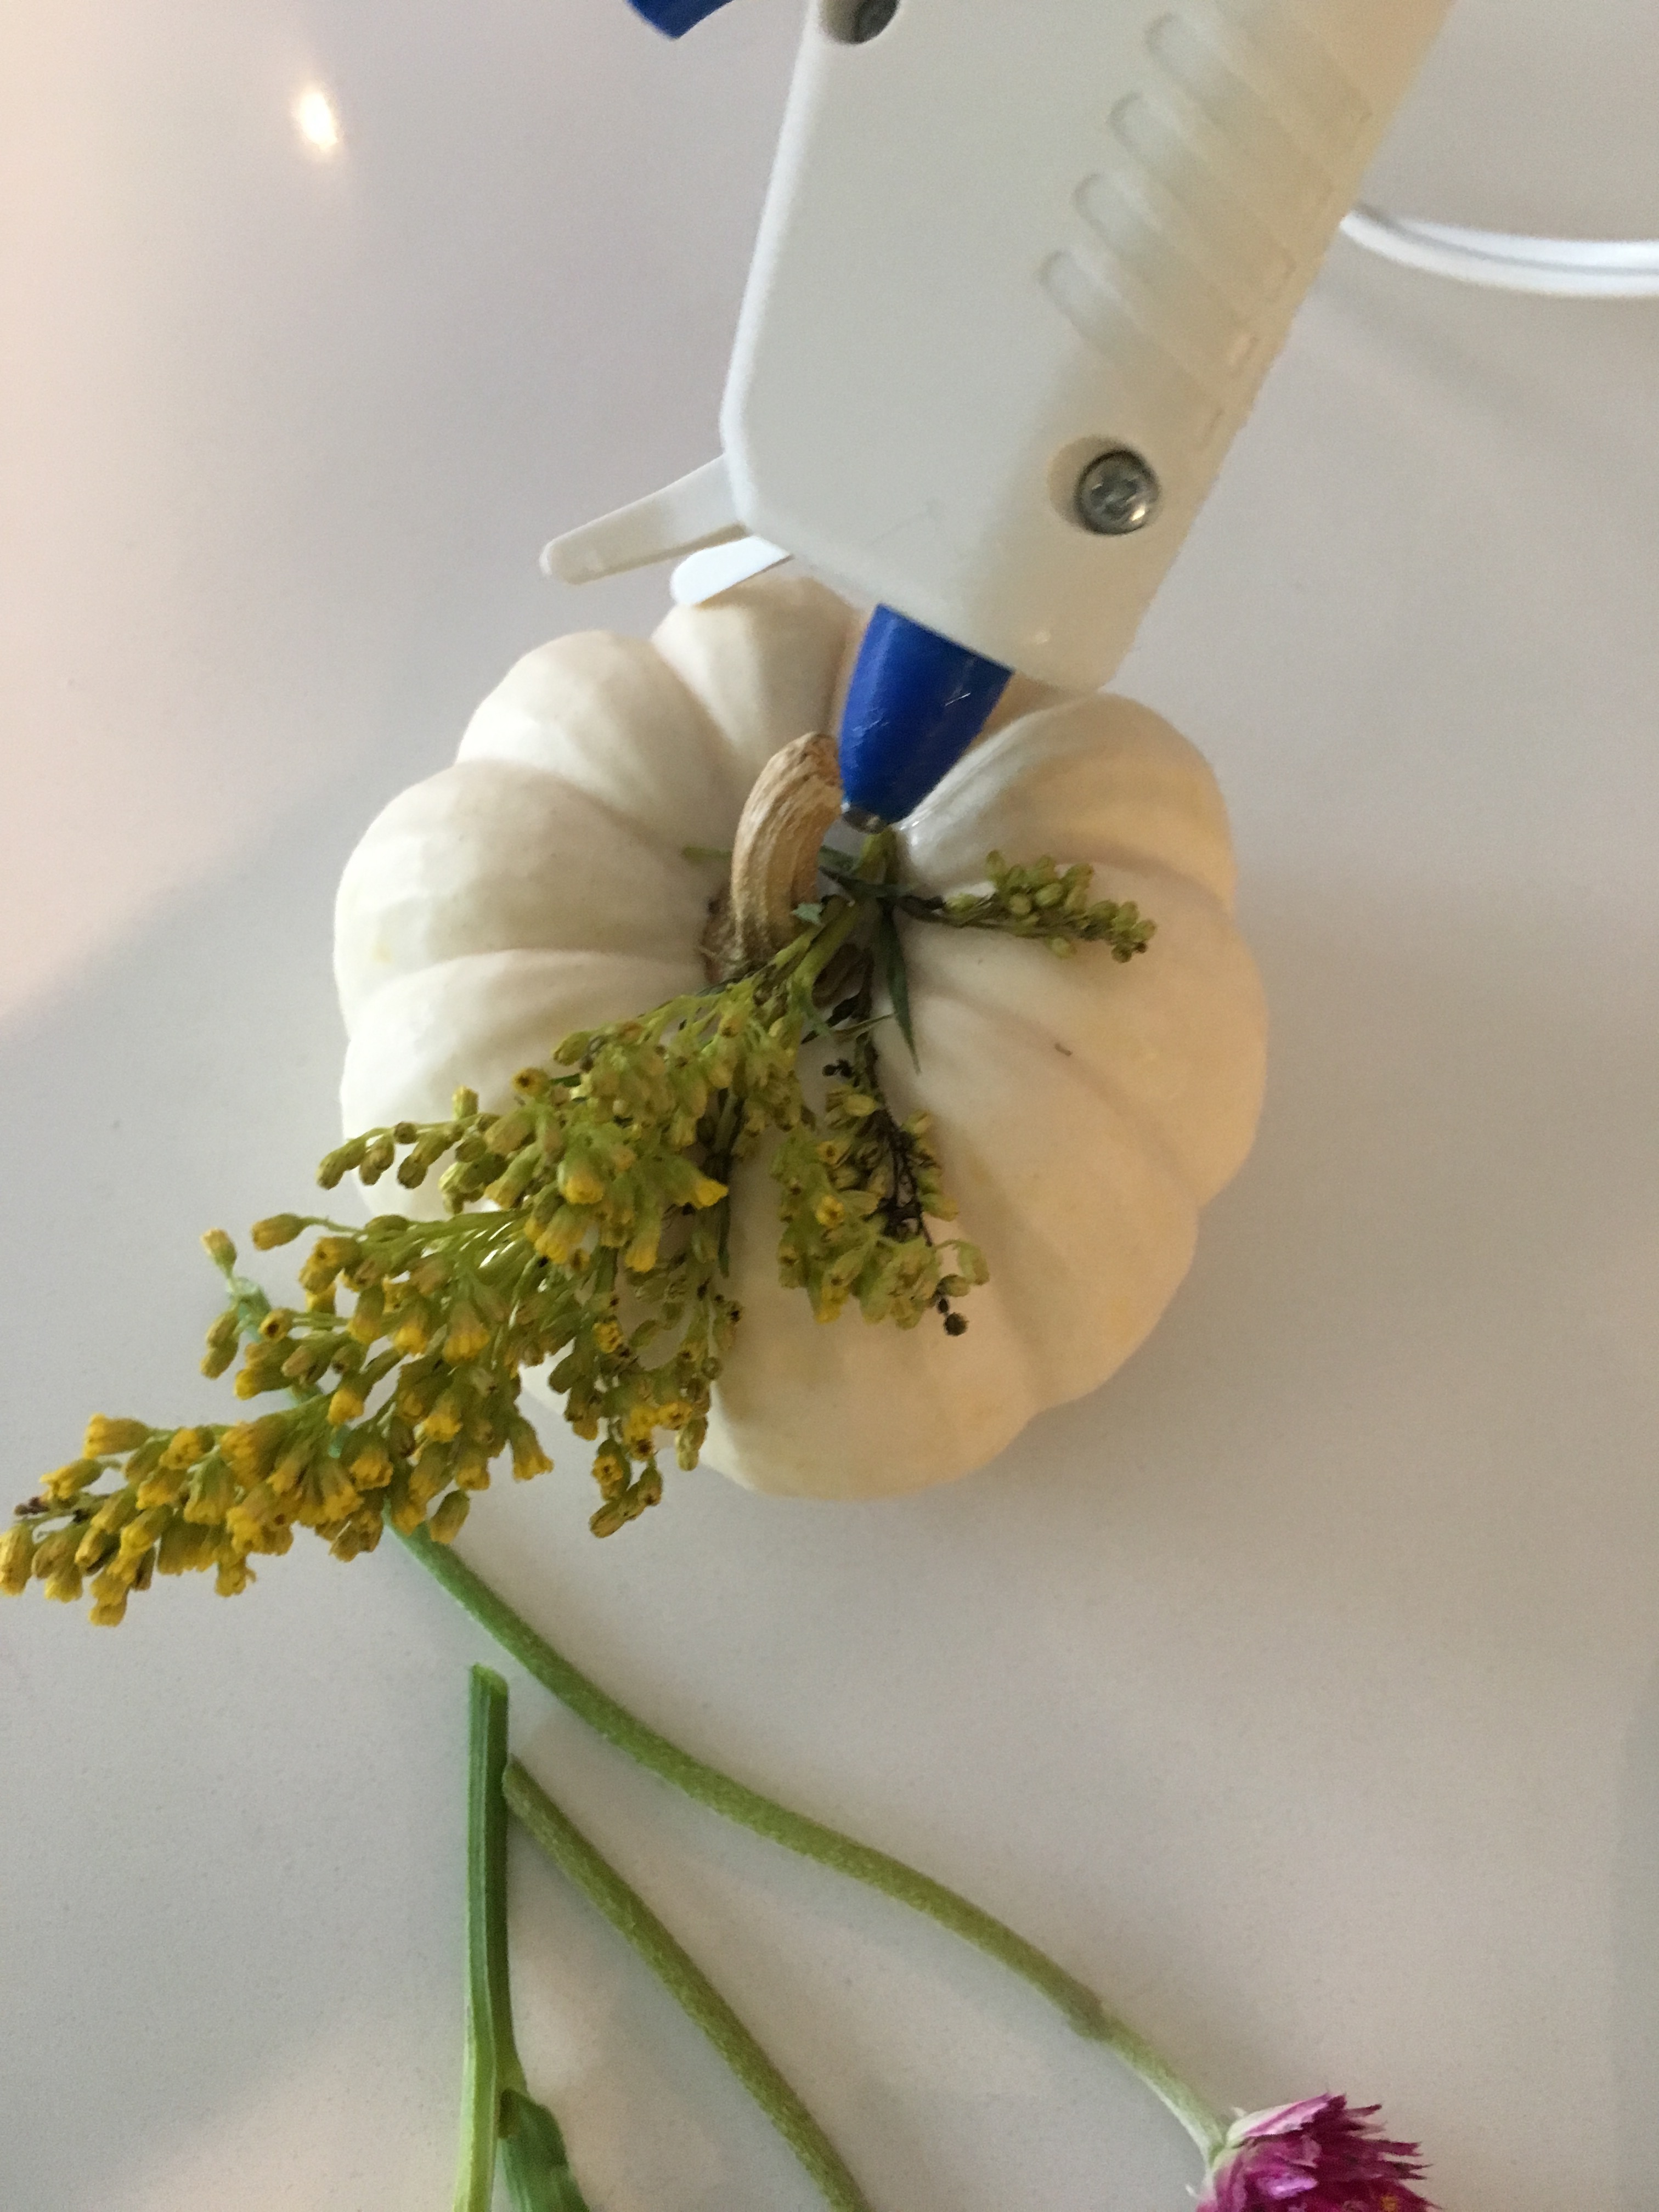

Continue wrapping the flower stem around the pumpkin stem until it resembles a tiny wreath and then add one last drop of glue.
Then, grab a second {different} type of flower and secure it to the pumpkin with one dot of glue.
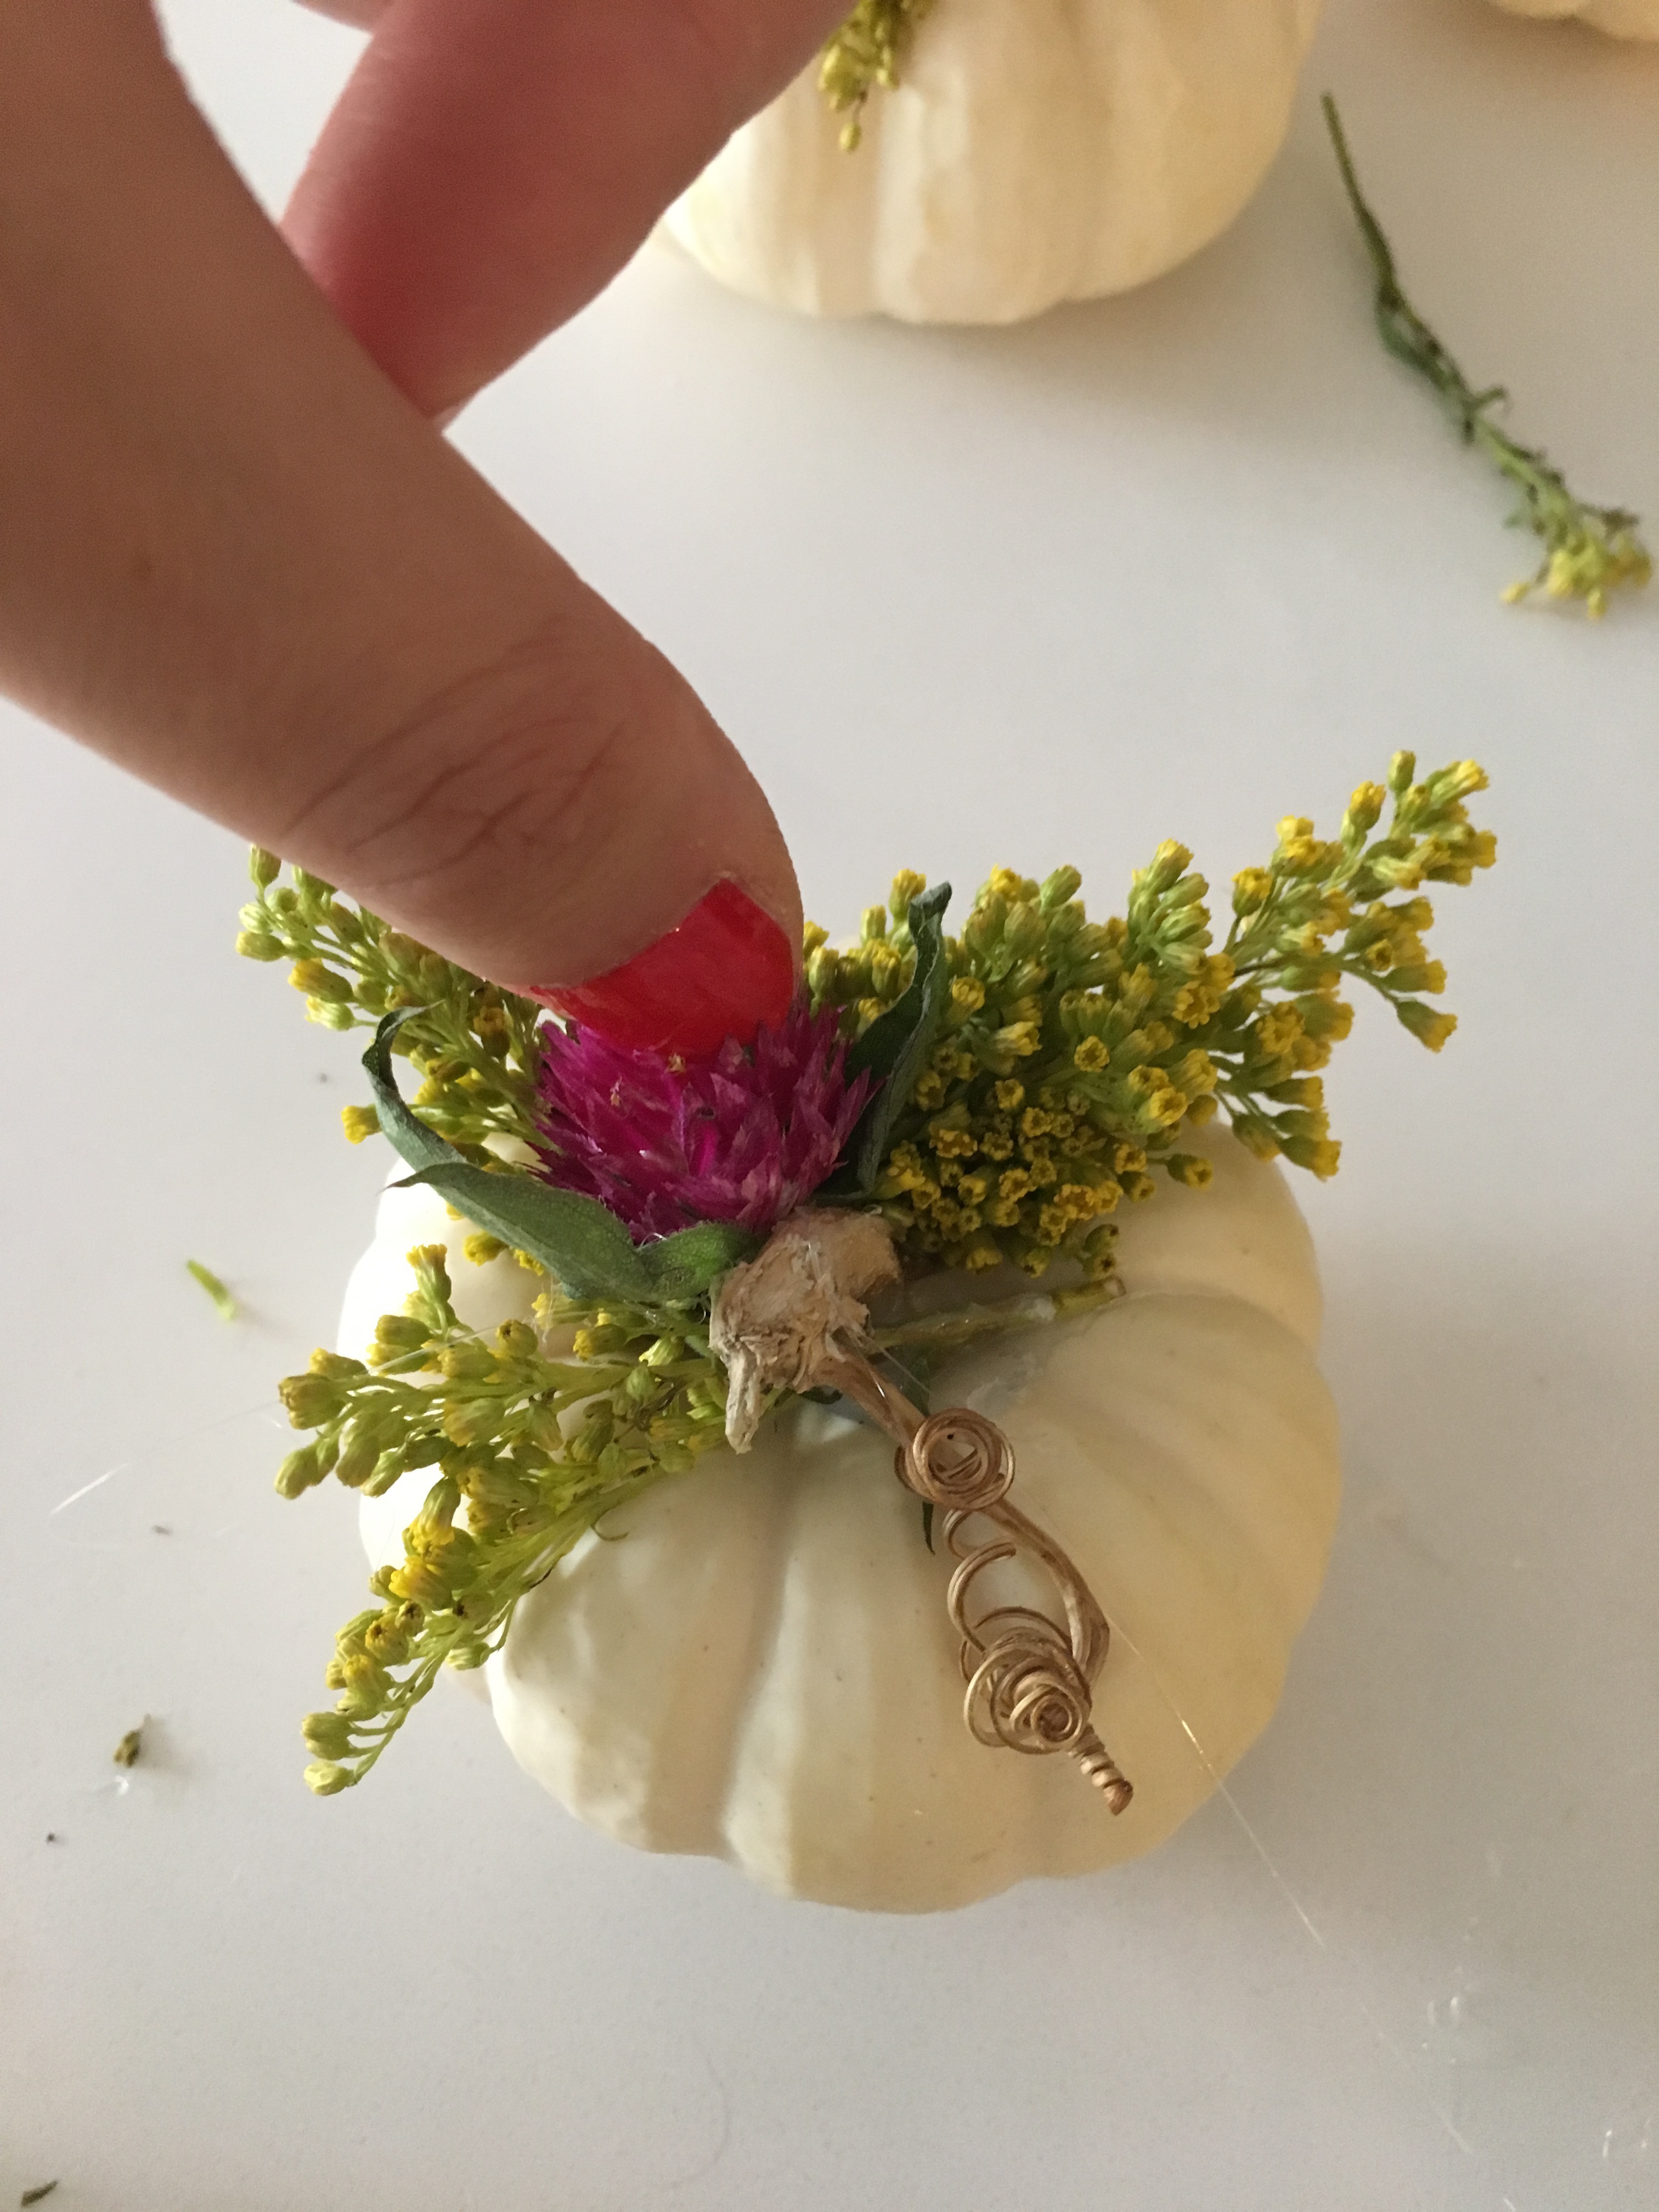
Note: Use only a very small amount of hot glue because it’s all you need! The goal is to apply just enough to secure each flower. You really want the flowers to appear as though they’re resting lightly on top of the pumpkin.
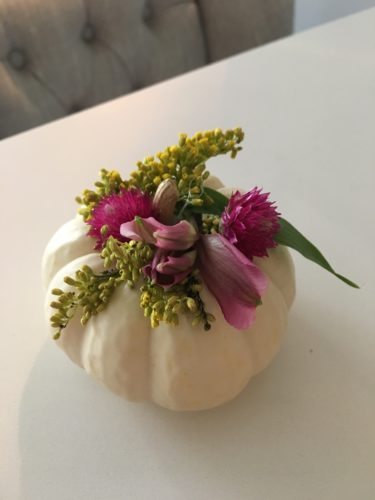
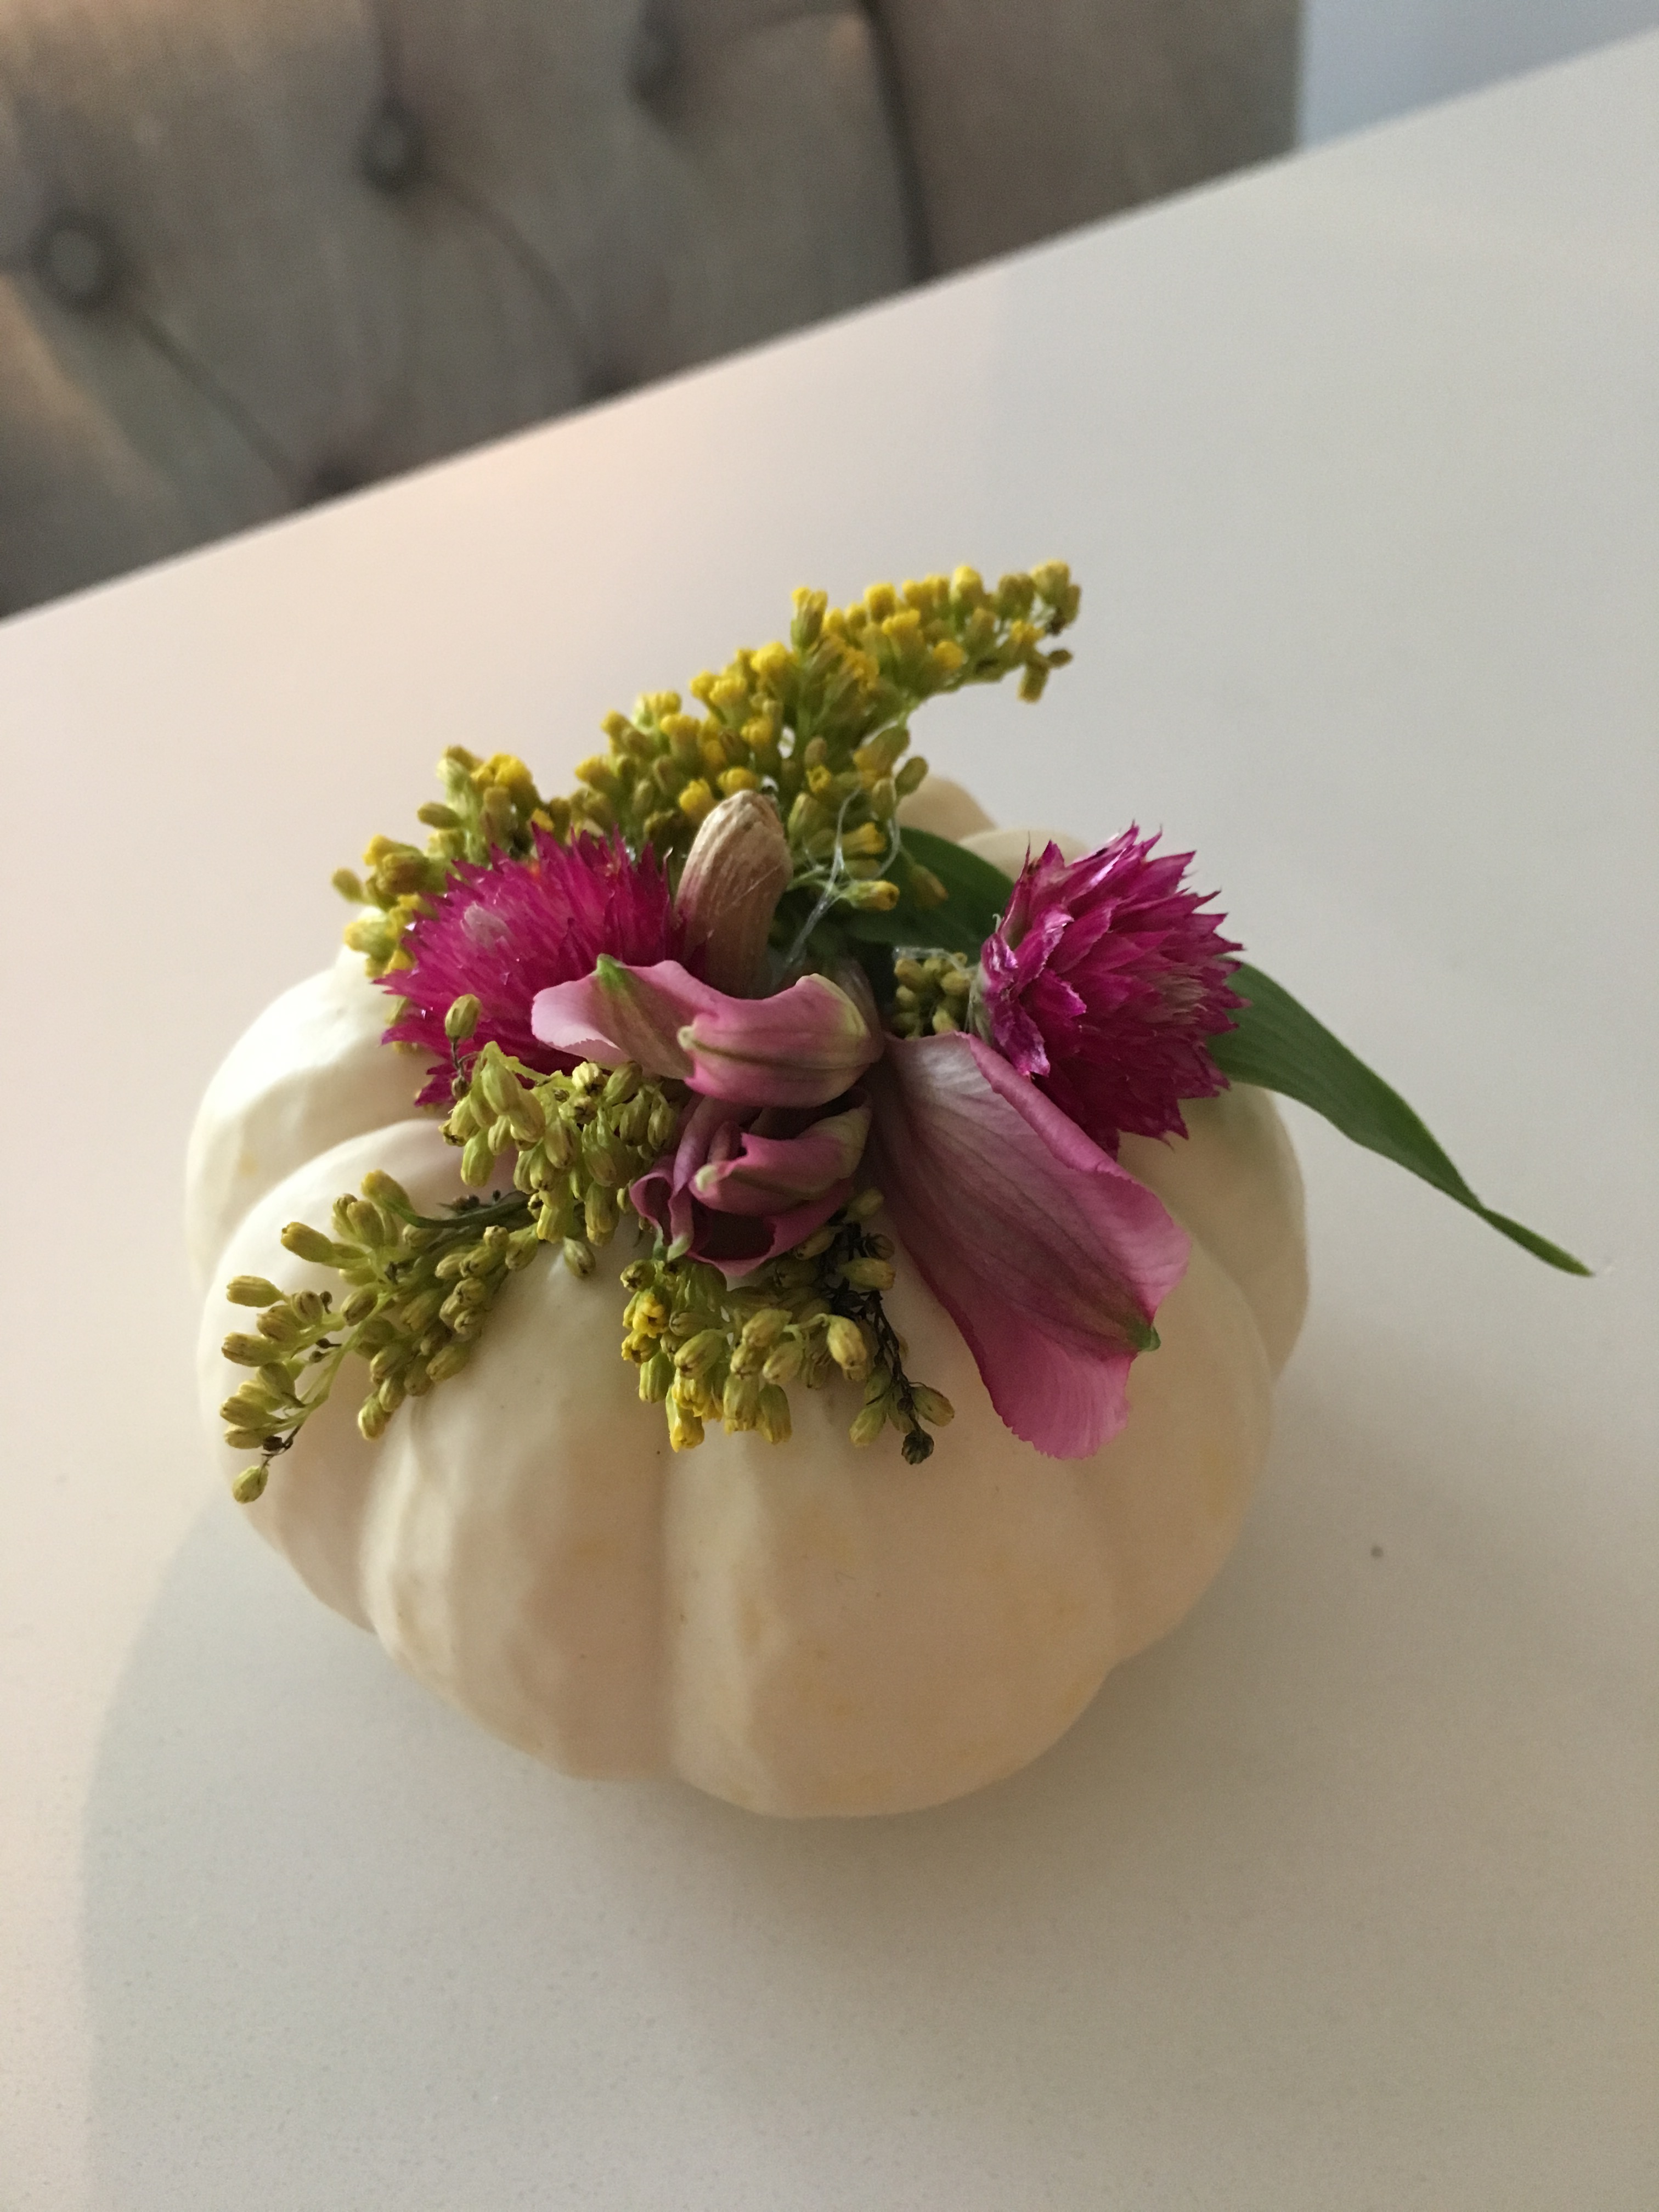
Then, take your last flower and glue it on top as well. The good thing about this project is that there’s no wrong way to glue the flowers {and every pumpkin/flower combo will be different!} It will all depend on the size of your pumpkin{s} and the types of flowers you choose. See the beautiful finished product:
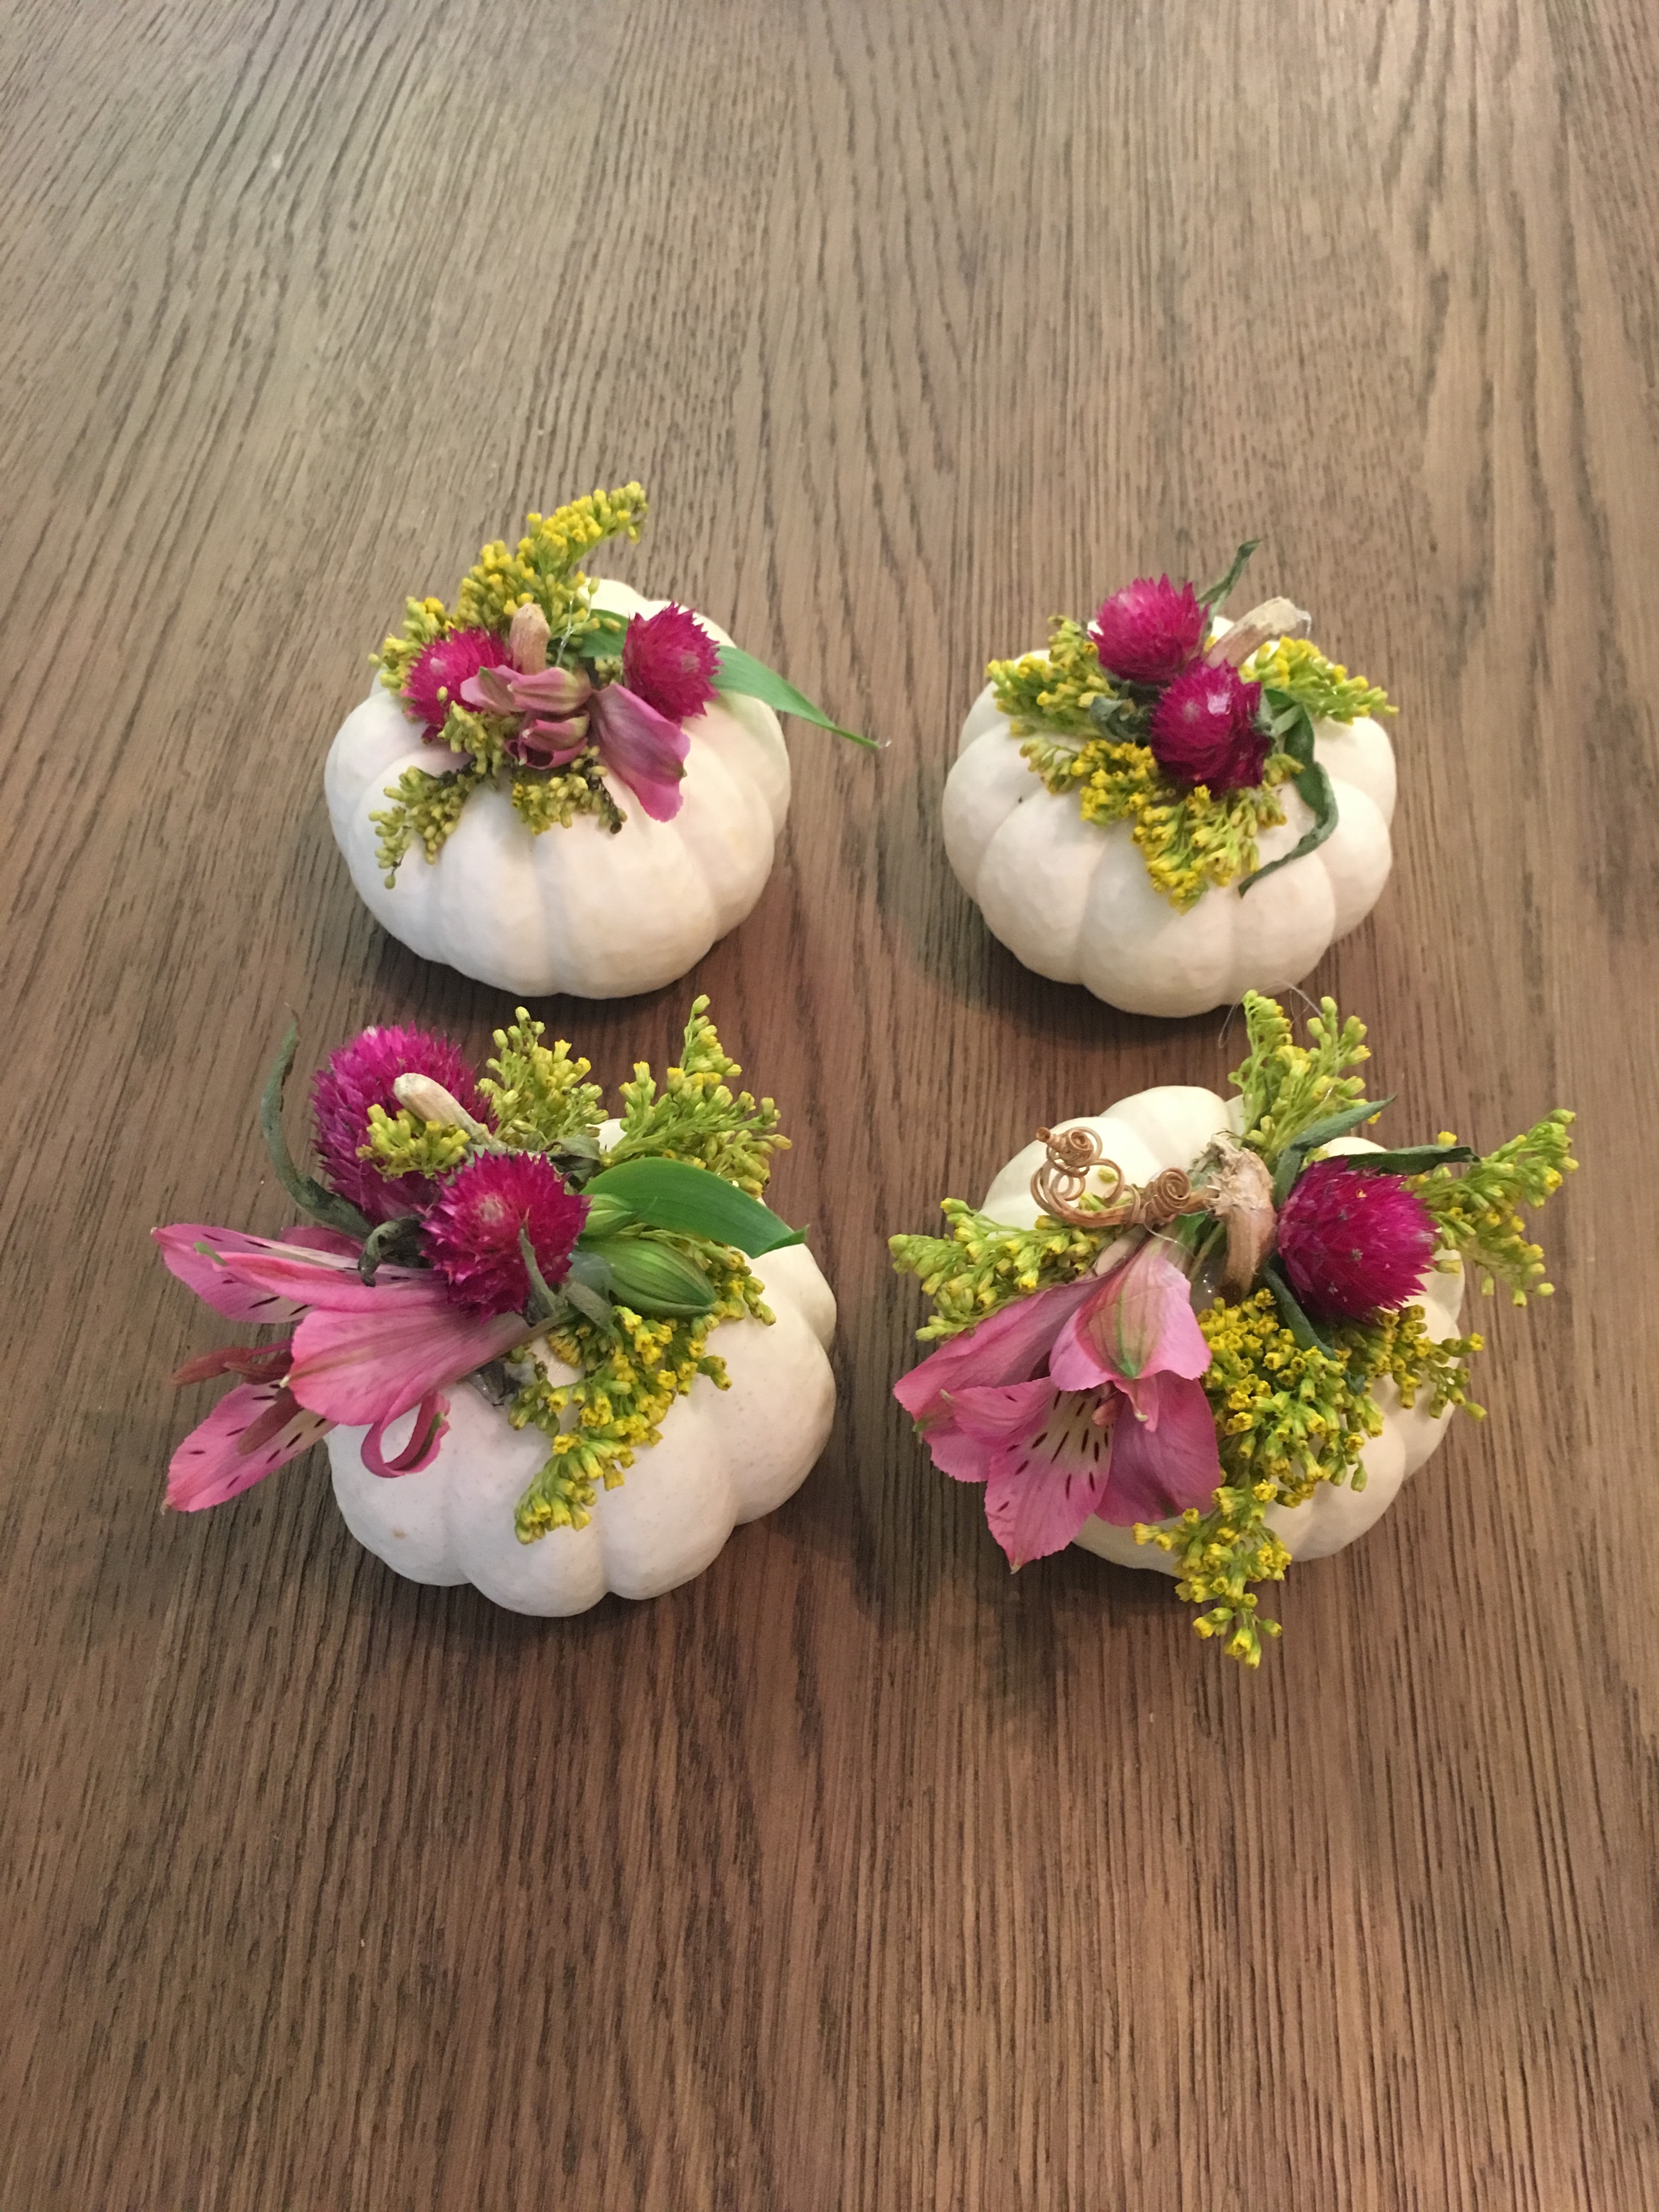
Once you’re done, do the same with the rest of your mini pumpkins. Each one should only take about 5 minutes to decorate, and before you know it, you’ll have a group of adorable, festive pumpkins to dress up your dining table or window sill. The best part? These decorations should last all season! The flowers might dry out a little but they’ll still look great in four weeks.
Now, on to the next! What you’ll need for DIY #2:
- 1 small-sized {but not mini!} pumpkin. I like to use sugar pumpkins because they’re the perfect size and cheap!
- Fresh flowers {I love to use a mix of hydrangea and wild flowers, but choice whatever you like the look of!}
- Pumpkin carving knife
- 1 clean tin can
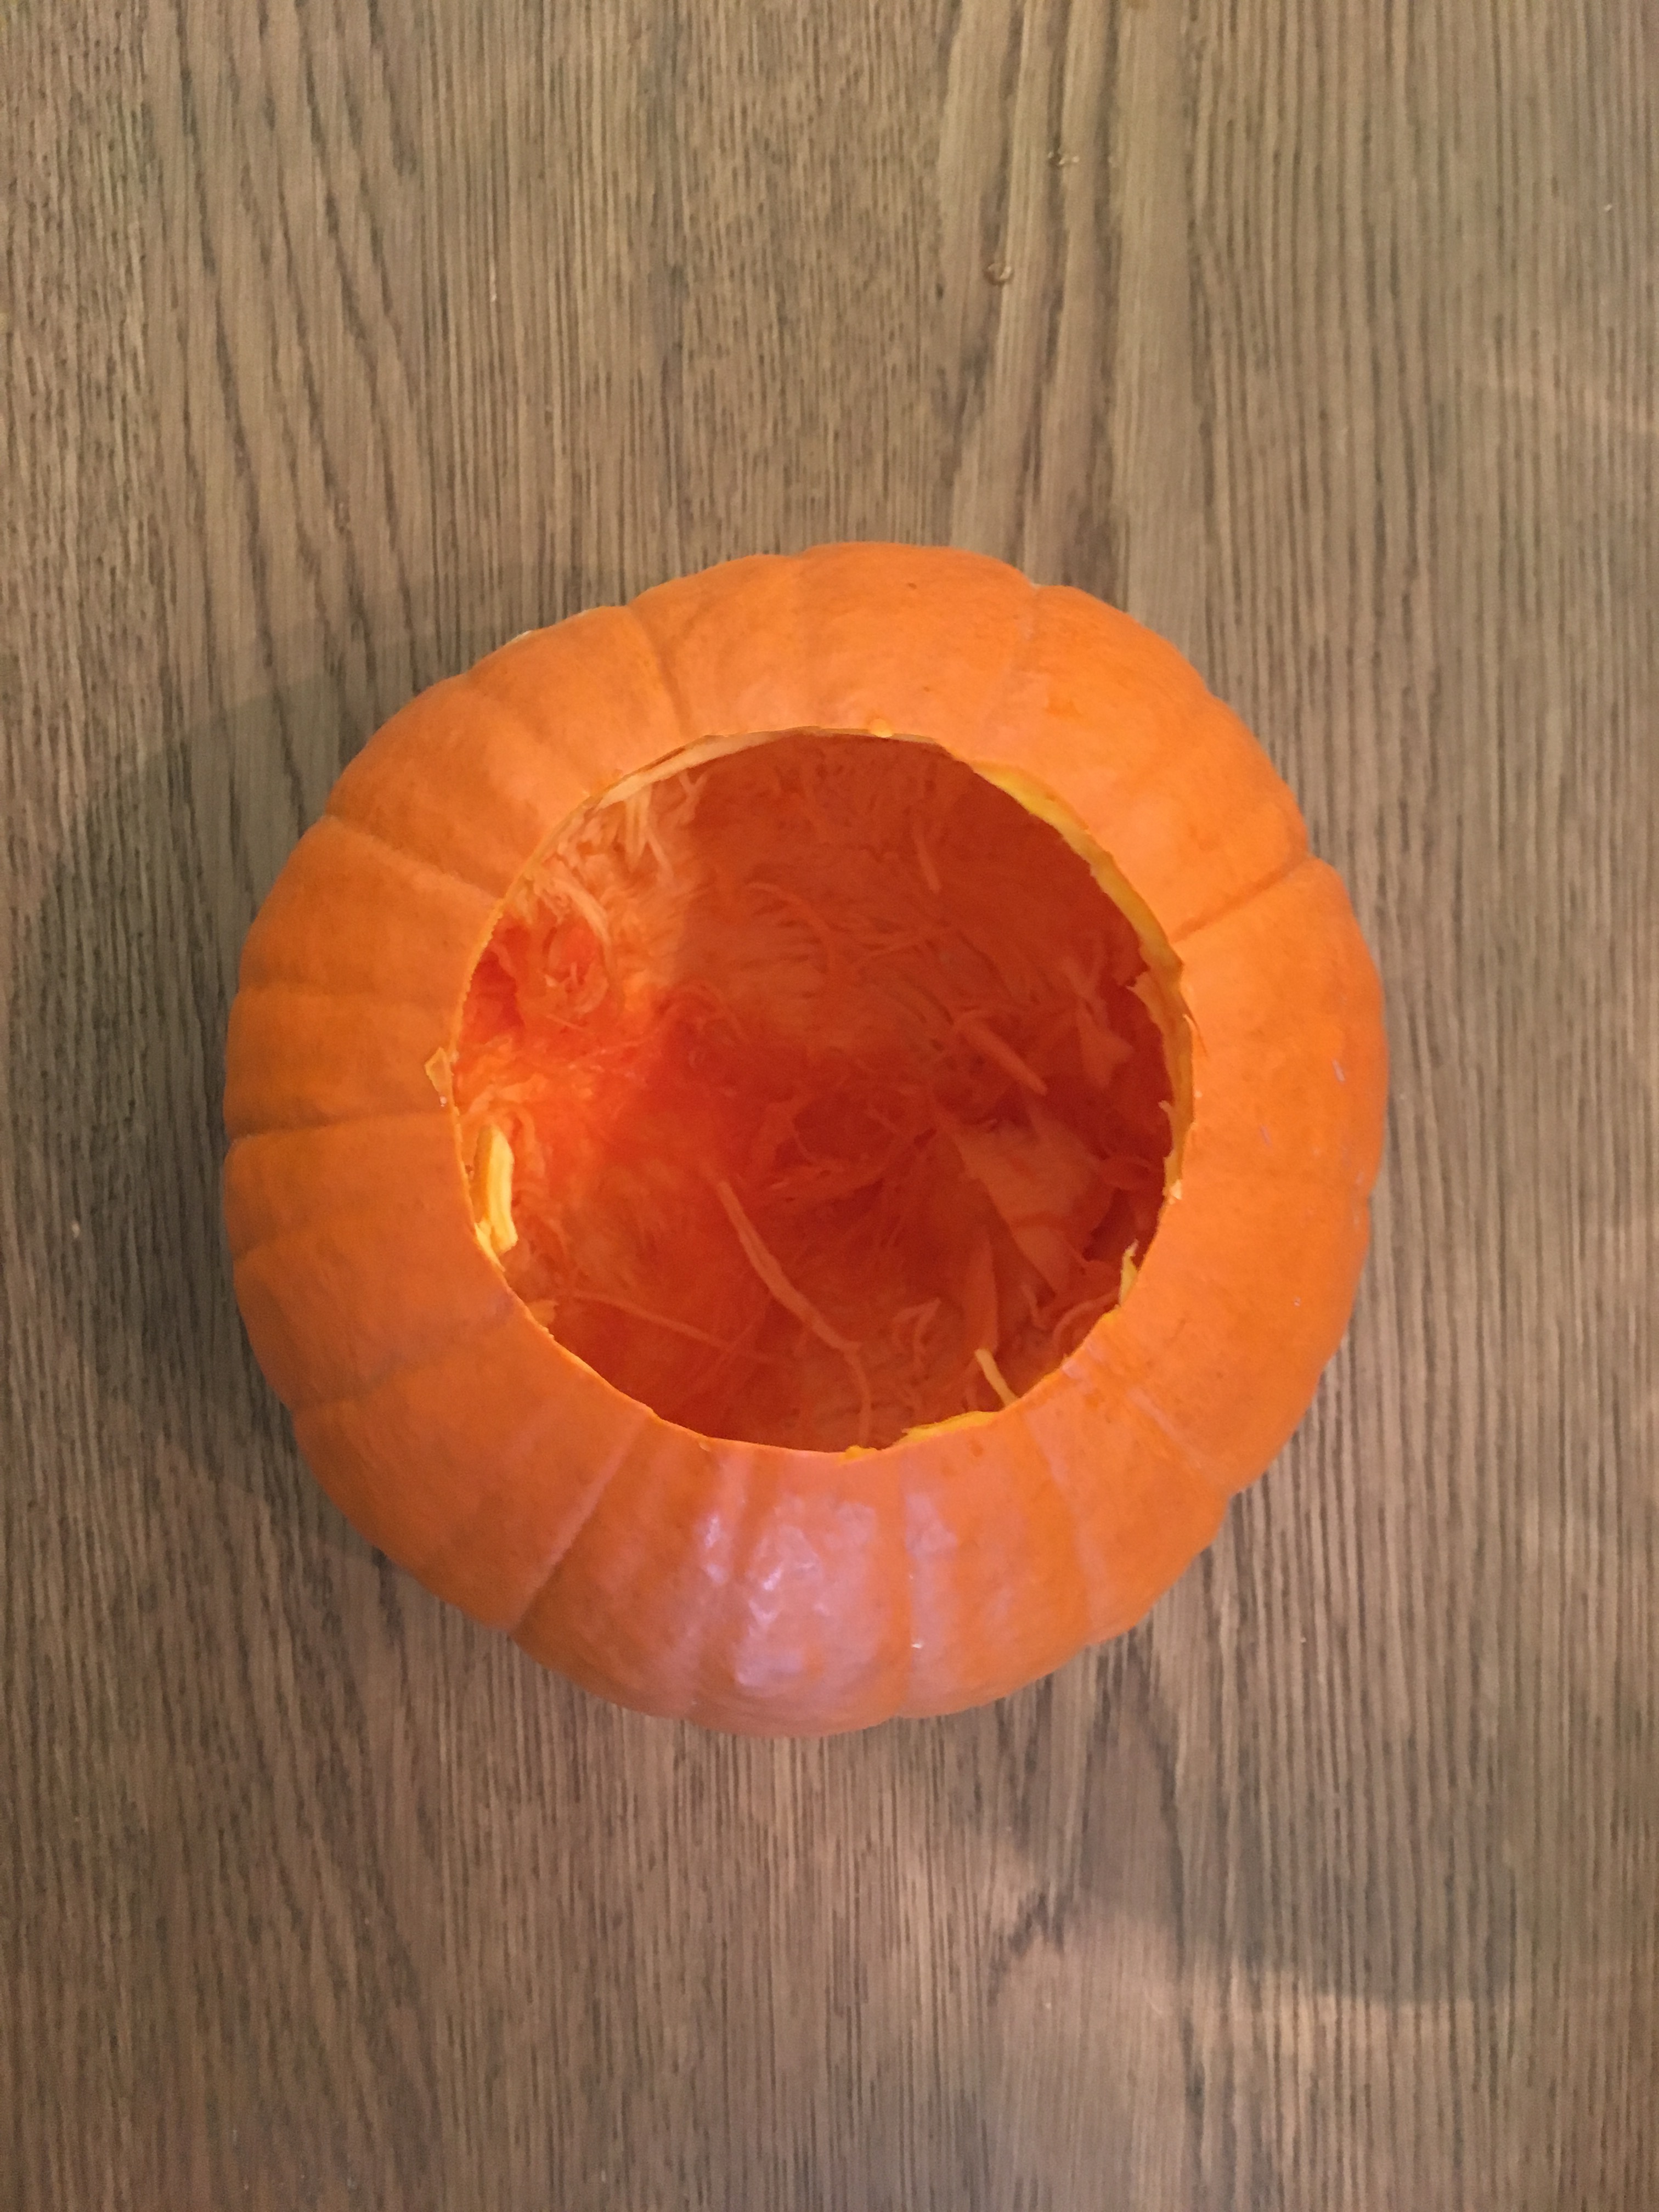
First, cut off the top of your pumpkin just as you would if you were carving it. Try to make the hole that you’re carving just large enough to fit a small tin can inside the pumpkin. Next, remove the innards {and save your seeds for baking – seriously, they’re such a yummy snack!}. Your pumpkin should look like this:
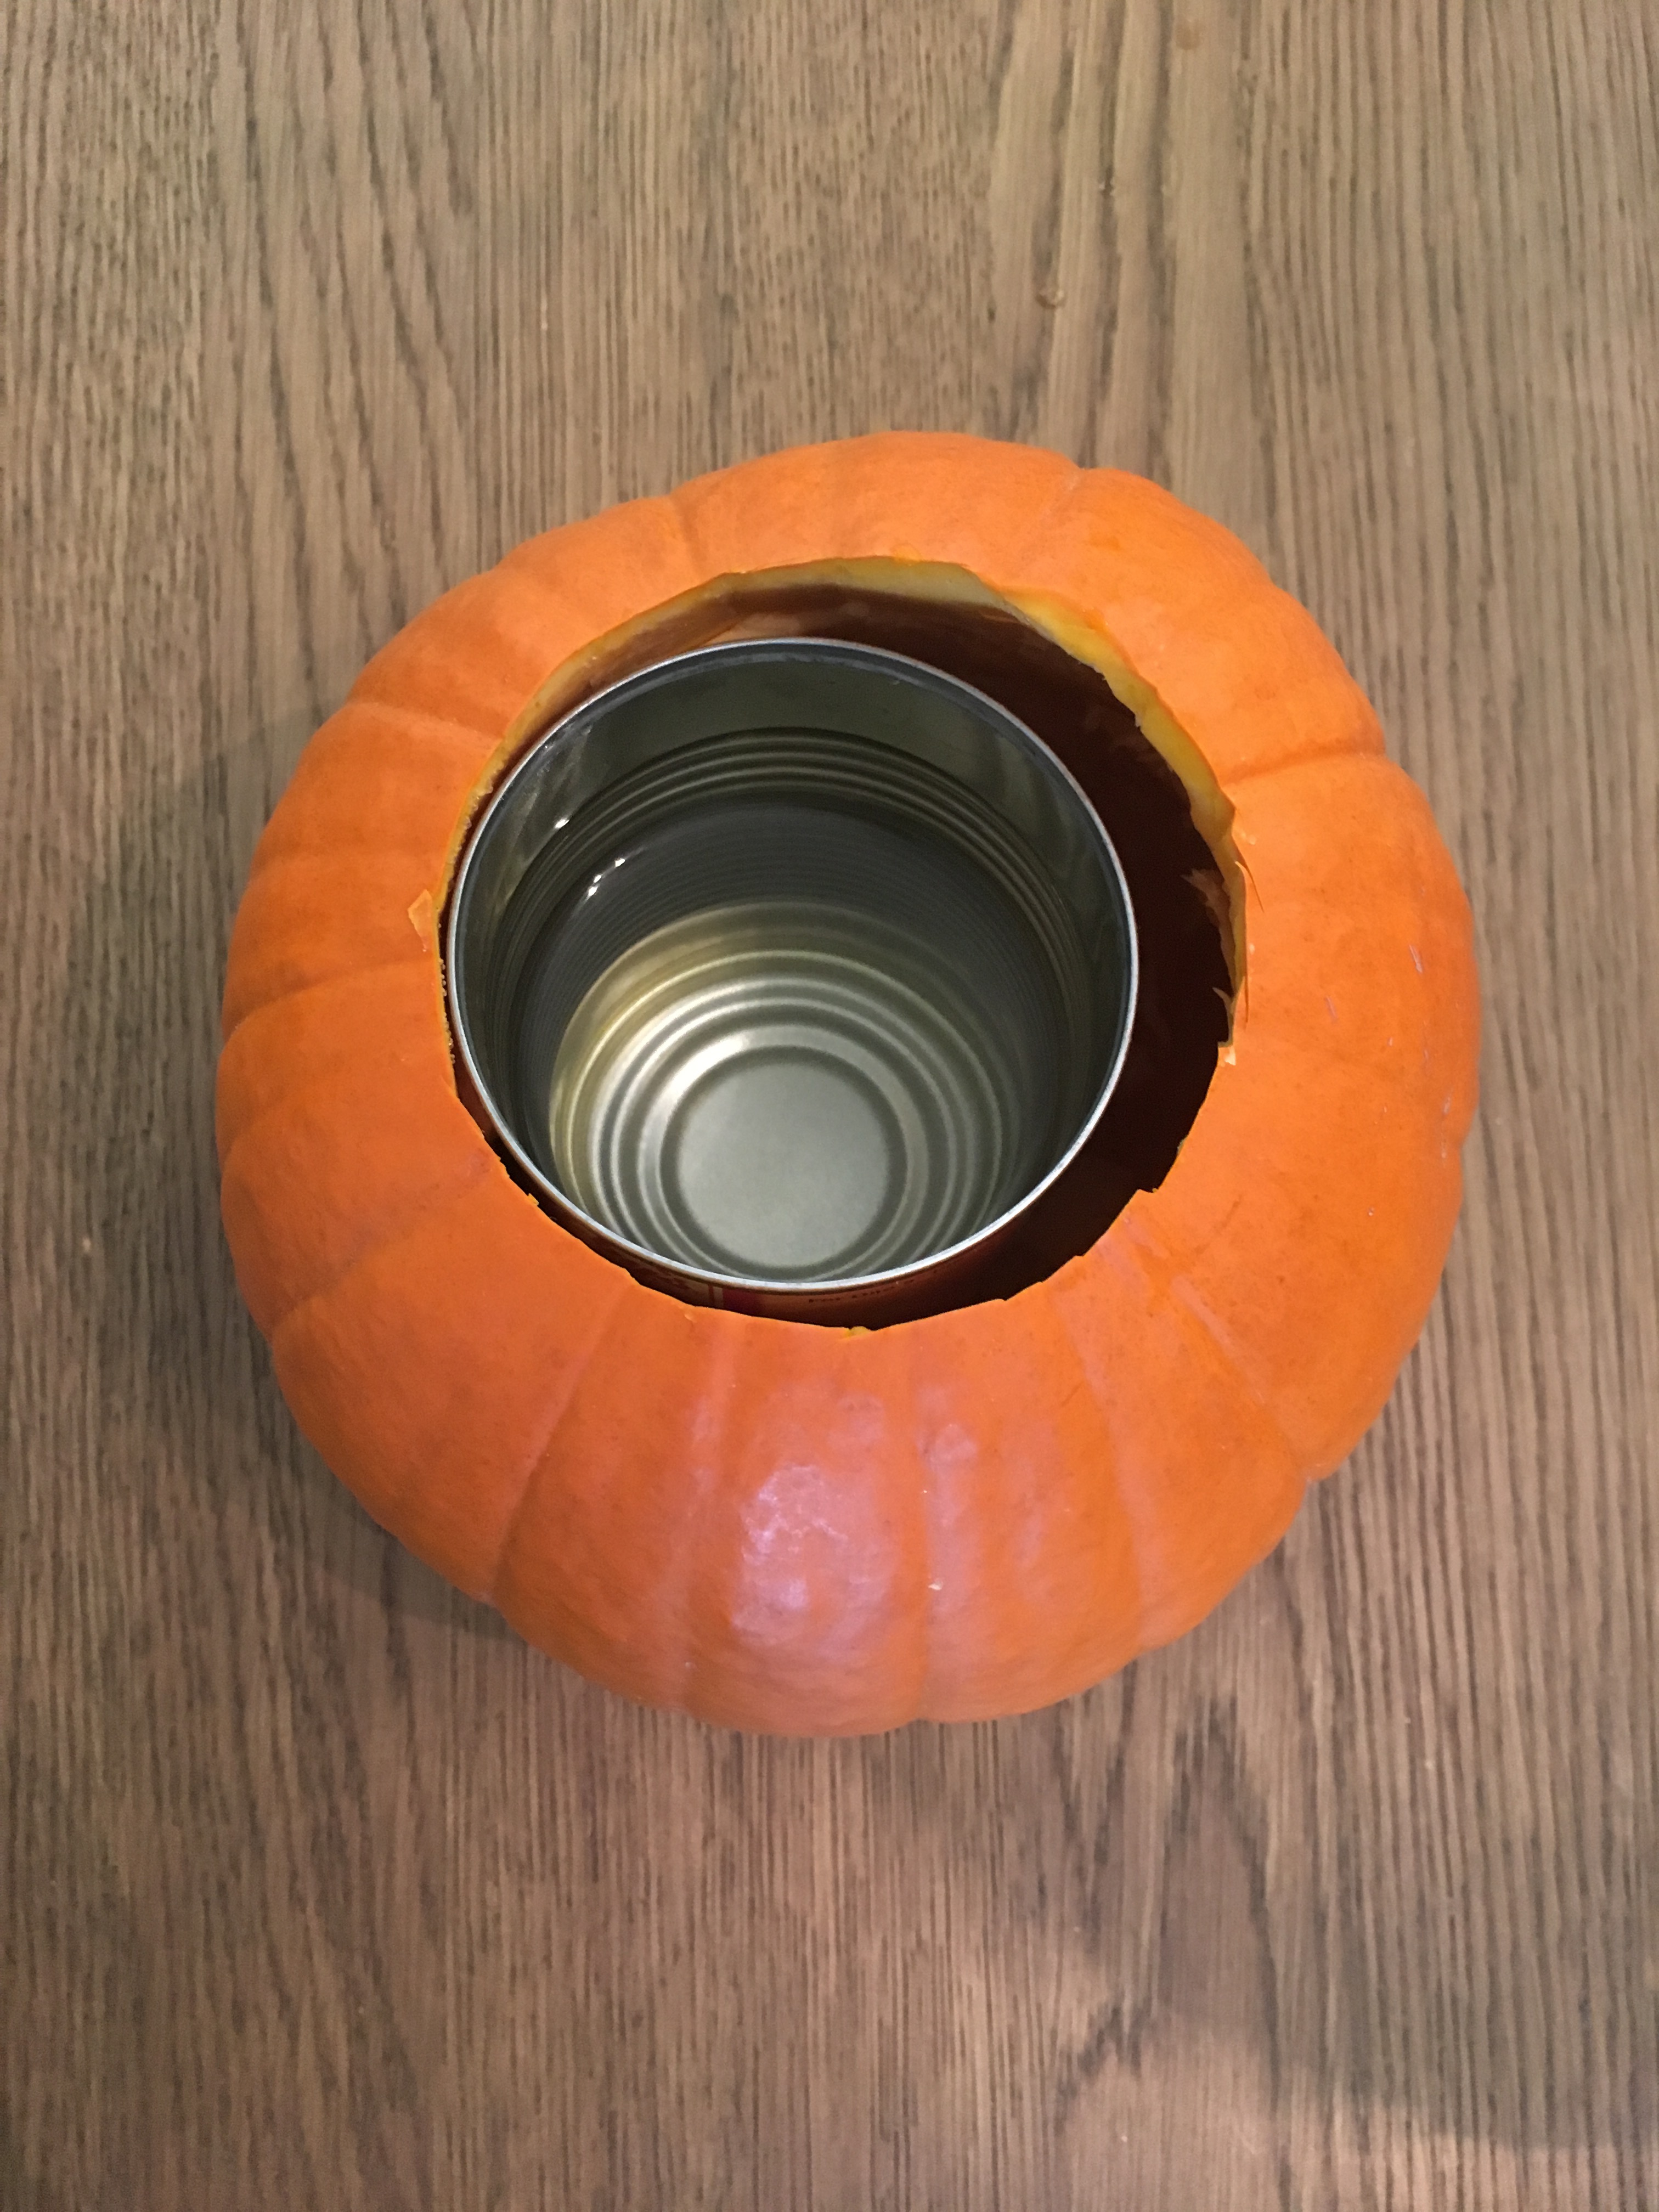
Next, take your tin can and fill it half-way with water before placing it inside the pumpkin.
Lastly, fill the tin can with your assortment of fresh flowers. I love to use hydrangea in my bouquets because they’re so lush, but you can use anything.
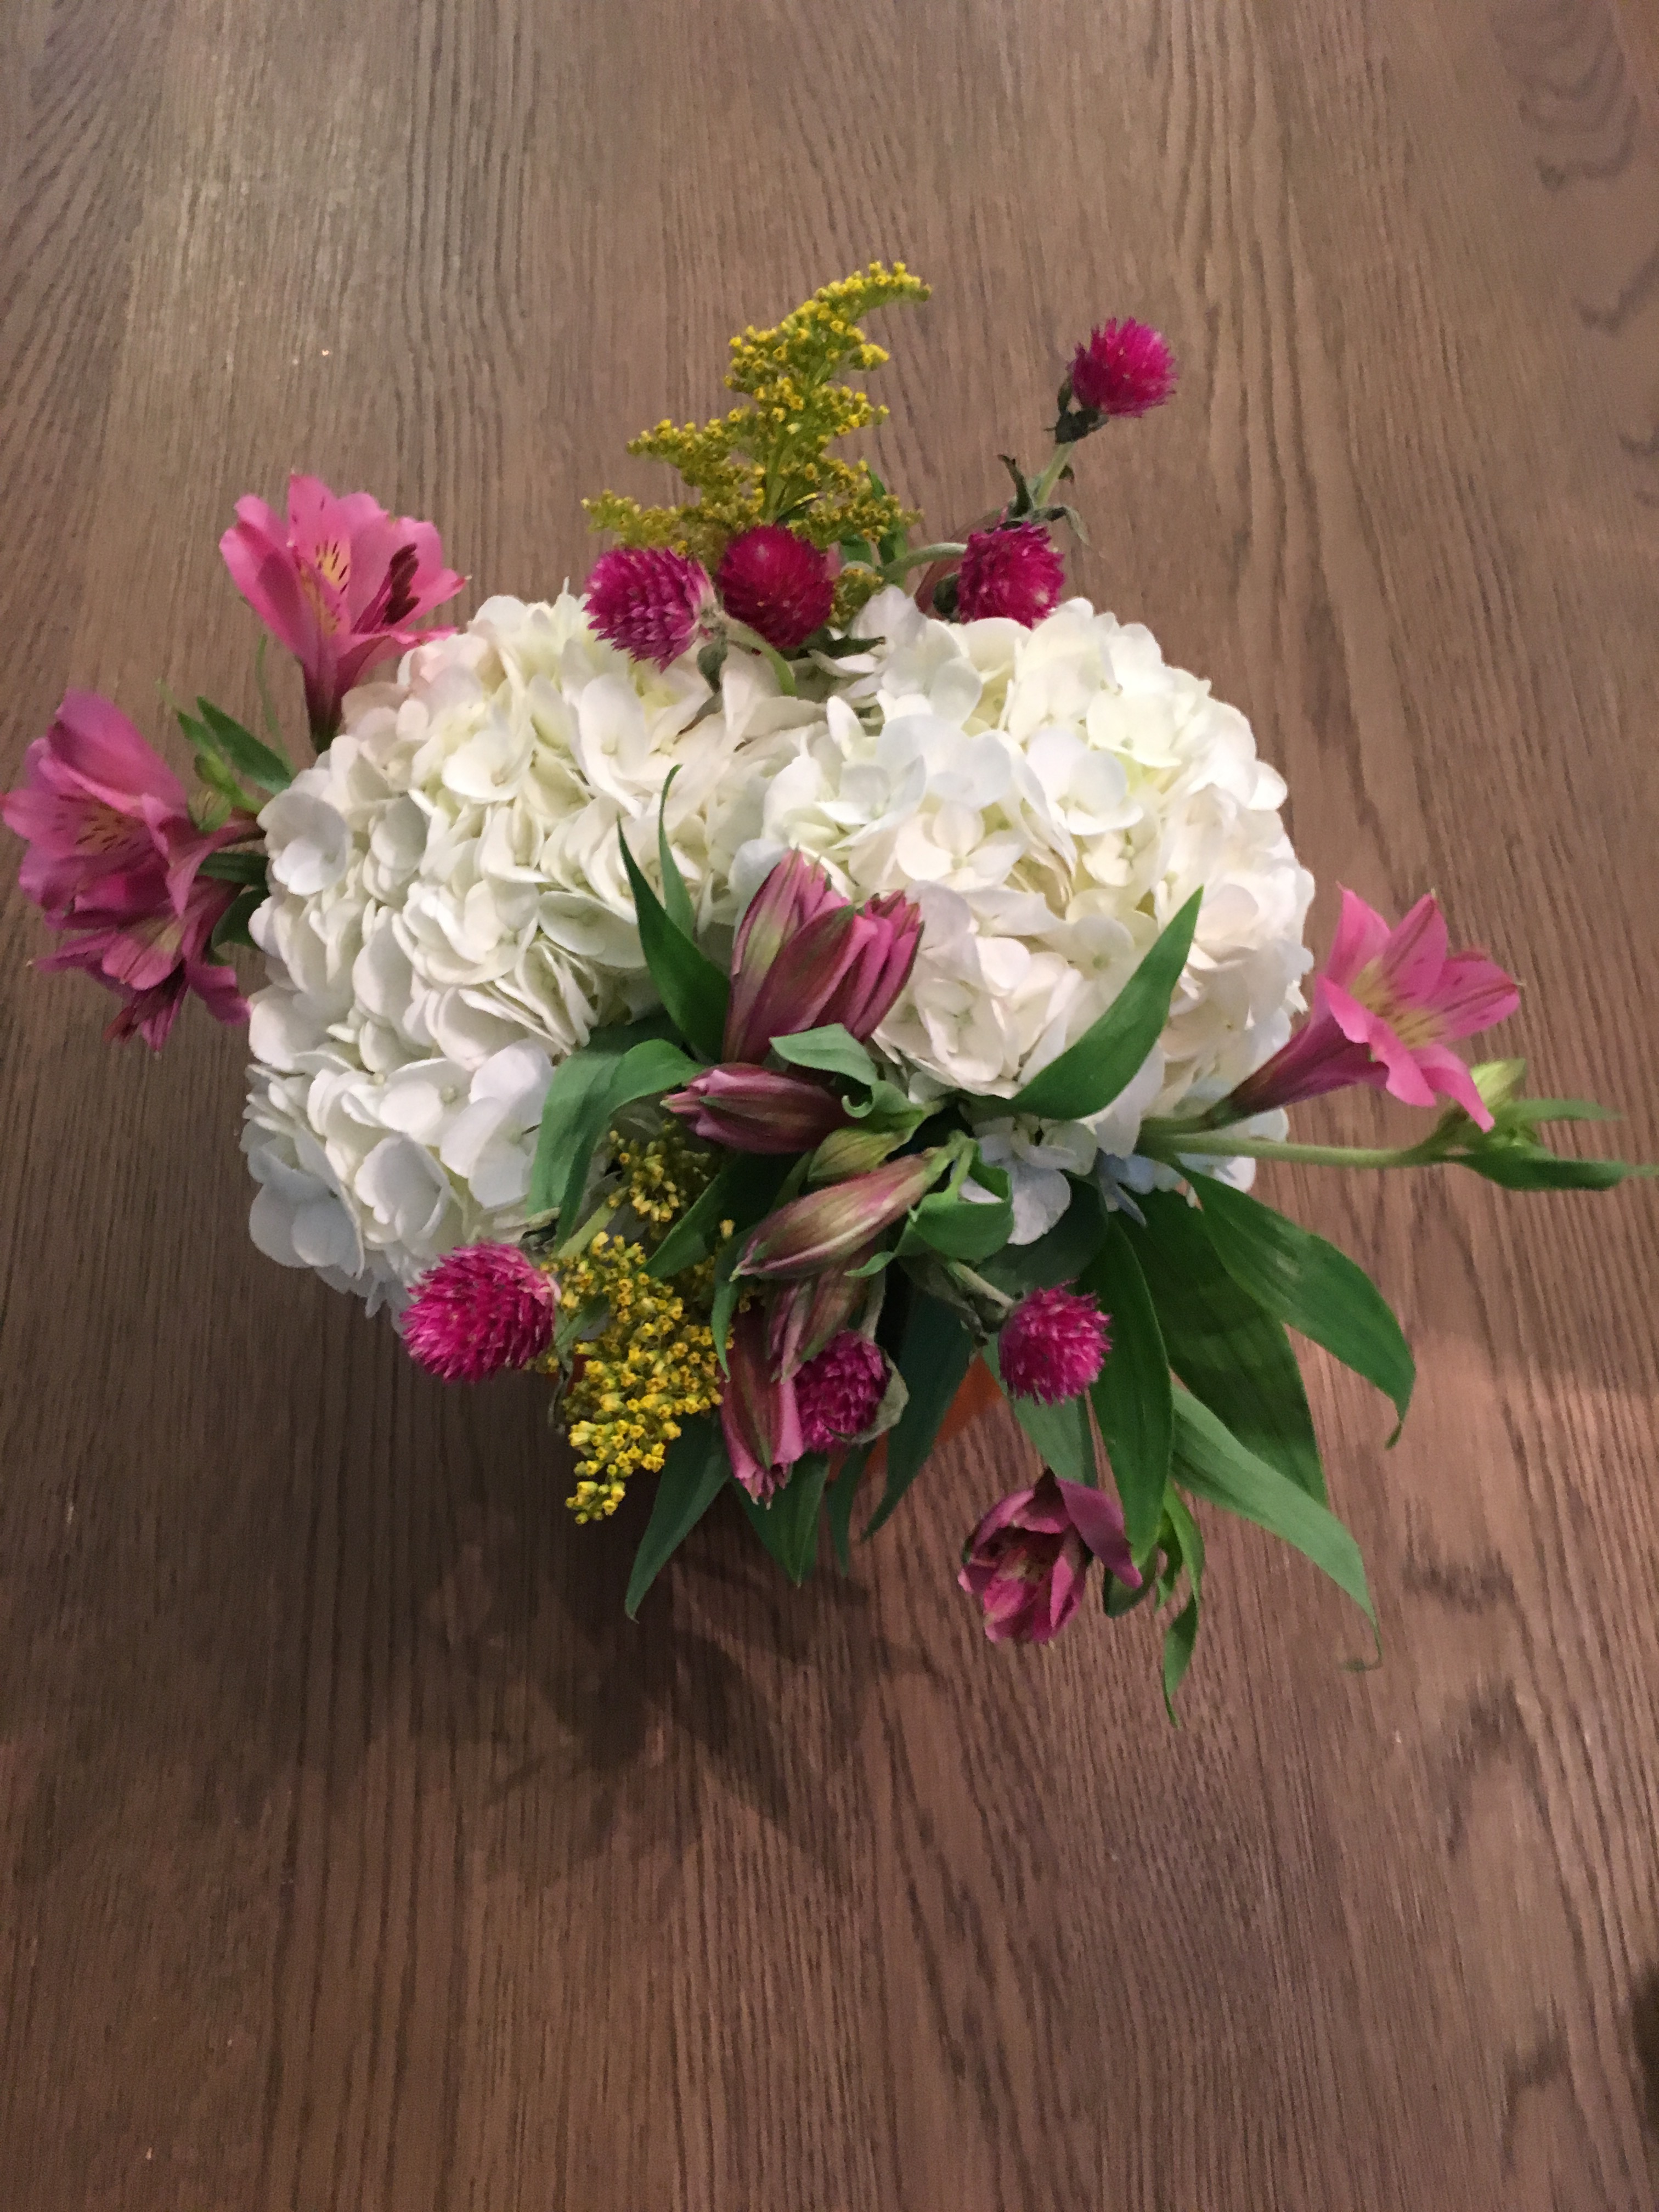
For this particular project, I chose white hydrangea as the main star and then added some pink, purple, and yellow wildflowers.
The tin can is the perfect vessel for flowers because it makes it easy for you to change the water. Pro tip: If using hydrangea, make sure to fill the tin can with hot water each morning. This will keep your flowers looking fab for 1-2 weeks {if they sit in cold water, they’ll wilt in a day!}
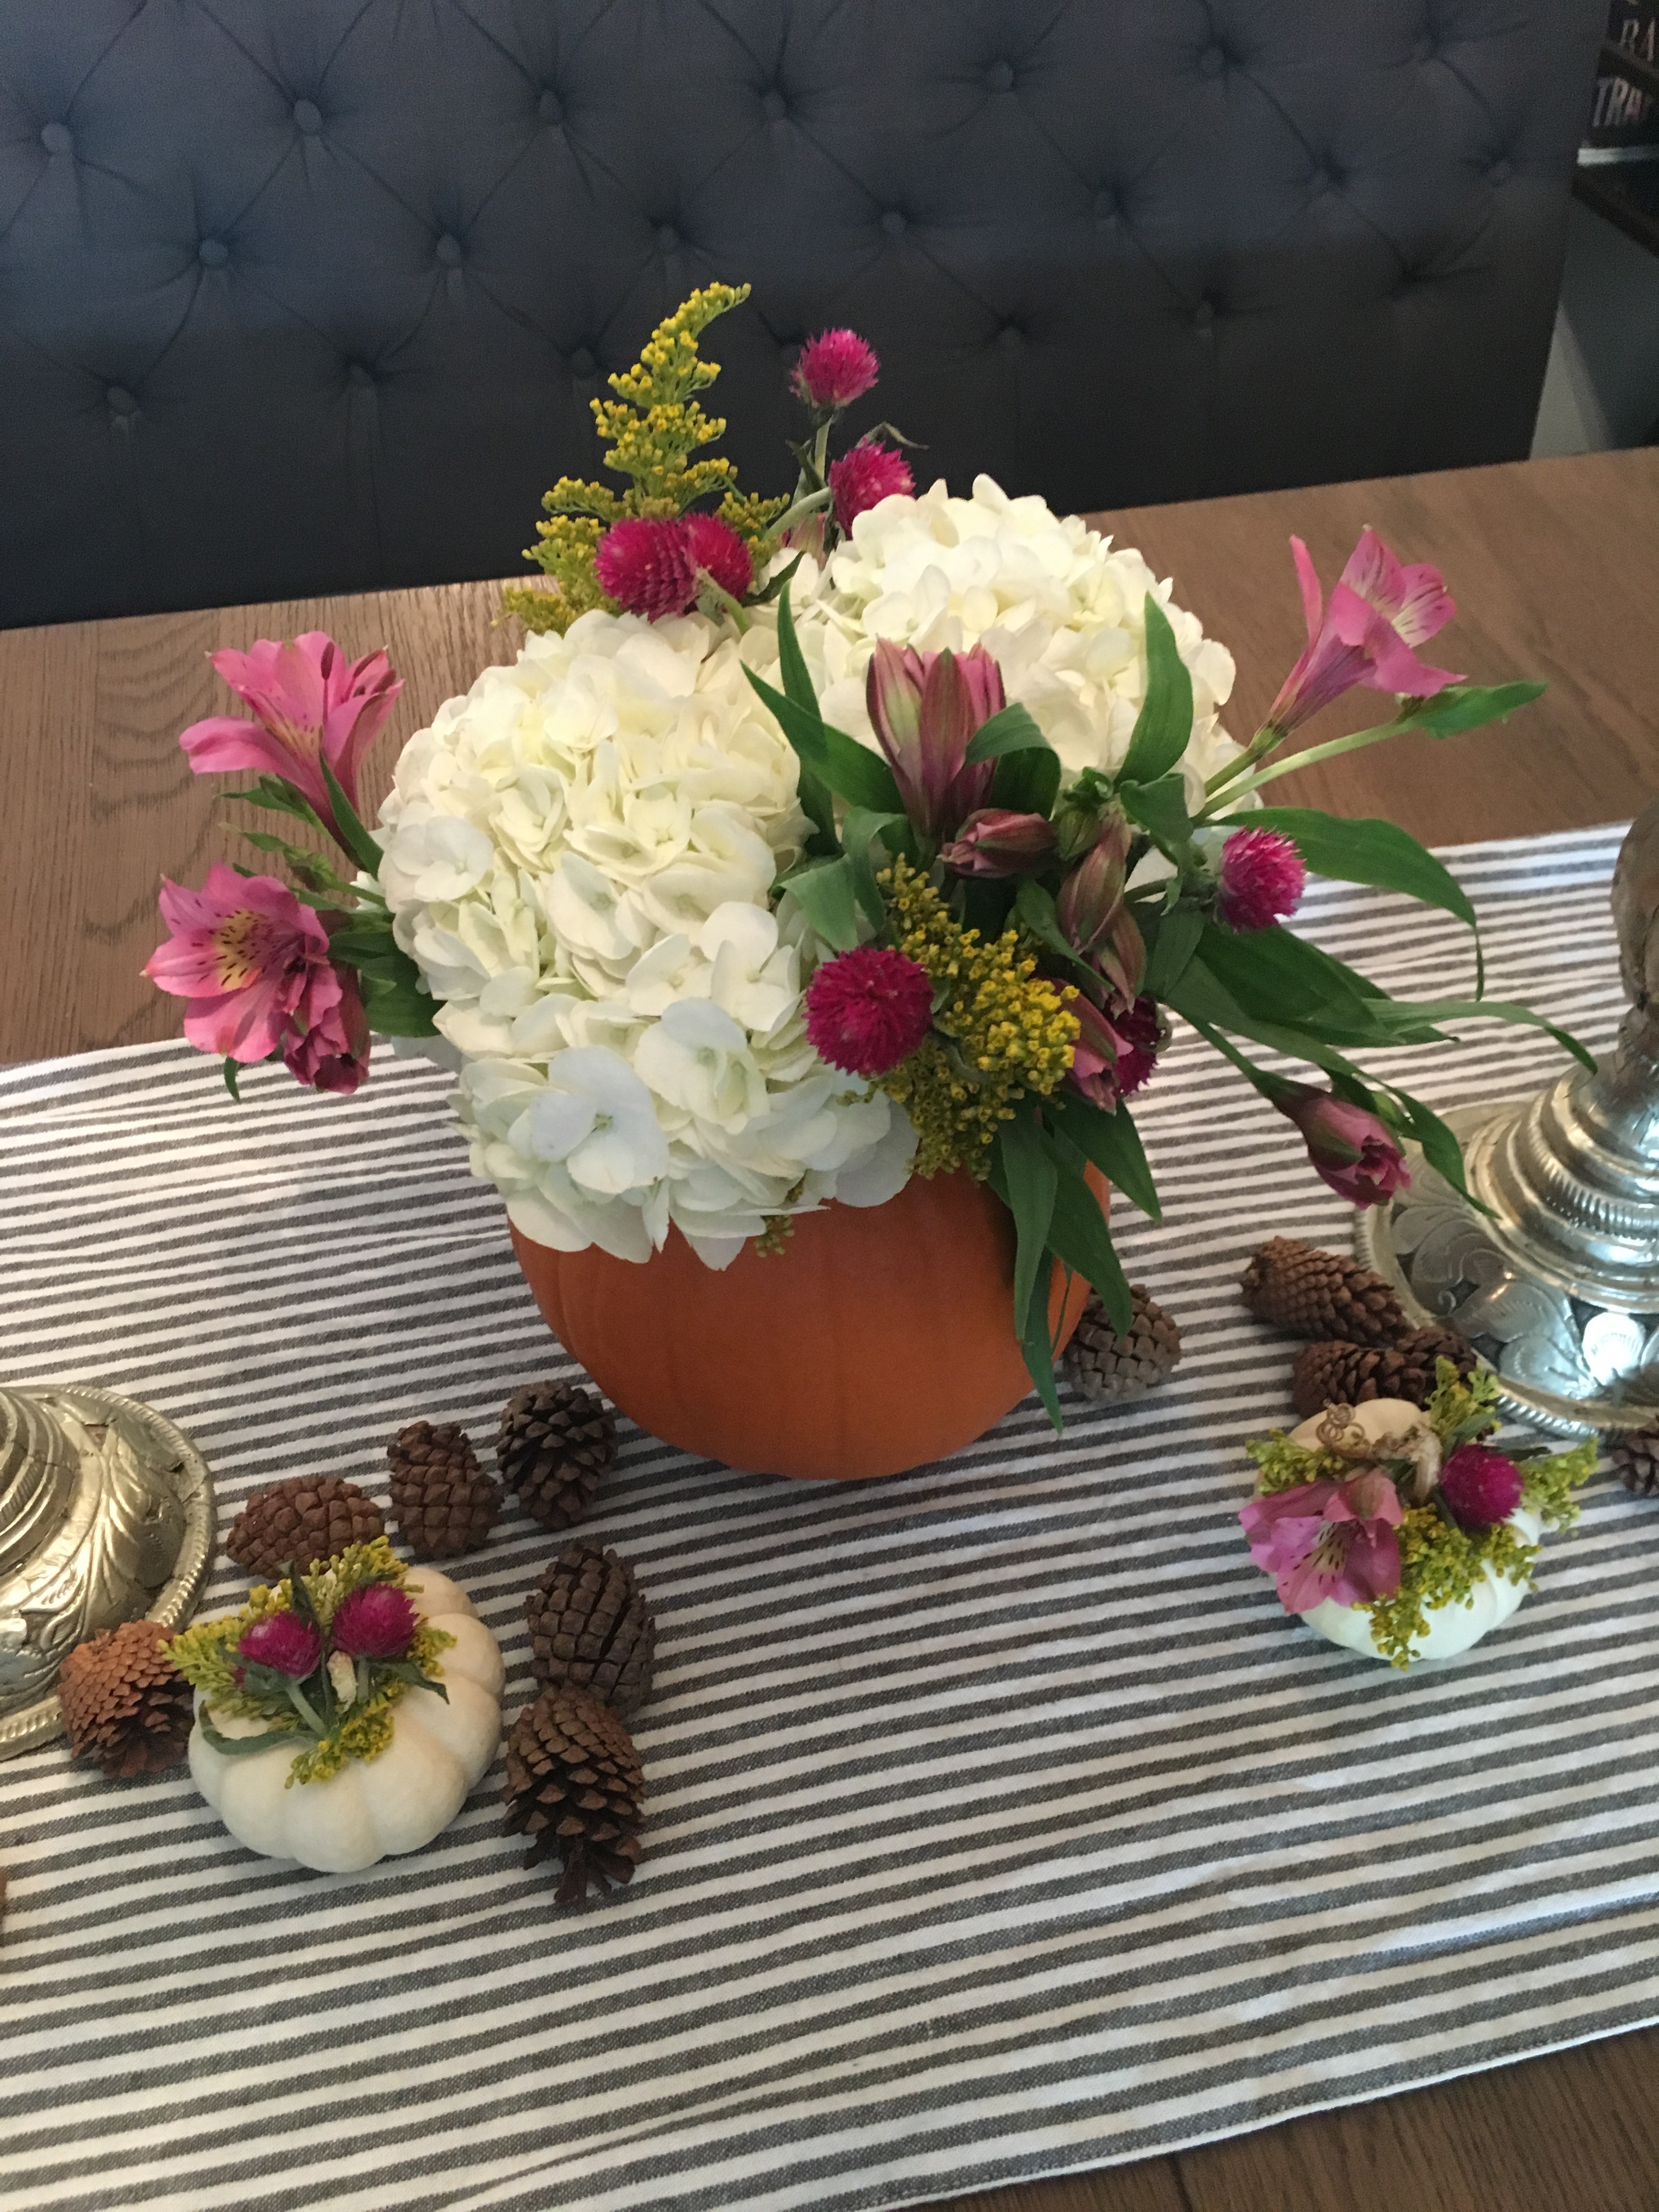
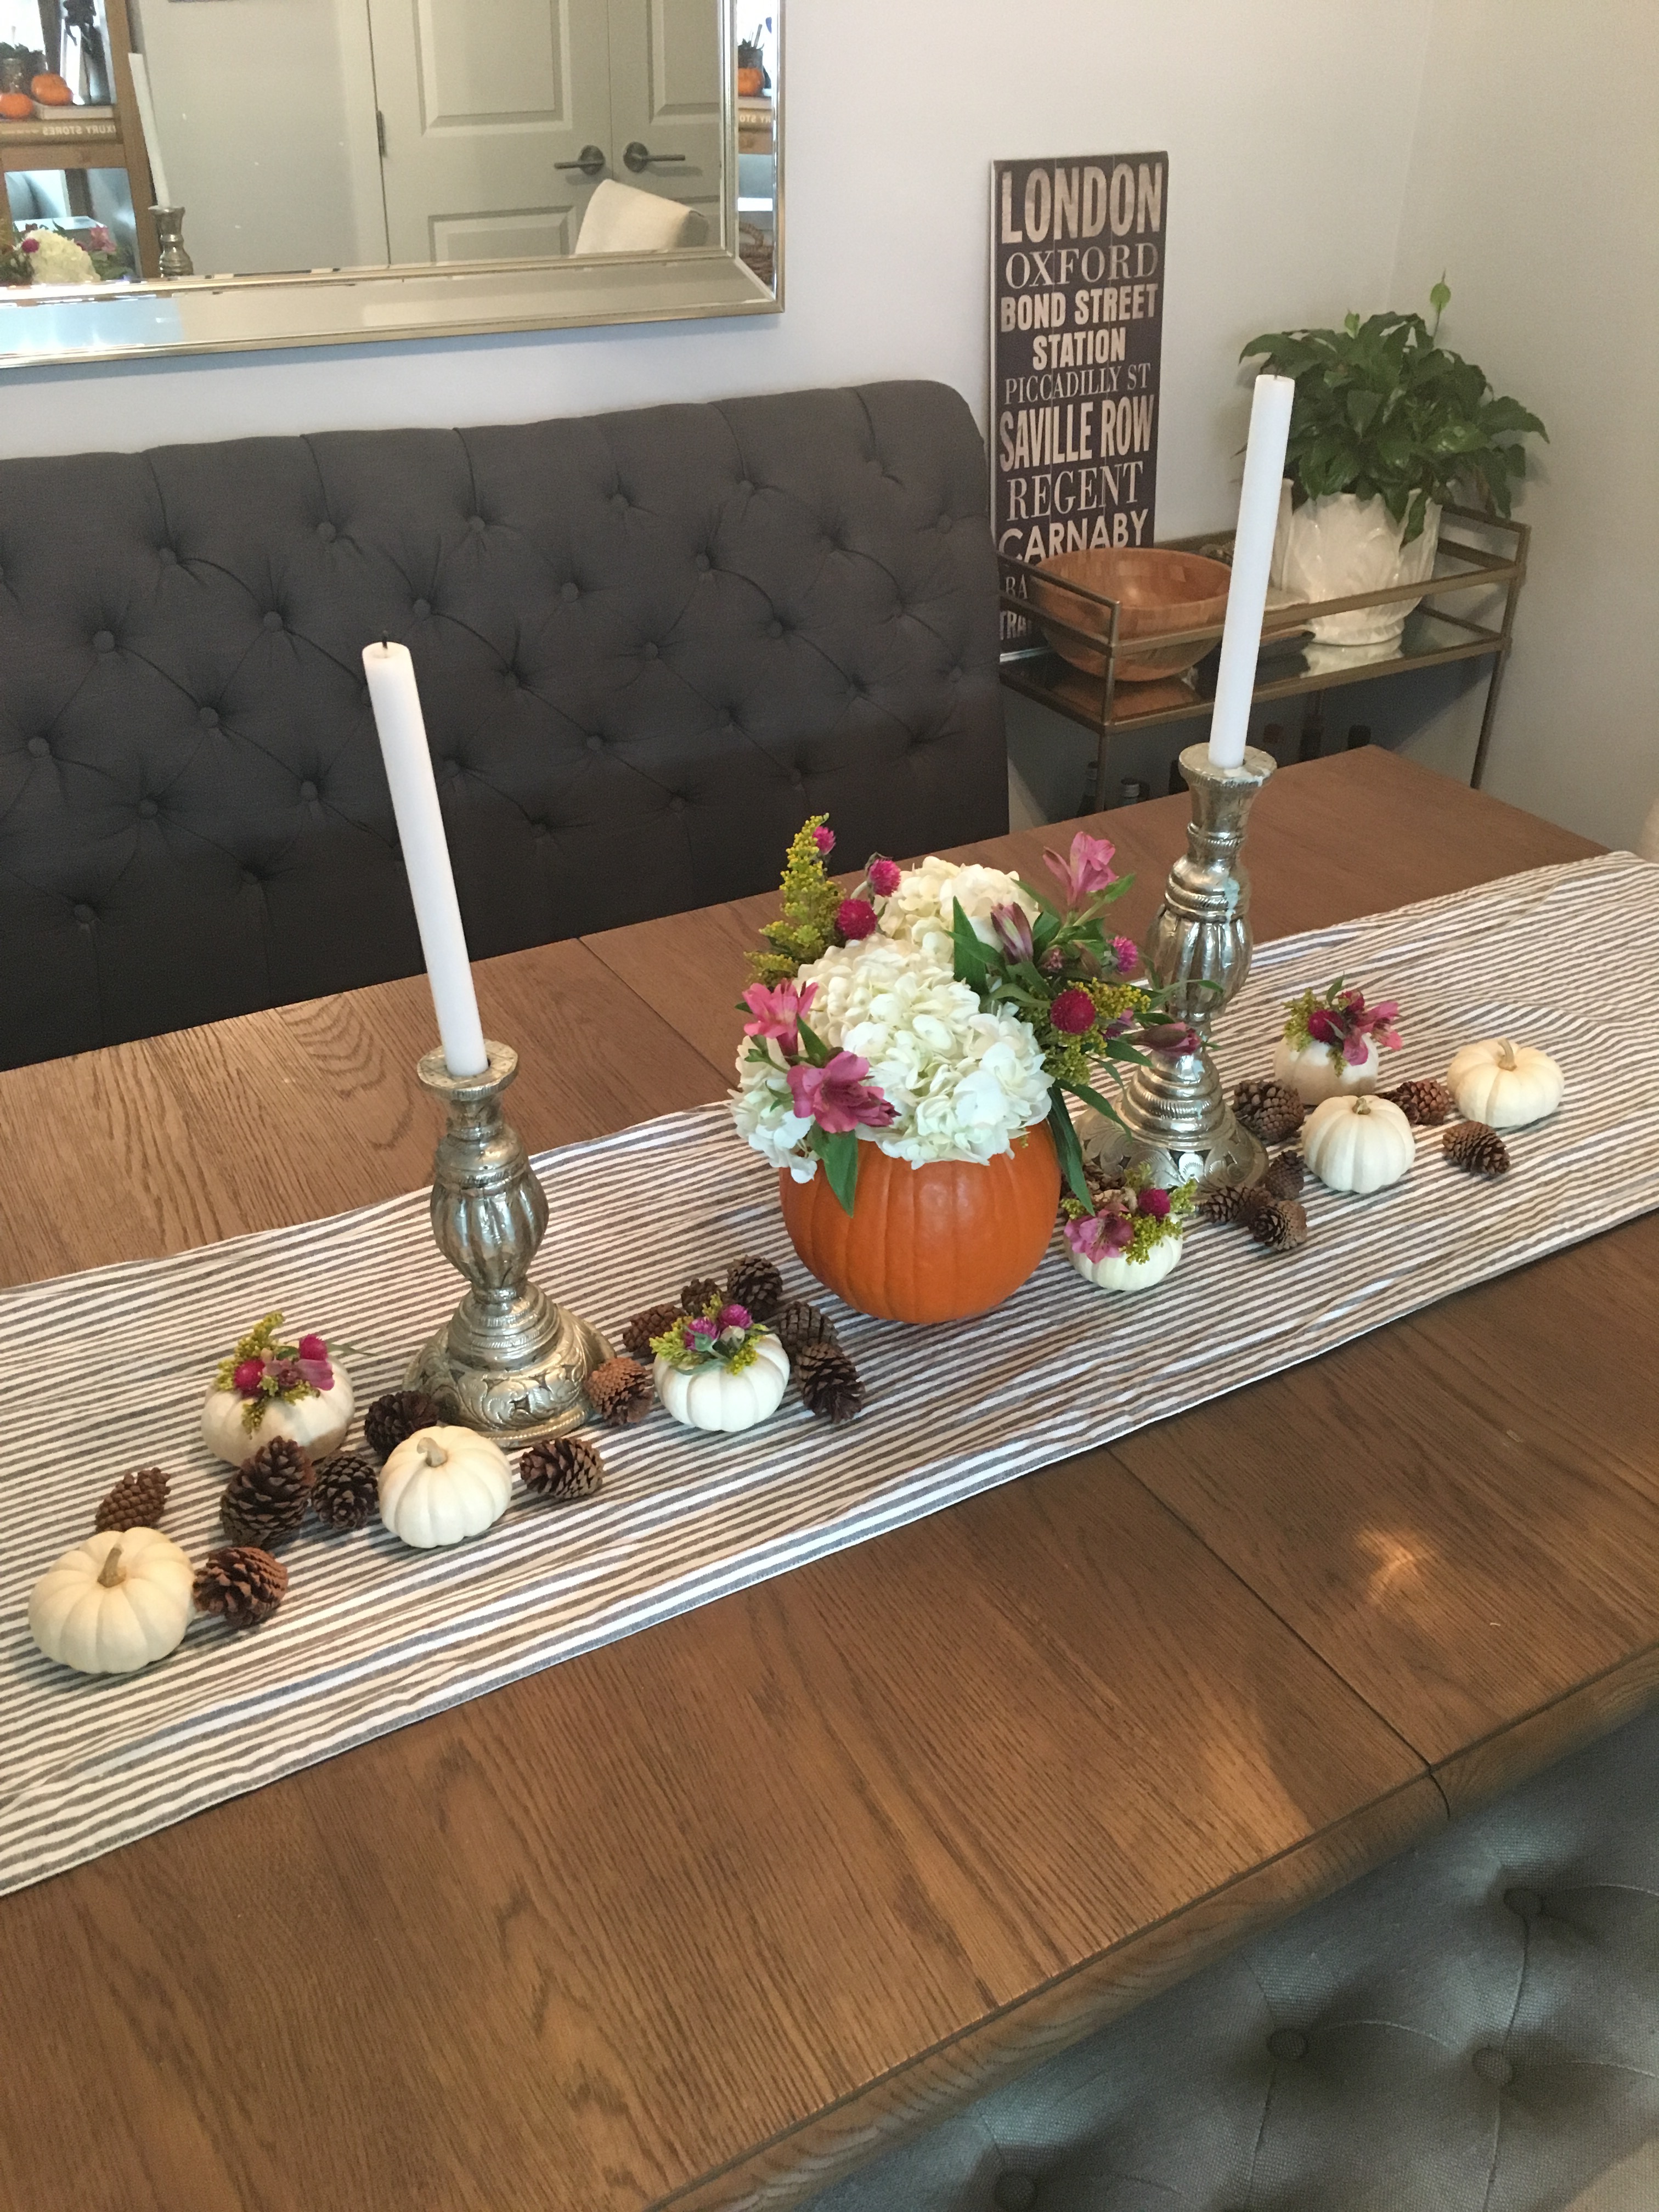
These DIYs are cute on their own, but when paired together, they make a gorgeous tablescape that’s both sophisticated and rustic. See below for some styling inspiration:
What do you think?! We’d love to see what you guys create so tweet us or tag us in your pics {@HobokenGirlBlog}! And for more DIY and design inspiration, check out Michelle’s design blog at GirlontheHudson.com.