
I have a thing for abstracts. They’re simple and {often} monochromatic, making them a perfect focal point for an otherwise overlooked corner.
For months, I’ve been trying to find the perfect piece of art for our bathroom so I decided to DIY it instead. The project was EASY and turned out so great that I wanted to share the full DIY so everyone can create one!
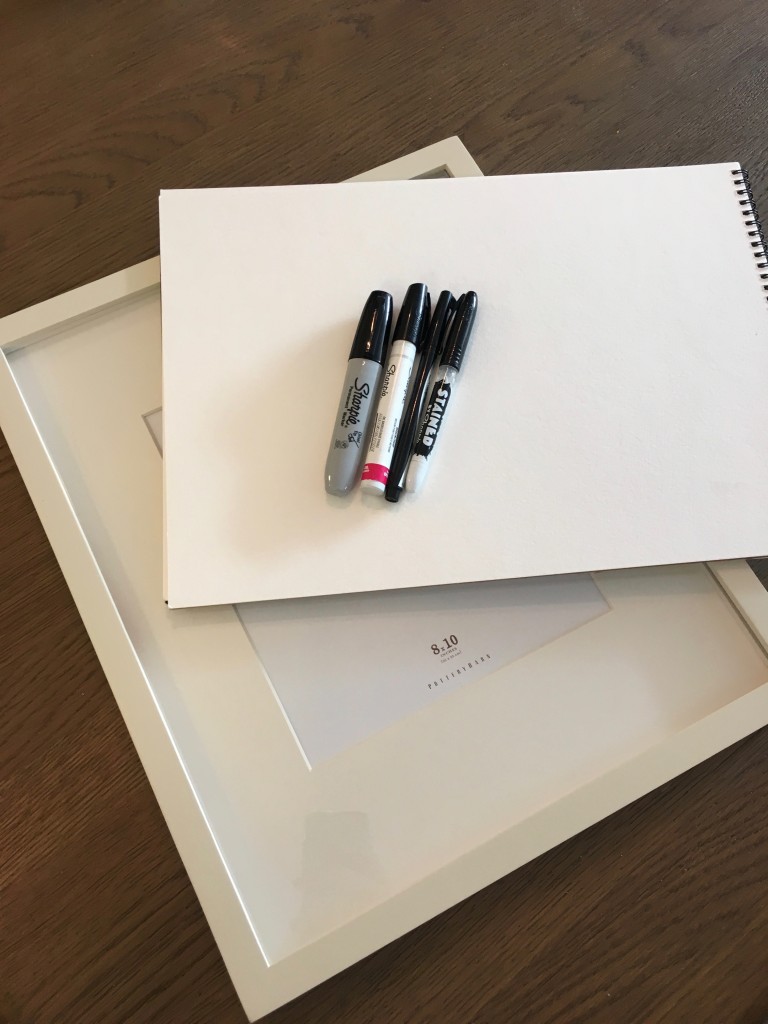
Here’s what you’ll need:

- One 8×10 frame {mine was from Pottery Barn but any frame and size would work}
- 4 black Sharpie markers {with tips of different shapes and sizes}
- 1 piece of heavy watercolor paper

If your frame comes with a mat, the first thing you need to do is to remove the mat and use it to trace a rectangle onto your paper {so you can see exactly how much space you’ll need to fill}. If you don’t have a mat, use the opening of the frame as a guide. Next, take one of the Sharpies and begin making dots all around the paper like this:

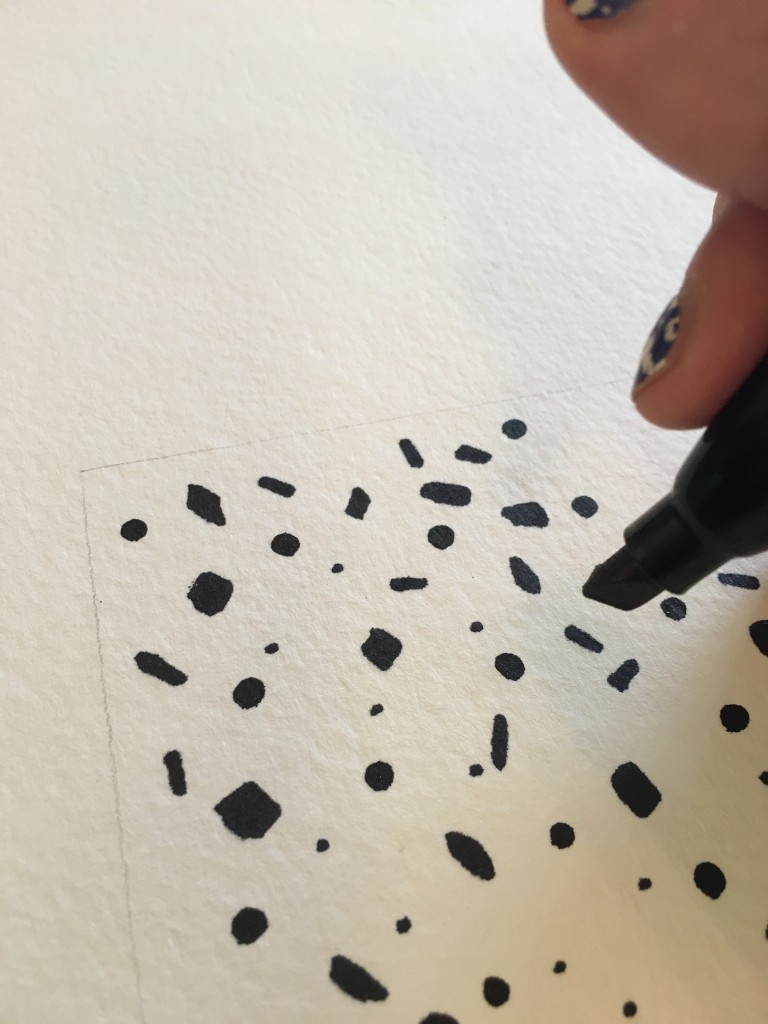
Note: make sure not to create a pattern with the dots; this is an abstract, after all, and it looks better if it’s imperfect!
Next, drop your Sharpie and pick up another marker that has a different size tip. I used this one to make square-ish dots and small marks all over the paper, which looked like this:

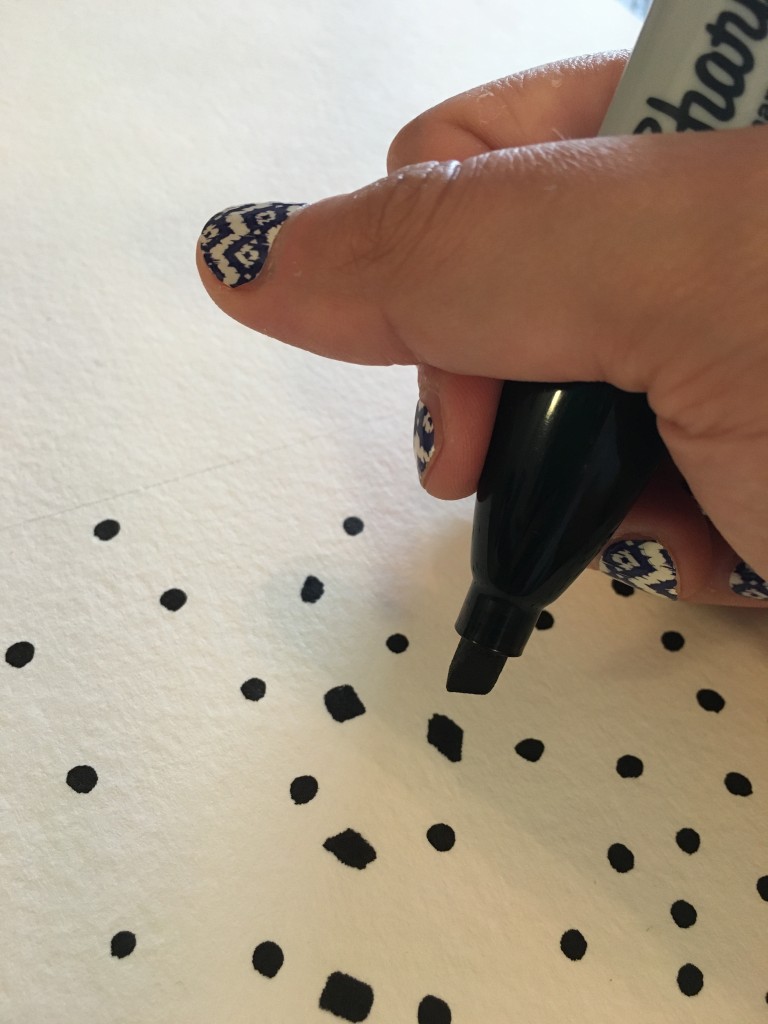
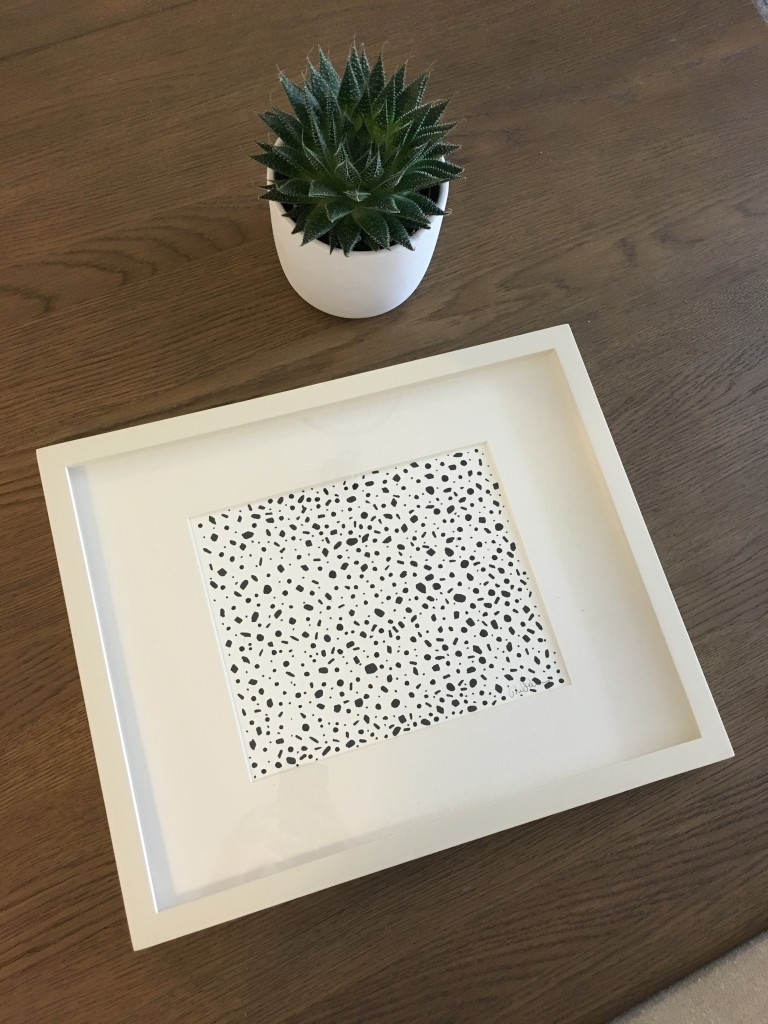
Repeat this with all four of your markers, filling in gaps with different-sized dots. The end result should look something like this {although since there’s no pattern, everyone will have their own ‘look,’ which is awesome}:

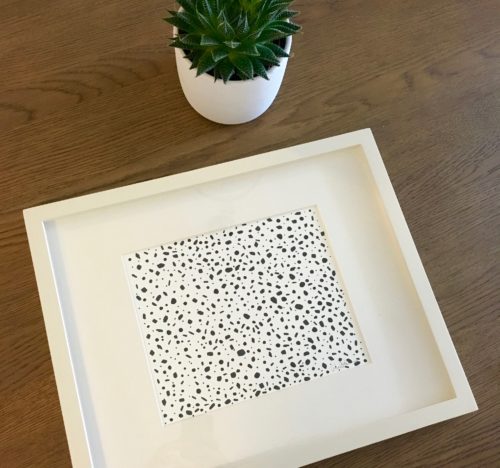
Then, all you have to do is place the paper back inside the frame and voila! Instant art that looks nearly identical to what you might find at a pricey gallery or online marketplace.
I seriously love how it looks inside the matted frame {it’s totally Pinterest-worthy, am I right?!}. And the best part is that you’ll probably be able to create it using materials you already have {or mainly have} in your house.
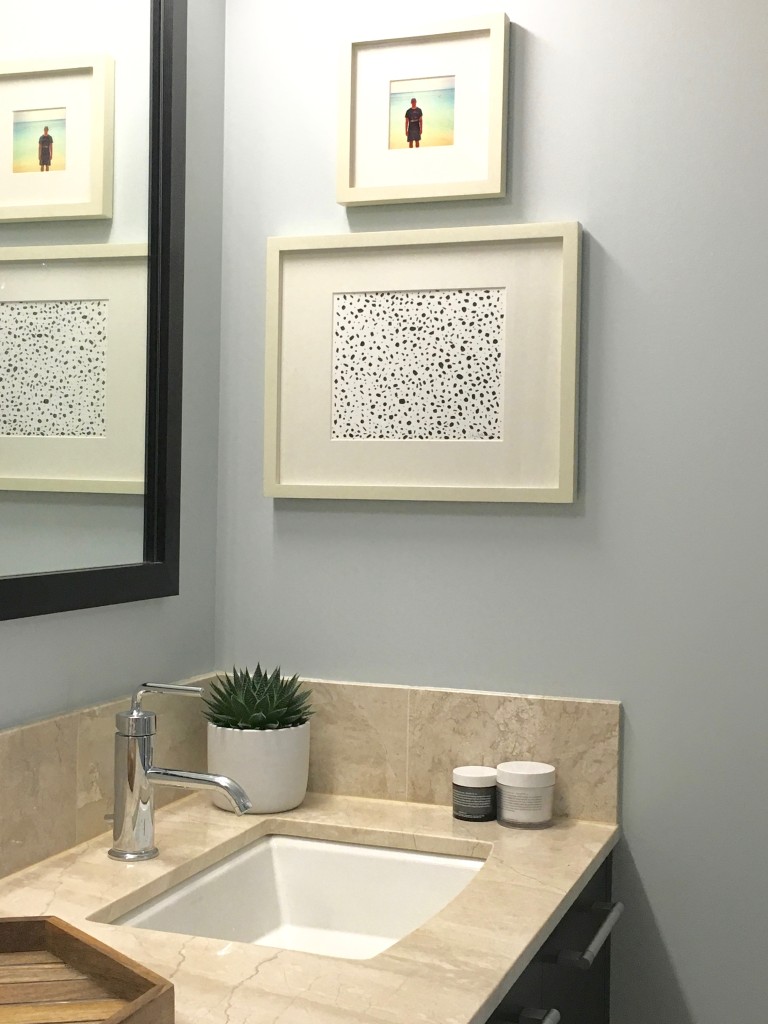
For now, I’ve hung the art on a small wall in our master bathroom {see below} but I have a feeling I’ll be moving it around. Who knows: I might even make another one {or two!} and group them together as a mini gallery wall.
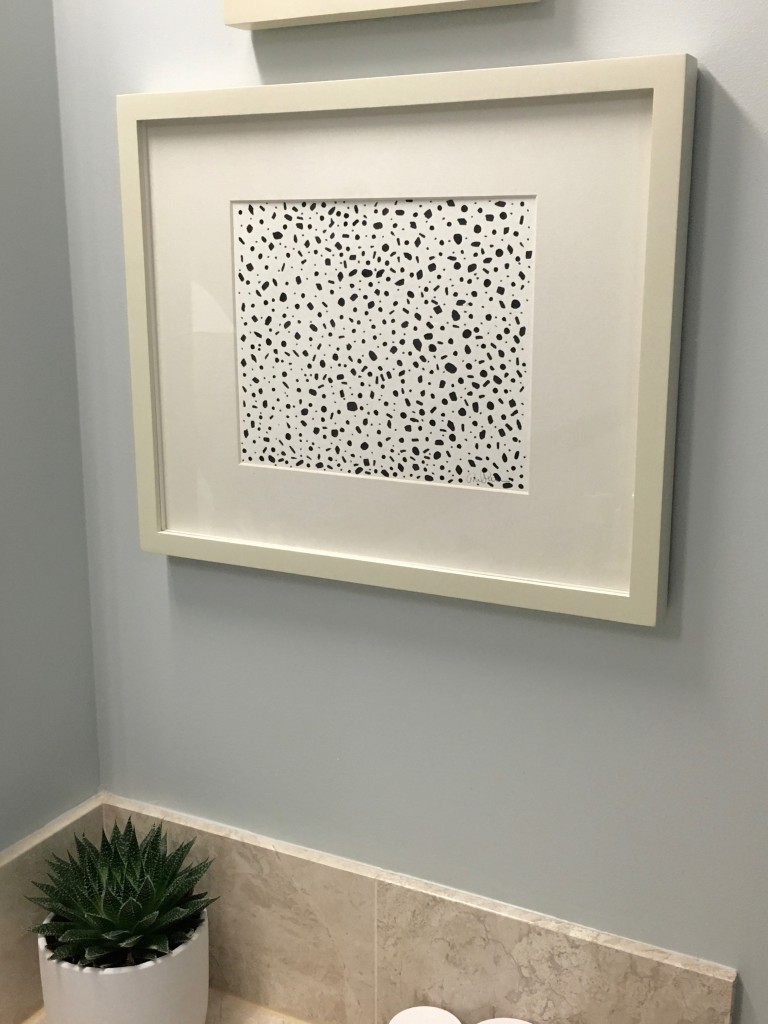
This project takes less than an hour so anyone can make one. Here’s a close-up of the final piece hung:
Although I chose to use dots to create this piece, the possibilities for abstracts are endless! Any shape would work and adding some color to the piece would also look awesome {I toyed around with adding a little gold to it, but in the end, stuck to black and white}.
What do you think?! We’d love to see what you guys create so tweet us your pics {@HobokenGirlBlog}! And for more DIY and design inspiration, check out Michelle’s design blog at GirlontheHudson.com.