

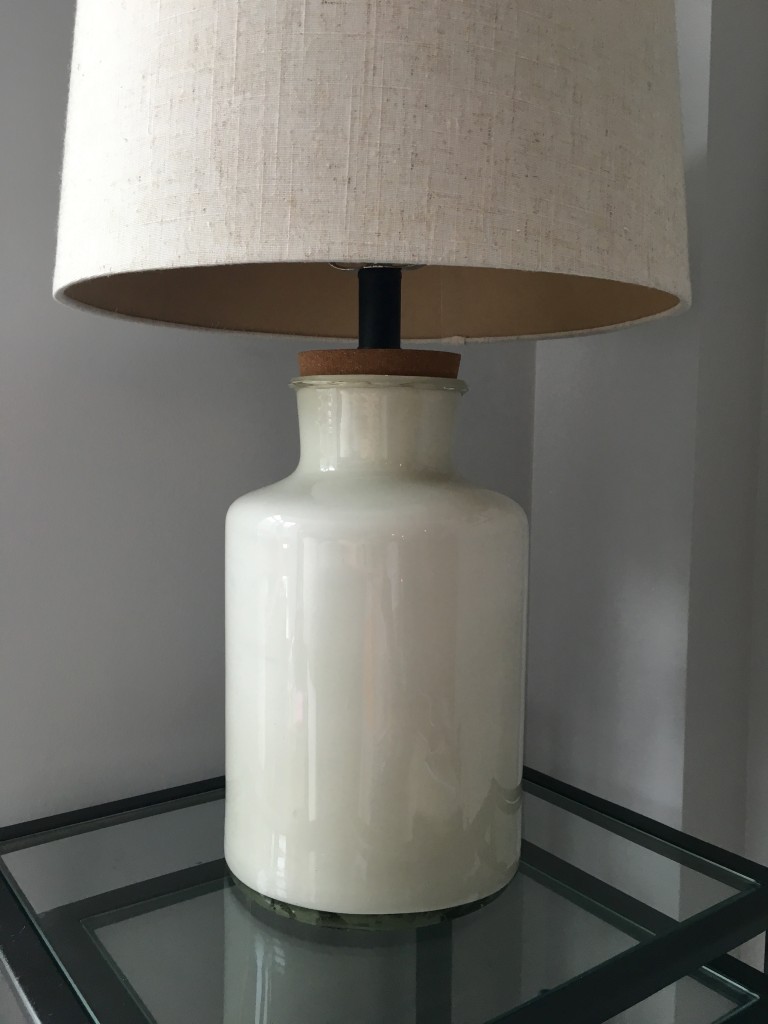
The look of colored porcelain lamps {like the ones you see at Pottery Barn and smaller boutiques} are super chic. They’re simple, classic, and come in a variety of colors {which means there’s one for every room in your house}. But alas, these lamps can be pricey. Since it’s Sunday and you may have some time on your hands this holiday weekend, this DIY project of creating a porcelain lamp {using a cheap clear glass lamp} is a perfect way to spend the day.
Here’s how to do it {and what you’ll need to DIY your own!}:
- 1 clear glass lamp with a removable base {I already had a lamp, but you can pick one up from Target or Homegoods for about $30}
- 1 8oz tube of latex paint {you might not use it all, depending on how large your lamp is}
- 1 baking cooling rack {lined with wax paper}

First, pop the top off of the lamp and thoroughly cleaned the base with soapy water {inside and outside}. Once totally dry, it’s time to start painting! Rather than painting the outside of the lamp, paint the lamp from the inside. This way, the glossy look of the lamp base won’t be ruined and you won’t need to worry about chipping or changes in texture. Plus, it just looks cooler and nearly identical to the porcelain lamps you’d find in-store. Squeeze a good amount of paint directly into the inside of the lamp base and started swirling the base around so that the paint coated the glass from the inside.

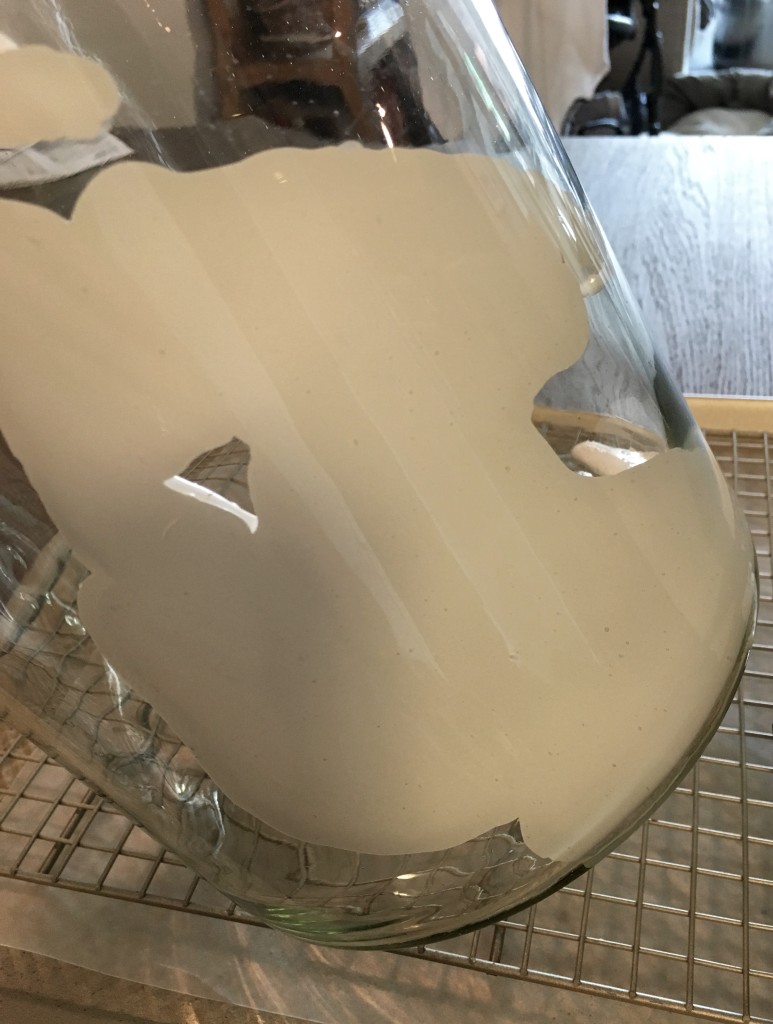

Repeat this step by adding more paint {a few drops at a time} to different sides of the base and continued with the swirling. Then add some more paint and some more swirling. You get the idea.
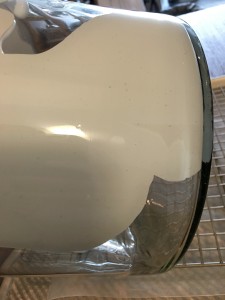
Once the inside of the lamp appears to be coated evenly, place it upside down on the cooling rack so it can dry {and any excess paint could drip out of the opening}.

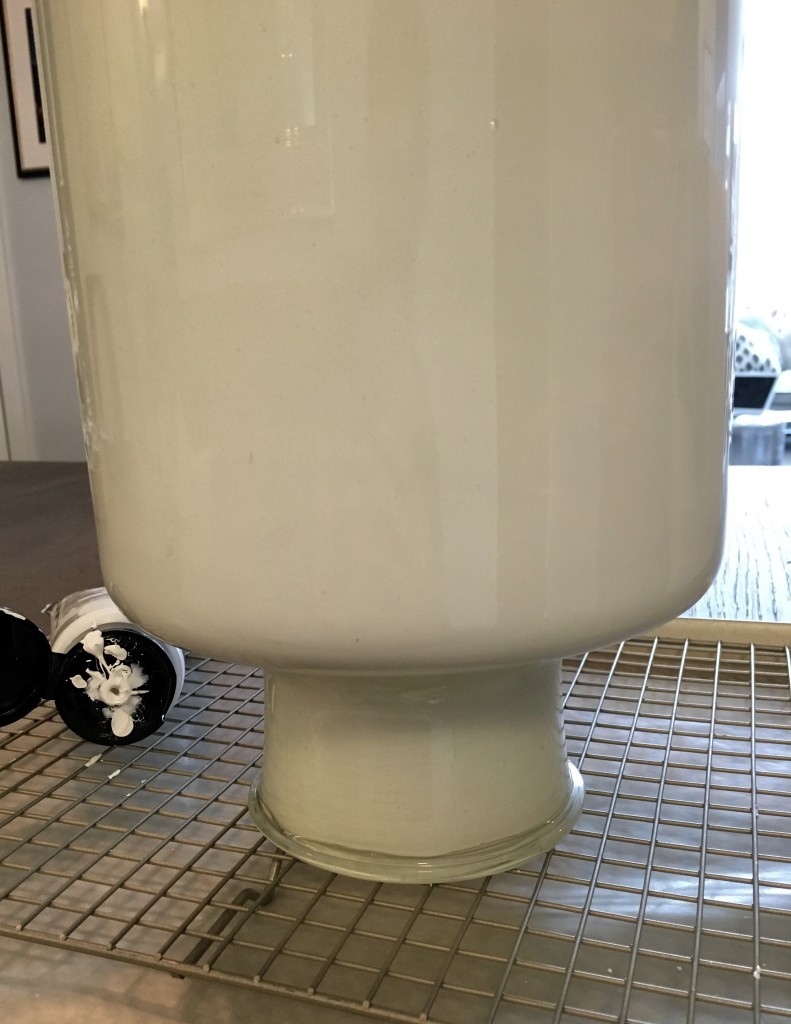
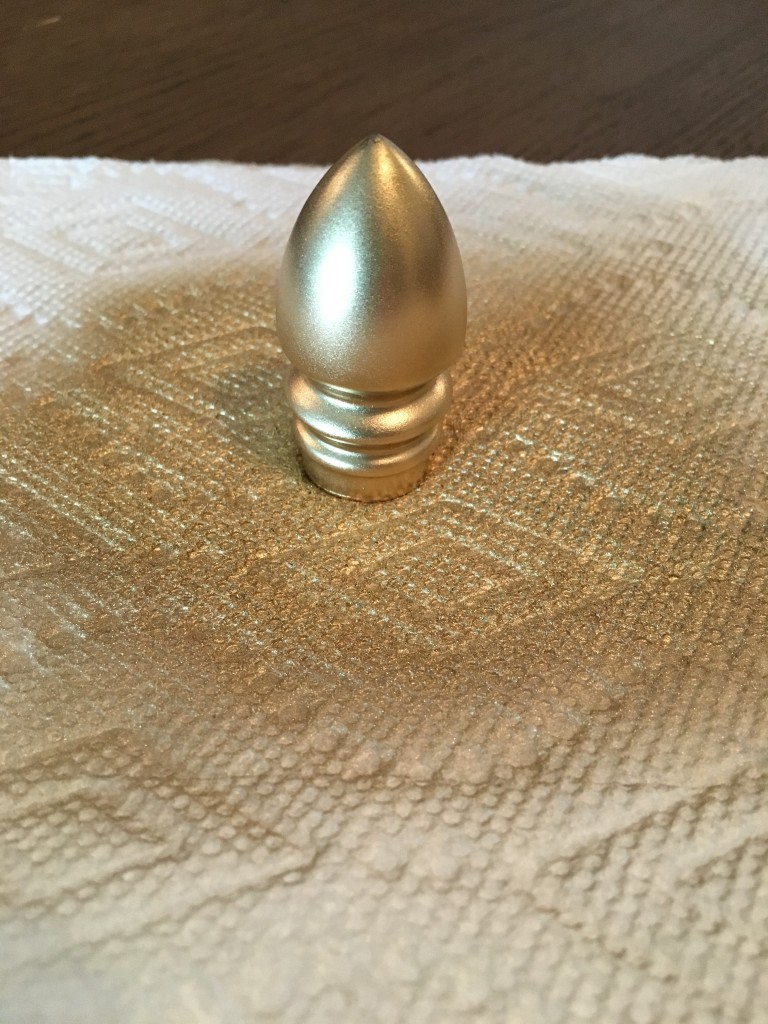
This step is important because it ensures that your lamp will have an even coat of paint. You’ll need it to dry for 24 hours. The last thing to do {is totally optional and will depend on the look of the lamp that you choose} is to spray paint the top knob gold, which takes about 5 seconds to coat.
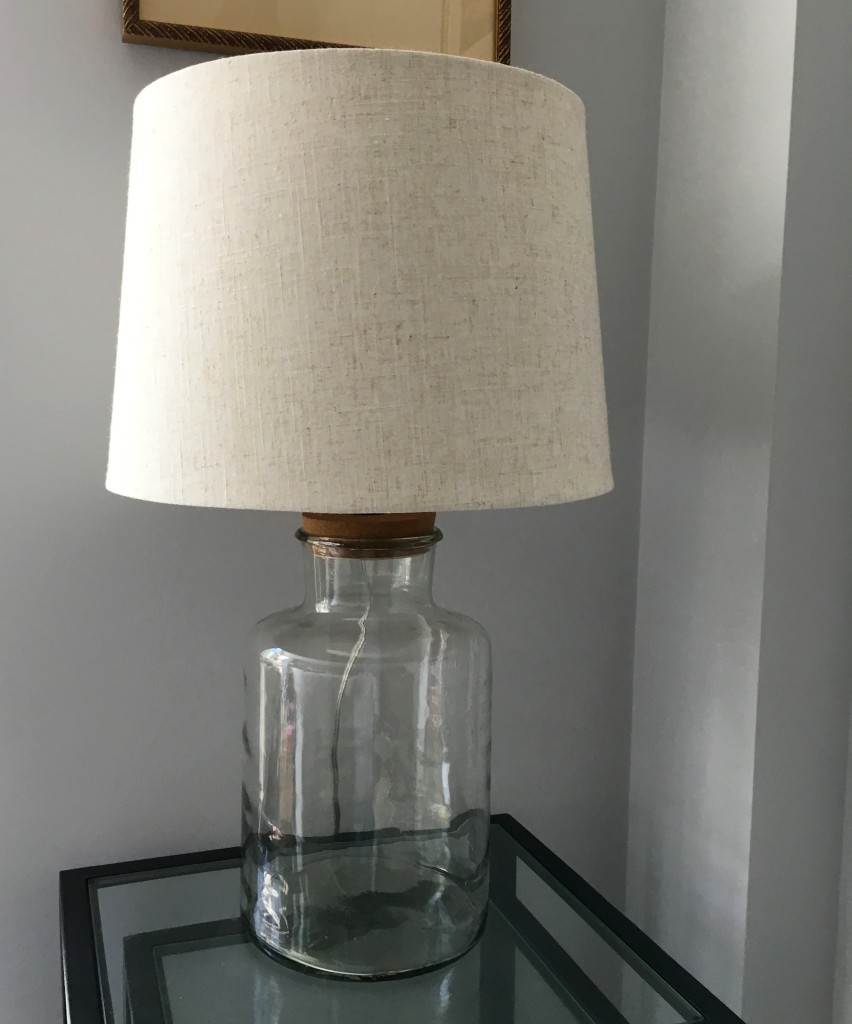
And then it’s time to reassemble! For most, this will just mean popping the lamp shade back onto the base and screwing on the top knob. And voila!
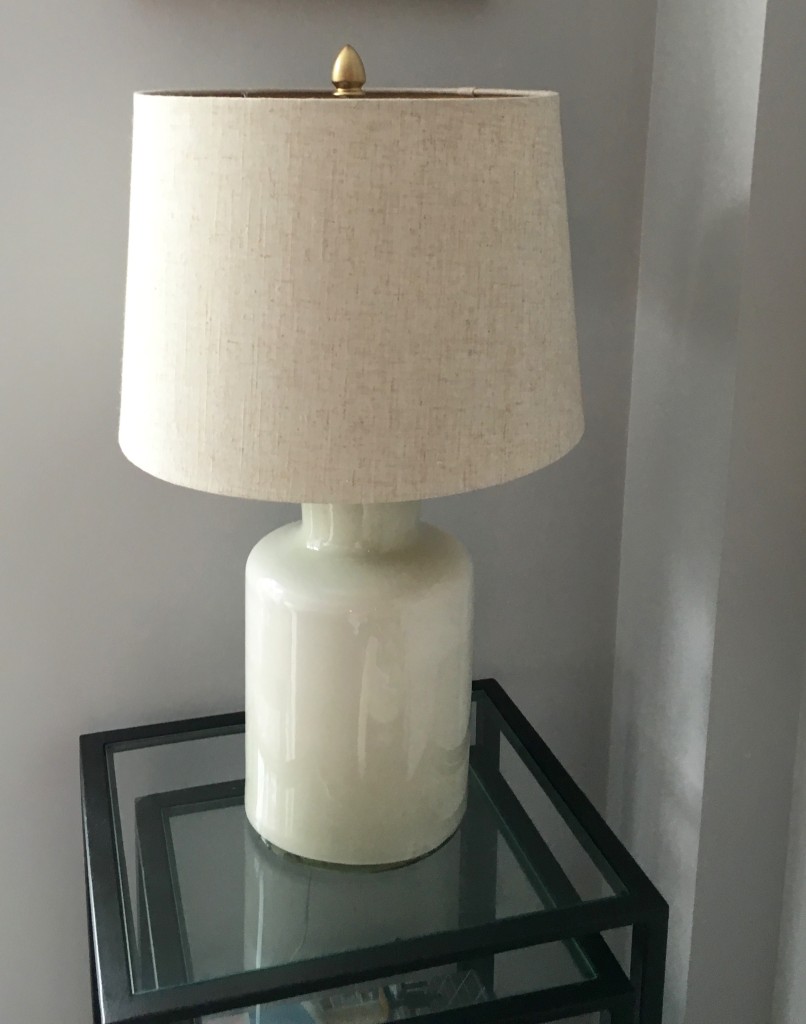
The best part of this project is that you can customize the lamp in any color paint you’d like. I chose white to match my living room, but it would be stunning in a deep jewel tone like sapphire or emerald green.
Here’s one last after picture:
How chic does this look?
What do you think?! We’d love to see what you guys create so tweet us your pics {@HobokenGirlBlog}! And for more DIY and design inspiration, check out Michelle’s design blog at GirlontheHudson.com.