
It was just last year that Marie Kondo became a household name, organizing became a nationwide hobby, and Tidying Up With Marie Kondo swept through our Netflix queues faster than light. But in 2020, organization is still cool AF and as if you needed proof, Hoboken Girl has consulted some of the top Mile Square-based professional organizers for their highly-sought after tips and tricks.
It’s not too late to get organized — even if you’ve already abandoned your 2020 resolutions, like 80 percent of people by February. Make this year the year you get organized with these top tips from local professionals! To organize things in the easiest way possible, we’re breaking things down for you room by room.
The Kitchen
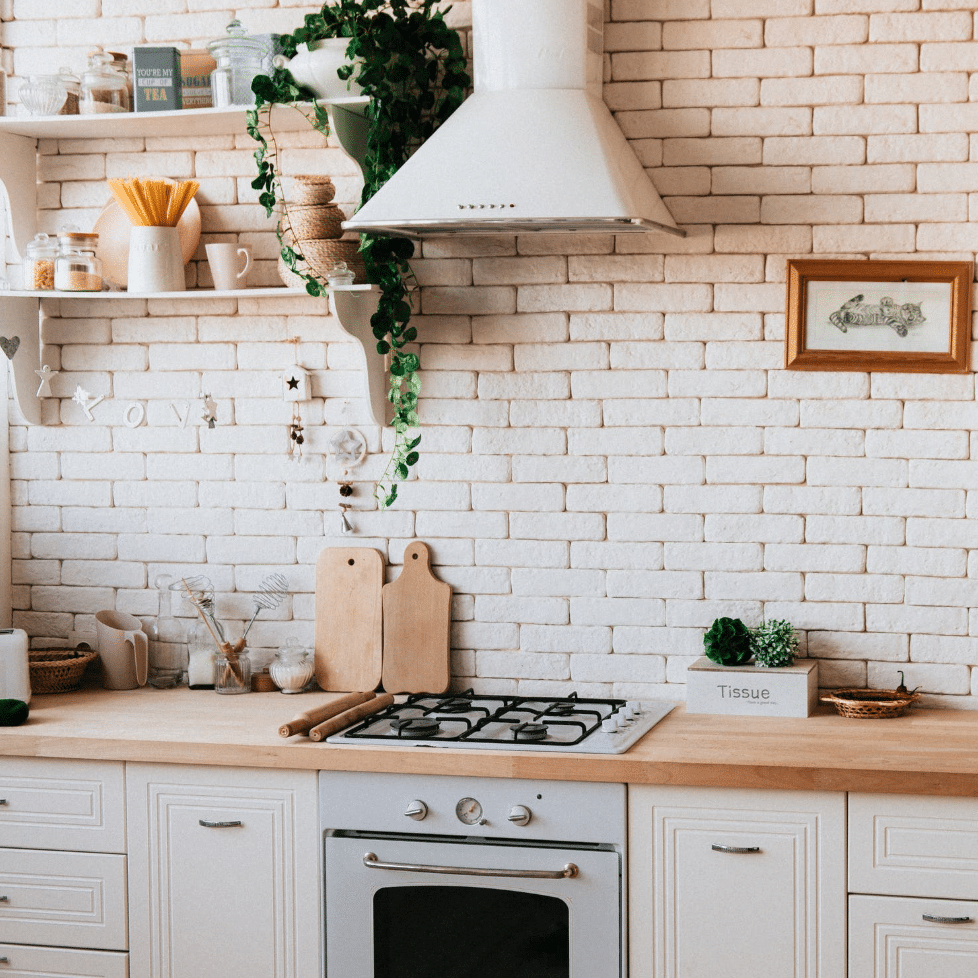
The kitchen, they often say, is the center of the home. It’s where you eat, families gather, and most importantly, where memories are often made. Whether you play cards around the kitchen table as a family or have a Sunday tradition of cooking eggs every A.M., the kitchen is a memorable place. What you don’t want to remember is how cluttered your kitchen was on the regular.
If you’re ready to tidy up your kitchen, Josephine Paige, Space Strategist, Coach, Speaker, Productivity and Time Management Consultant from Pinch-Hitter Professional Organizing + Productivity Solutions, LLC, provides her top tips for tidying up the kitchen below.


1. Ask yourself: What’s useful? What’s needed? What’s wanted?
“Shop for the number of people in your home. Remove expired items,” explains Paige. “Bulging cabinets and counters create a cluttered, disorganized kitchen. Remove the dishes from the table and sink. Clear the kitchen table and counters. Remove pots and pants from the cooktop,” she adds.

2. Use categories to take inventory of what you do and don’t need.
“Sort items in drawers into categories. Eliminate the items you don’t use or need. Identify the items you use most often,” Paige advises. “Determine the volume of each category in the drawer. Purchase ‘Expand-a-drawer’ inserts for each drawer. Place items in an assigned section of the insert to fit the volume of each category.”
3. Organize your fridge by most common use and functionality.
“Place kids snack items on a lower shelf the kids can reach and on the fridge door. Place items most often used by others on the middle shelf,” says Paige. “Placement of items not frequently used should be stored on the same shelf with the oldest or most perishable items in the front.”
Paige also warns against overstocking your fridge. We’ve all been there. Getting too excited — AKA too hungry — and going ham at Trader Joe’s.
“DON’T overstock your fridge. An overstocked fridge blocks the circulation of cold air and makes it harder for users to see what is available, which leads to spoilage and waste,” Paige adds. “Clear containers for loose items will help to maintain the limited real estate provided in a fridge.”
4. Use clear containers — not just for the refrigerator.
“Always contain anything that does not stand well, such as plastic tubes, in clear containers. Containers improve control of surface space. Containers should not have lips on them like shoe boxes as they take up valuable space,” adds Paige. “Containers should [also] touch each other for maximum use of space. Clear containers eliminate the use of labels.”
So, how do you choose your containers? By how well they fit into your space and of course, how well whatever it contains fits inside.
“The height of any container should be at least half the height of the item being stored,” explains Paige. “Finally, organize by category and use. Spices should be in a central area in the pantry if stored there or a cabinet near the place you season food while cooking. Heavy containers should be stored on the bottom shelf or the floor under the last bottom shelf.”
If you’re working with miscellaneous stuff, fear not. “Any overflow supplies can be stored on top shelves but only at weights that can be removed by the primary cook. Do not stack,” says Paige. “Every item should be independently stored on a shelf. However, shelf inserts that are safely stackable can be used solid surface shelving versus wired face shelving which is provides more stability is preferable. Another organizing tool one can use in pantries are acrylic shelf dividers.”
5. If you have young children, take advantage of child locks.
“If there are young children in the home cabinets should be locked using age-appropriate locks,” advises Paige. Especially cabinets that store any substances potentially toxic to children — i.e. alcohol in a liquor cabinet or cleaning supplies stored under the sink.
“Frequently used items should be stored in the front,” says Paige. Paige also recommends looking into tools like the expendable sink and over-the-cabinet door baskets. The door baskets are great for storing sponges, towels, and other supplies, while the expendable sink creates more space for supplies.
6. Everything has a home.
Everything in your home, no matter if it’s a sponge or a remote, should have a “home base” or a space it always returns to.
“Creating a place or home for each category of items in the kitchen and maintenance, which requires returning items to assigned place or home for items once used,” Paige says.
7. Don’t dilly-dally while doing the dishes.
As in, don’t procrastinate.
“Dishwashers work best if full,” Paige says. To her point, it’s also better for the environment as well to only run the dishwasher if on a full load. “I live alone and use my dishwasher for everything but pots. So, I rinse off residue and place in the dishwasher until full,” Paige adds.
But, we all know, amenities like a dishwasher can be hard to come by in Jersey City and Hoboken apartments. If you don’t have an apartment with a dishwasher, don’t worry. Paige has some tips for you, too.
“However, if there is no dishwasher or you choose not to use it, then washing nightly is going to be required,” she explains. “Removing food will keep any of those little pests from visiting your home.”
8. If you haven’t used it in a year, get rid of it.
“Getting rid of things is called ‘purging’ in the organizing business,” explains Paige. “It is the most difficult step in the process of getting and staying organized.”
But, Paige advises that if you haven’t used something in the past year, it’s probably time to send it on its merry way.
“Like any other area in a space, if the item has not been used for at least a year it should probably be purged,” Paige says. “Of course the obvious reasons to purge and item is you already have a replacement or it is broken and need to be replaced. Don’t worry about purging as there are five different ways to purge. Give away, donate, sell, recycle and finally throw-away.”
9. Don’t buy anything you don’t plan on using like, immediately.
We know what you’re thinking: But why would I buy anything I didn’t plan on using? Truth is, you might not even realize you’re doing this. Here’s the deal — only make purchases you plan on using and getting use out of ASAP.
“Never purchase an item that you are not prepared to use in the near future, within the next 90 days,” Paige adds. “Never purchase an item you do not have an accessible place for. Cluttered counters always makes a kitchen look disorganized.”
10. Avoid a cluttered kitchen by avoiding buying more.
It goes hand in hand with tip no.9, as in, don’t buy anything you don’t plan on using right away. But, the best way to avoid having a cluttered kitchen is to limit your shopping. More shopping means more stuff. More stuff means finding somewhere to store it.
“If space has not been assigned for a kitchen tool or even food don’t purchase it. Overshopping for food and kitchen tools will create a cluttered looking kitchen. Don’t fall victim for too much stuff in your kitchen,” Paige says.
Read More: Donation Locations For Everything in Hoboken + Jersey City
The Bathroom
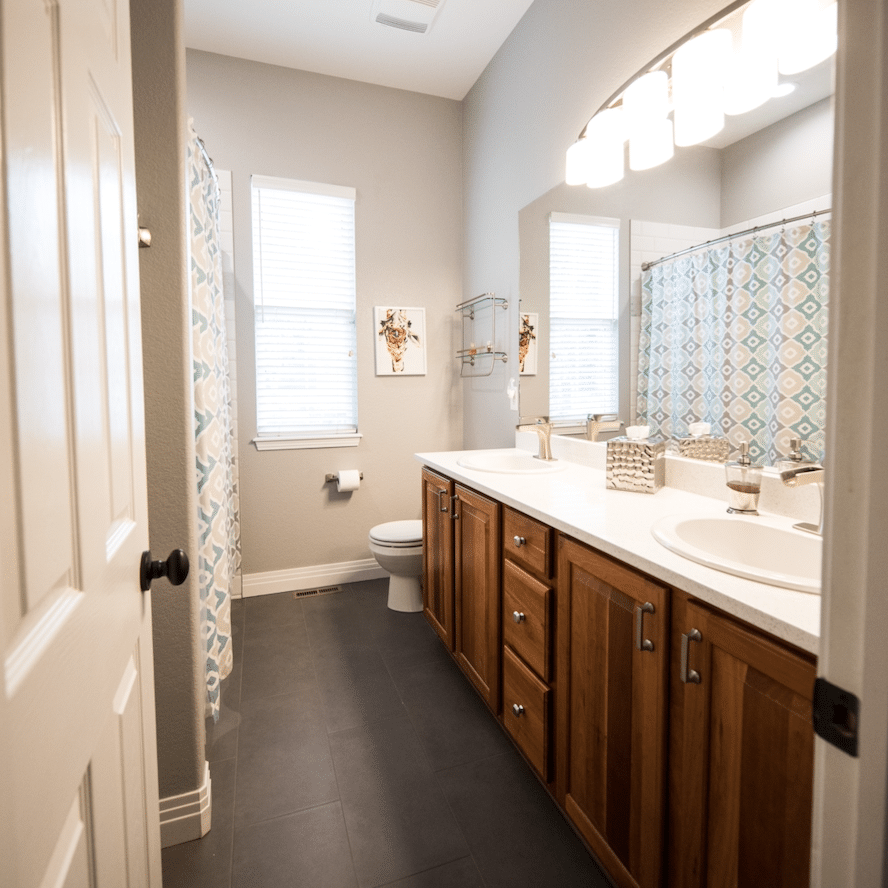
The room in the house that always gets disorganized {and dirty!} the quickest is, hands down, the bathroom. {Especially if you have kids running around.} Louisa Roberts, owner of The Neat Method, offers her top tricks for keeping the bathroom neat and spotless 24/7.
11. Take everything out.
“In order to find out how much you really have, you must get everything out of the space you are organizing so you can see it,” Roberts says. “This may seem like an overwhelming task but you will love the results!”
12. Categorize and edit.
“Separate everything in your bathroom by categories like makeup, hair tools, skincare, and oral care. Create a donate, toss, and back stockpile,” says Roberts, which is a meaningful tip for any room. Whenever you’re organizing, differentiate piles into items for donation, trash, and for keeps. “I only like putting one of each item in the main bathroom and storing duplicates in another closet,” adds Roberts.
13. Plan where you want the items to go.
Everything has to have a home, remember?
“Once all like items are together and you’ve said goodbye to things you no longer need, you can finally plan where things should live based on the quantity of the sorted items,” Roberts adds. “We recommend essentials go in a drawer or medicine cabinet and less frequently used items can live underneath the sink.”
14. Only purchase organization solutions based on what you need.
Know what you need first before purchasing things like drawer dividers, hanging hooks, and organizers. Otherwise, you may end up with more than you need or some things won’t end up fitting.
“Based on measurements of the spaces, add organizing products such as drawer organizers and stacking bins,” says Roberts.
15. Use drawer organizers in the bathroom vanity.
“Drawers are great for frequently used items,” Roberts says. “The best way to organize drawers is by outfitting them with drawer organizers to contain your items. I recommend acrylic drawer organizers since they’re easy to wipe clean.”
16. Organize the linen closet into categories.
“Use the linen closet for linens, less used products, and back stock items. Towels can be folded neatly and placed directly on the shelves,” explains Roberts. “Other categories like medicine, first aid, nail polish, and travel products are best stored in containers. We love using stacking plastic containers to utilize as much space as possible.”
17. Maximize storage space by rolling or hanging towels.
“I recommend clients fold towels to store on a shelf or roll into baskets,” says Roberts. “If you’re lacking storage space, towel ladders or decorative hooks are great options. The cleanest look is when towels are folded to be the same size and the smooth, finished edge is facing outwards.”
18. Under the sink, use vertical space.
Vertical space just means building upwards.
“I love using stacking drawers under the sink. This allows products to be accessible and utilizes the vertical space too,” suggests Roberts.
19. Edit your bathroom products yearly.
“Even after a system is in place, it’s useful to go through your bathroom products a few times a year,” Roberts says. “We change our routines and incorporate new products, so it’s useful to edit throughout the year so you’re not accumulating too many items which can lead to a disorganized space.”
20. Organize the medicine cabinet by category and order of your routine.
“For example, one shelf can be dental and the next shelf can be skincare lined up in the order of your routine,” Roberts explains. “If you have smaller products, such as tiny eye creams, I love using a small container to toss those into. Bigger bottles can go directly on the shelf.”

21. Store skincare in the medicine cabinet and makeup in drawers.
“If you have a medicine cabinet, that’s great for skincare which is typically in larger, taller bottles. Drawers are usually more shallow and better for smaller items like makeup,” Roberts advises. “The best way to organize these is in drawer organizers by categories such as face, lip, and eye.”
22. Keep your shower organized, too.
“If you just don’t have the built-in space or enough ledges in your shower, a proper shower caddy that hangs from the showerhead or wall will help keep things in order,” Roberts adds.
The Closet

Organization isn’t just about individual rooms. It’s about spaces, which is why the organization of your closet is much more important than it may seem. Josephine Paige of Pinch-Hitter Professional Organizing + Productivity Solutions, LLC and Samantha Mech of ORGANIZEDÉCOR provide their top closet-organizing tips below.
23. Always start by editing and focus on one category at a time.
“Then measure before purchasing any organizational solutions,” Mech explains. “One easy step that can make a HUGE impact is getting space-saving hangers.”
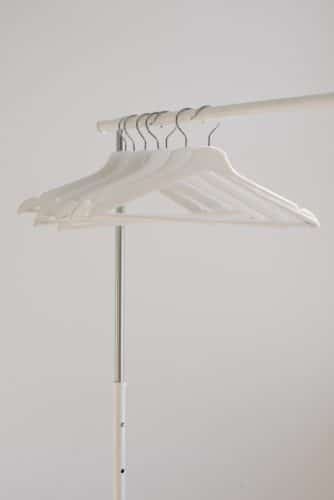
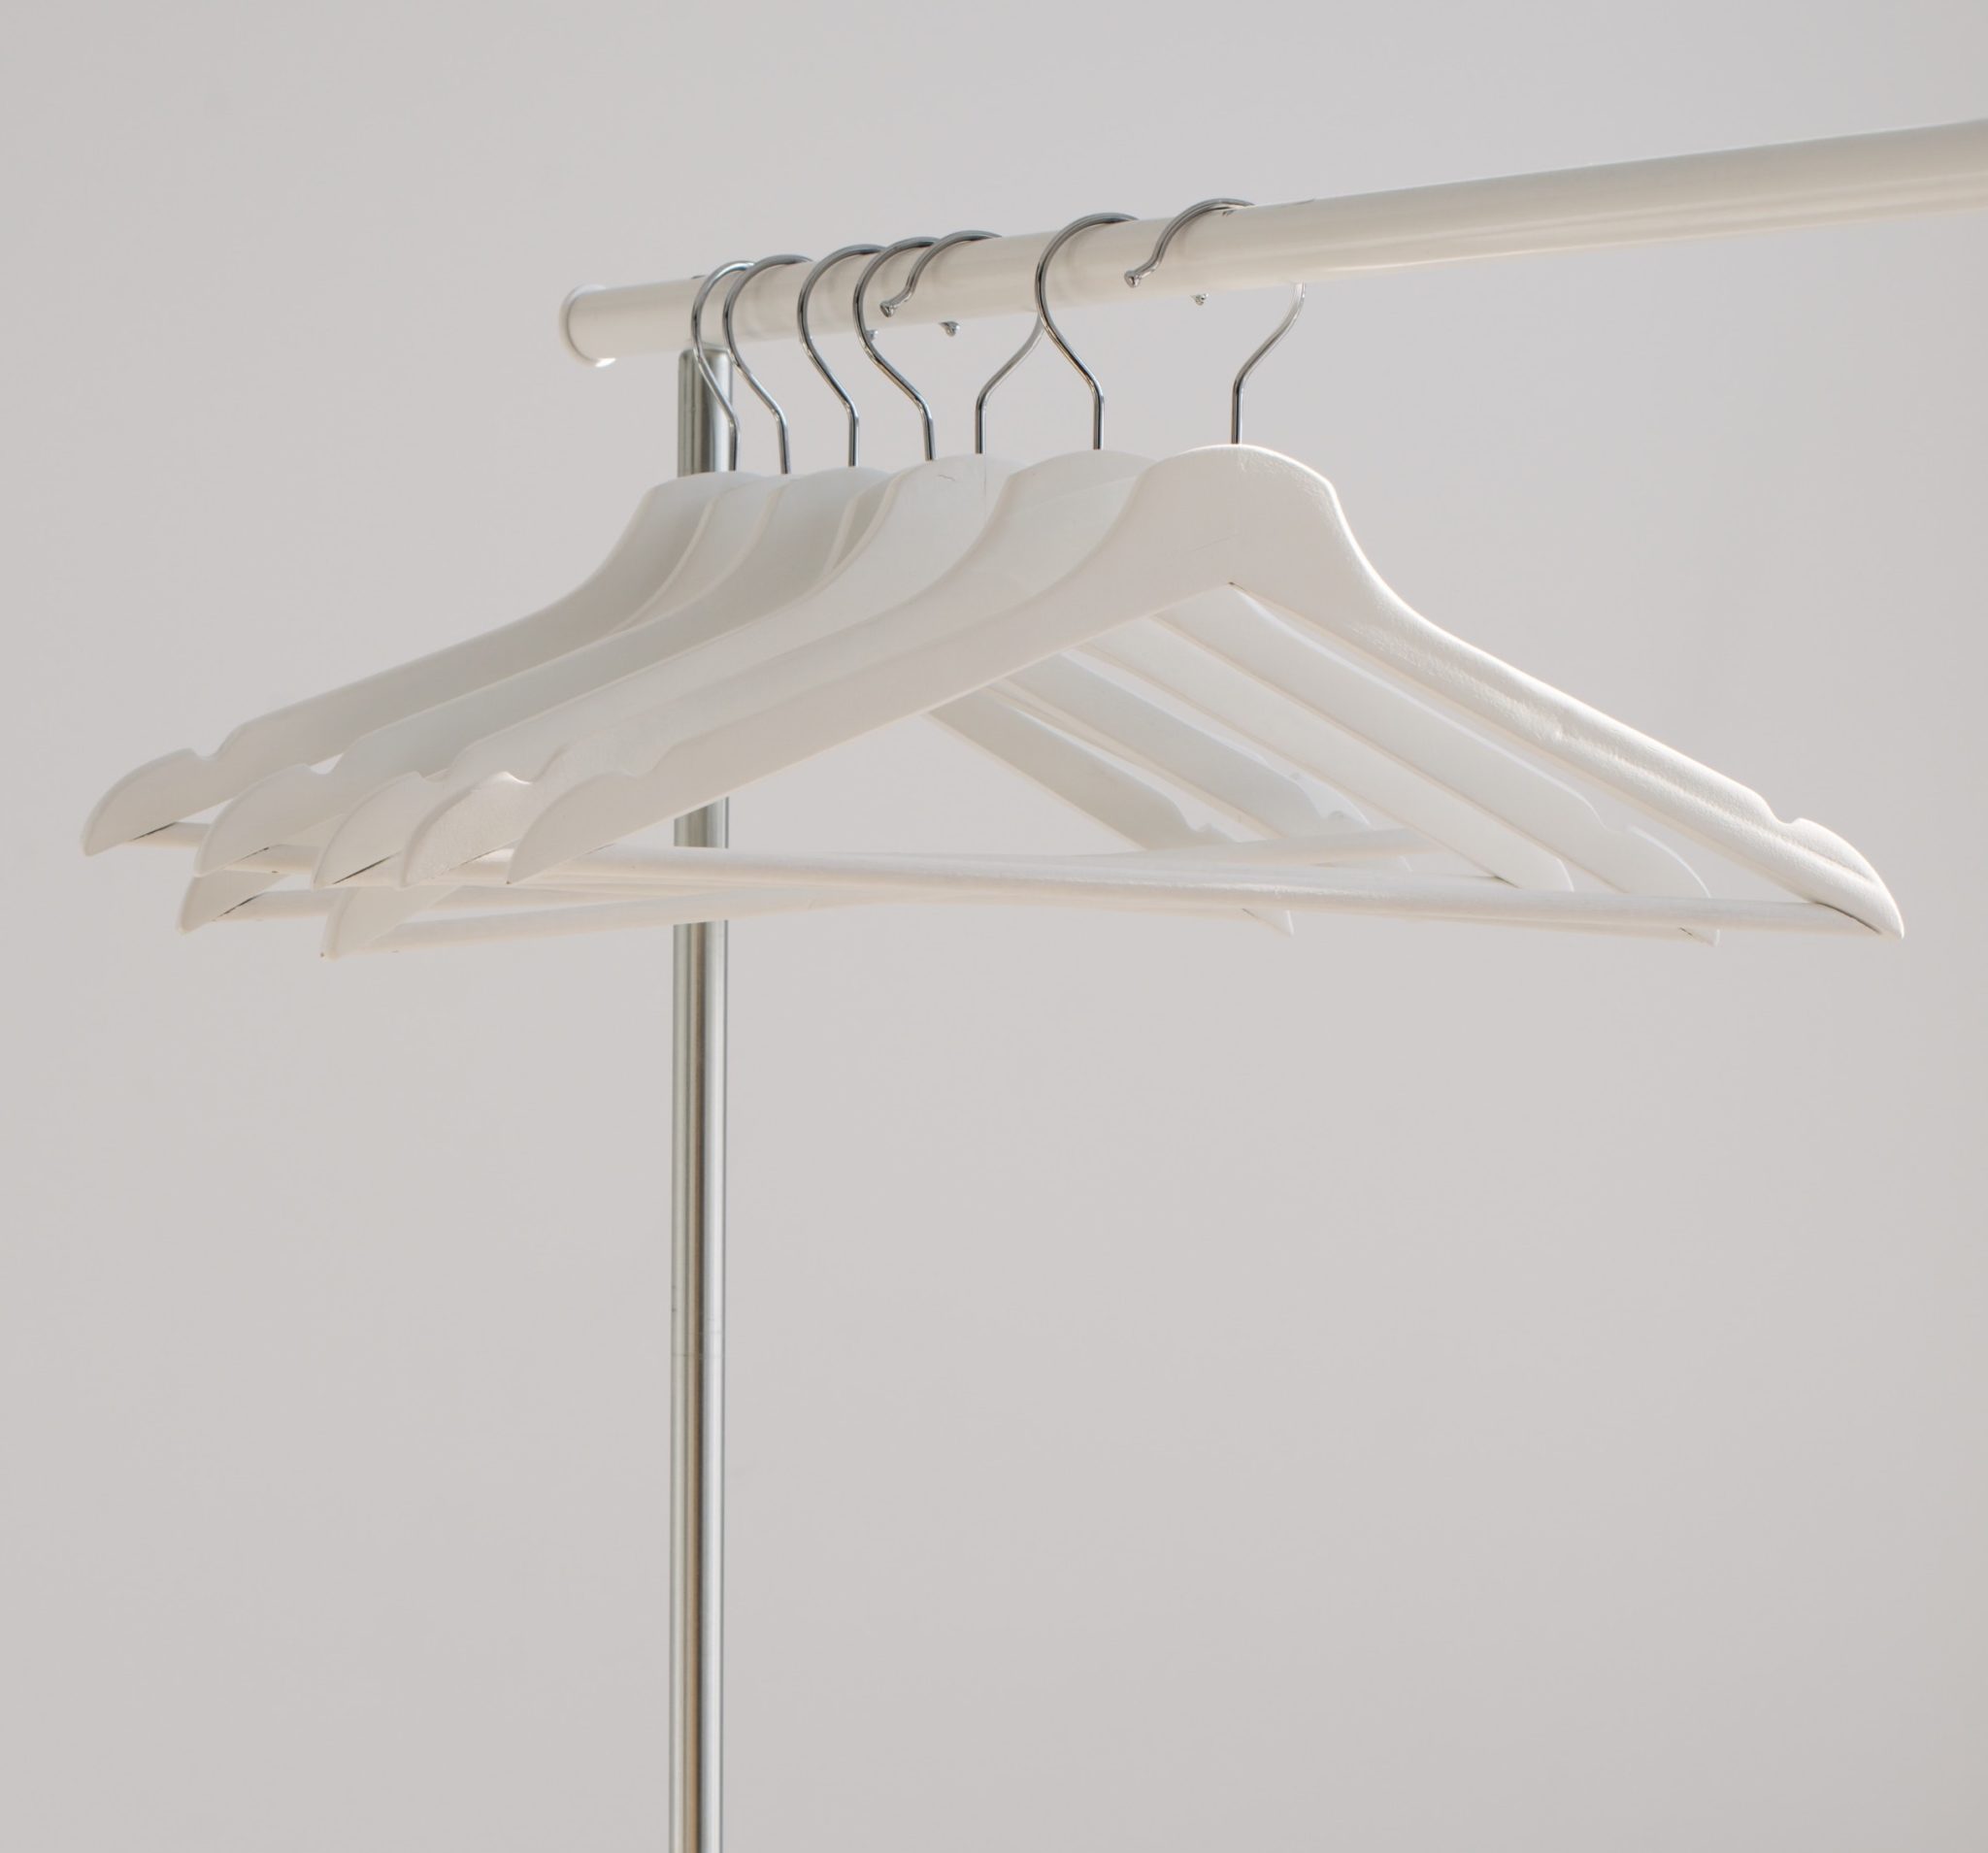
31. Get rid of those wire hangers.
Speaking of hangers, it’s important that they all match… and that you ditch those wire ones ASAP.
“Preservation of clothing is about care and one of the most important factors in caring for clothing is what we hang them on,” explains Paige. “I strongly suggest using the velvet type [of hanger] because they will protect your clothes from snagging. I find attaching the clips for skirts and pants annoying. Use a skirt hanger for each skirt and pair of pants.”
She continues, “If you have a hanger for each piece of clothing you do not have to maneuver multiple pieces of clothing when hanging up your stuff. {The idea is to make maintaining an organized system as easy as possible.} But if you have the patience to add the clips then they are as good a choice as any. But NEVER allow wired hangers into your closet.”
Mech also advises making sure all your hangers match, no matter what you’re using — fabric, plastic, bamboo, etc.
“It is imperative for hangers in any closet to match,” Mech says. “Not only is this aesthetically pleasing it is also a huge space saver. We suggest the felt space saver hangers. Amazon has the best prices!” See Mech’s hanger recommendation here.
32. Install lighting.
“Why? The most obvious reason is it helps make it easier to see the difference between black and blue clothing!” Paige says. “More importantly, it encourages order. Opening a closet with no light is like walking into a room with no light. You may be able to see a little, but when you turn on the light you can see even more.”
33. Make sure your shelves are deep enough for what you are storing.
“I recommend shelves of no less than 16 inches. If you’re storing linen or blankets, install 20-inch shelves,” says Paige. “There is no worst eyesore than things hanging over the edge of a shelf. It automatically makes the closet look small. Also, it can be dangerous. Most importantly, it will allow for more storage space and better arrangement.”
34. Purchase solid instead of wired shelving.
“Solid shelves provide more stability and will prevent spillage from leaks or items from falling beyond the shelf it is stored on,” Paige says.”If you choose wired shelves, then purchase clear plastic liners, too.”
35. Use baskets to contain items in linen closets.
According to Mech, it’s all about confinement. “We hate sky-high linen piles that can easily tumble over. AVALANCHE!” says Mech. “So, we always suggest using baskets to contain. Also, we suggest you limit the number of sheets to three sets per bed.”
36. Add stacking shelves to create additional shelving.
“Some shelves have more vertical space than needed for current storage,” explains Paige. “So, to optimize storage consider adding an additional shelf to create more useable space.”
37. Use shelf dividers.
“It’s key if you’re going to store clothing on the shelves,” says Paige. “Shelf dividers will create stability and prevent items from leaning over to maintain a more orderly and pleasing appearance.”
38. Use your closet door for storage.
Don’t underestimate your door for its potential, Paige warns.
“This will add additional cubic feet to your storage area,” she adds. “There are great over the door storage tools available. I always consider doors when creating storage space.”
39. Store items in crystal clear drawers.
“It’s easier to identify what is in each drawer,” explains Paige. If you can see what’s inside, that’s a lot more helpful than just guessing. After all, we’re not all psychic.
“Personally, it’s easier to maintain order with drawers than just placing items on a shelf or bins,” Paige says. “Bins are usually stacked and no one wants to unstack and restack containers when removing and replacing items. Bins are for long-term storage. I recommend using crystal clear drawers for frequently used items.”

40. Install a metal rod.
“Hangers simply slide across it better than wood and it eliminates the paint chips and splinters often associated with wooden rods,” Paige says.
41. Always use coat hangers for coats and heavy outerwear.
“I’ve seen everything from wire hangers to baby hangers used to attempt to hang coats… It never works and makes the closet look totally disorganized,” Paige concludes. “Use a suitably built hanger and your closet will please your eye and most of all you’ll be able to find things better.”
42. Swap things out seasonally.
“If you have a serious lack of space {hello, apartment living!} we suggest implementing a season swap,” explains Mech. “Out of season clothing can be stored on a high to reach shelf or in another storage space. This can help create room for in-season clothing. We like to refer to your closet by real estate — prime real estate should be utilized by your most frequently used items, or in-season items.”
43. Implement the frequency test.
“The frequency test is what we suggest and the time frame can be up to you,” says Mech. “Place hangers in the closet going in one direction, once you wear one item place the hanger going in another direction. After a certain amount of time {six weeks would be ideal}, if you haven’t worn an item it is time to consign or donate. Cosigners we suggest are The Real Real for designer items, and we love working with Linda’s Stuff for contemporary and athleisure clothing. To donate visit your local Goodwill or Salvation Army.”
44. Store shoes at the bottom of your closet.
“We usually prefer shoes to be at the bottom of the closet, space dependent,” explains Mech. “The Container Store has some great shoe solutions depending on the size of your closet.”
45. Store all jewelry so that it’s accessible and visible.
“With jewelry, the most important rule is making sure it is all visible and accessible,” advises Mech. “If it isn’t visible you most likely won’t wear it. We suggest hanging necklaces and bracelets. For earings and rings, think vertically {stackable options work great in most cases}.”
46. Hang hats up or put on display; scarves should be folded.
“Hats we suggest utilizing wall space and putting on display,” says Mech. “Scarves are usually file folded into a basket. We love the montauk bin from the Container Store.”
47. Display bags on the top shelf.
“For purses we usually have bags displayed on top shelf in the closet,” says Mech. “Then to keep purses in place we will stuff them with dust bags. We also love using shelf dividers to keep purses upright and separated.”
48. Invest in a label maker.
“Last but not least, if you invest in one item — it should be a label maker,” Mech adds. “Labels help keep you accountable for putting items back in their home. We love any Brother P-Touch Label Maker, which you can find on Amazon.”
See More: 10 Easy Upgrades to Make Your Hoboken Rental Feel Like Home
Kids’ Rooms + Miscellaneous Items
Sometimes, kids can really make tidying up difficult. They play all the time, never seem to put away their toys, and kids seriously have issues with keeping the lights on in every room. Lauryn Galda of LGO Professional Organizing sounds off below on her best tips for getting kids involved in the organizational process, plus how to tackle miscellaneous stuff that seems to belong nowhere.
49. Label, label, label.
Speaking of labels, they’re not just convenient when it comes to organizing your closet. Labels can also be really crucial in teaching children about tidying up, organizing, and structure.
“Labeling your bins or drawers can only make it easier to find and put back items, especially if there are multiple people helping {parents, siblings, babysitters}. If you have very young children, add a picture to the label to help them learn,” says Galda.
50. Get kids involved in the organizational process.
Especially when it comes to their own toys.
“Don’t start off by telling them they need to rid of their toys – instead make it fun!” suggests Galda. “Tell them it’s going to be an exciting project of finding a home for their favorite toys.”
51. Organize by category in bins, then label the bins.
“Although space might be an issue for you, I recommend purchasing bins to contain like items together and storing on shelves or in closets,” advises Galda. “After labeling these bins, you can begin to teach your children that all cars, for instance, go together back in the bin labeled ‘cars’. Make this a daily or nightly routine before bed.”
52. Categorize kids’ and baby clothes by a system.
“Whether it is three to six months versus nine to 12 months, or t-shirts versus pajamas, make sure the different categories have their own space and label or put in bins to keep organized in the future,” explains Galda.
“Keep an extra bin labeled ‘Storage’ or ‘Donate’ and frequently evaluate the clothing when doing laundry. If they have grown out of a piece but you have younger children who could eventually use this, put immediately into the ‘Storage’ bin and label by size,” Galda adds.
53. When it comes to miscellaneous items, purge your junk drawer or space often.
“The best way to organize a junk drawer or space that has a variety of items is to sort and purge as often as possible,” says Galda. This includes:
- Removing all contents
- Sorting through – discard any trash, check which pens work, arrange “like items”
- Create small bins or bags of “like items.” This can even mean just putting small, similar items in a zip lock bag or empty jewelry box to contain {you don’t always have to get tray organizers and bins that can add up}
- Arrange in a way that makes sense to your space
- Upkeep — do this as often as possible.
54. Create zones or stations for your kids.
“If they have a desk, make this the homework and art station,” explains Galda. “If you like to read together, keep books near the couch. Try to keep their toys in their bedroom or playroom but also label a bin of ‘favorites’ that they are allowed to play with in different rooms.”
55. Try to make organization fun and exciting for kids.
“If you are buying bins to contain toys or accessories, have them help you pick them out,” Galda says. “Talk to them about different charities they could donate to and make it a light conversation instead of a stressful one.”
56. Utilize vertical space to store kids’ homework, crafts, or drawings.
Because you can only stick so many art projects to the fridge with a magnet.
“I love to use a hanging file/wall organizer and label each slot,” Galda says. “This is a great tool that both the parent and child can use and go to for misc. desk items whether it be homework, follow-up projects, parent documents to sign, school calendars, contact lists, books, etc.”
57. Get creative with your space for extra storage.
“Use vertical space for extra shelves, lift your child’s bed with risers to fit under-bed bins,” Galda adds.
What’s your favorite go-to organizational tip? Tell us in the comments below!

Did you know: We started a podcast about all things news and lifestyle in Hoboken + Jersey City! Listen to the latest episode of Tea on the Hudson here and subscribe.
We release new episodes every Tuesday!
7 Local Companies Hiring in Hoboken + Jersey City for February 2025

February may be the month of the Super Bowl and the season of love but it can also be a month of new beginnings, and there's no better way to bring about a fresh start than applying for a new position. To make the process easier, The Hoboken Girl has a resource for job seekers through The Local Girl's jobs platform, which shows recent job openings in the Hudson County area. Currently, there are job openings on our site, including a maintenance technician and a barista, all of which are featured on The Local Girl (our parent site). Apply directly via the links below, and read on to see all of the jobs available in Hoboken, Jersey City, and beyond for February 2025.
Disclaimer: Our website is only sharing the information uploaded directly by employers. Please contact them for direct assistance. You must apply through the below links and register on our site to apply.

Feature Your Resume for Gig Work on Our Candidates Page!
Before you job search, don’t forget to post on our Candidates Page on The Local Girl Jobs Platform — which is a section on the job board where you can feature your resume and profile. Whether looking for gig work, a temp position, a summer opportunity, or something else, it's a great way to get noticed by employers or those looking to hire a local.
While applying to any job on the site is always free, there is a small fee of $25 monthly to house your resume on our site with a profile for 30 days at a time. This will live on the site and be perused by anyone who clicks the Candidates page. It's also great for your SEO for your own job search/hunt.
If you decide after 30 days to let your profile expire, your data will be saved but no longer live on the site.
Check out these candidates on our jobs platform:

The Local Girl Jobs Platform already has a total of 185 candidates. These job seekers have a range of fields they specialize in. Fields such as fitness, advertising, social media, and more. CLICK HERE TO GET STARTED.
And now, here are some of the jobs available in the Northern New Jersey area this month:
Barista + Cashier | Cheech's Bagels
Industry: Food/Beverage
City: Jersey City, NJ
Virtual/Remote: No
Job Type: Full-Time + Part-Time
Learn more about the position here.
Kitchen Staff | Cheech's Bagels
Industry: Food/Beverage
City: Jersey City, NJ
Virtual/Remote: No
Job Type: Full-Time + Part-Time
Learn more about the position here.
Summer Camp Counselor | Camp Riverbend
Industry: Education/Other
City: Warren, NJ
Virtual/Remote: No
Job Type: Seasonal
Learn more about the position here.
Barista | Green Pear Cafe
Industry: Food/Beverage
City: Hoboken, NJ
Virtual/Remote: No
Job Type: Part-Time/Full-Time
Learn more about the position here.
Front Desk @ Chiropractic/PT Office | Hudson Family Chiropractic, LLC
Industry: Medical/Health
City: Hoboken, NJ
Virtual/Remote: No
Job Type: Part-Time/Full-Time
Learn more about the position here.
Physique 57 Hoboken Concierge Team | Physique 57 Hoboken
Industry: Fitness
City: Hoboken, NJ
Virtual/Remote: No
Job Type: Part-Time
Learn more about the position here.
Various Positions | Veris Residential
Industry: Real Estate
City: Multiple New Jersey locations
Virtual/Remote: No
Job Type: Full-Time
Learn more about these positions here.