
Spring is almost upon us – we can feel it! And what better way to welcome the warm weather than to fill your house with colorful blooms?
Remember back in elementary school how you used to decorate and transform plain tin cans into pencil holders for your desk? Well this DIY takes that can project to a whole new level for your home — using cans and wallpaper samples to create fresh and on-trend vases that won’t cost you a single penny. Seriously!

What you’ll need:
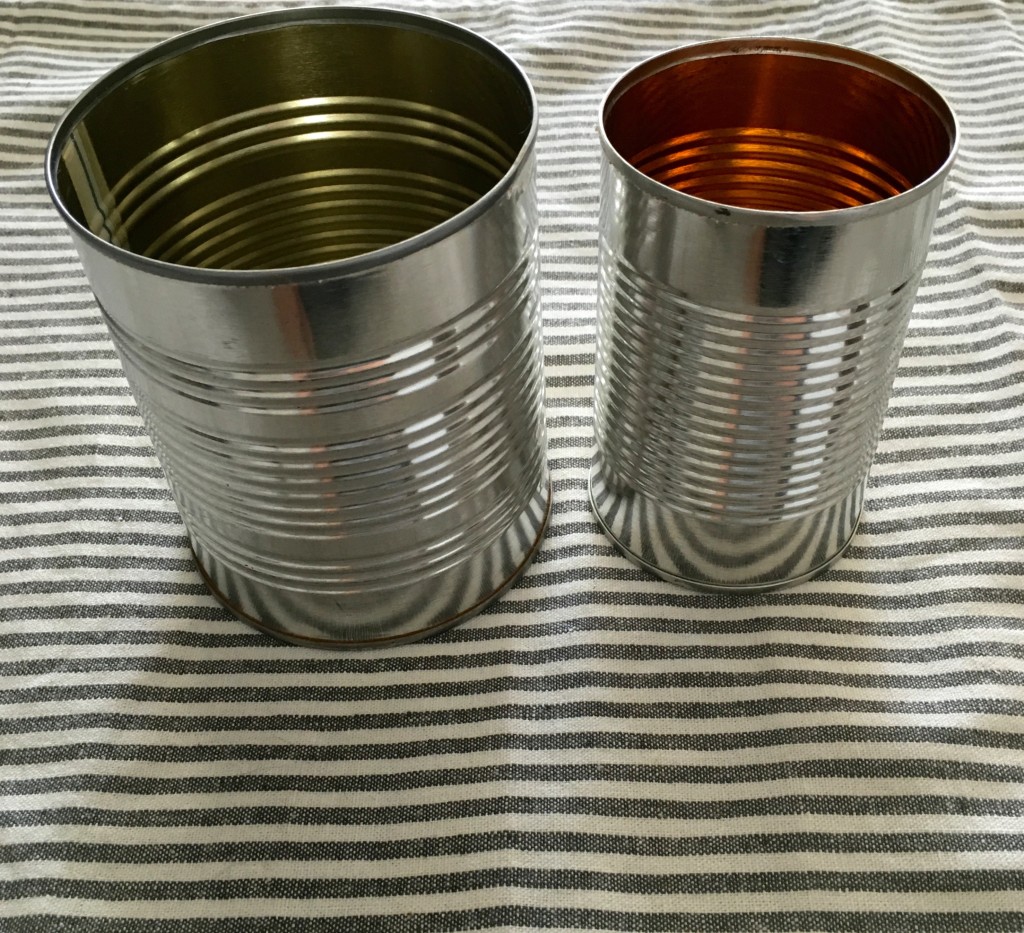
- A few tin cans (any size you have)
- 2-3 wallpaper samples
- Measuring tape or ruler
- Super glue
- Tape
- Scissors
Promise that this project takes only minutes and the possibilities are endless! First, make sure that you have a few clean tin cans. Rinse them out well with soap and water, and make sure that they’re completely dry before you begin.


Back in the day, you probably used construction paper and stickers to decorate tin cans at school. While that was all well and good, you’re actually going to use wallpaper samples for this project.
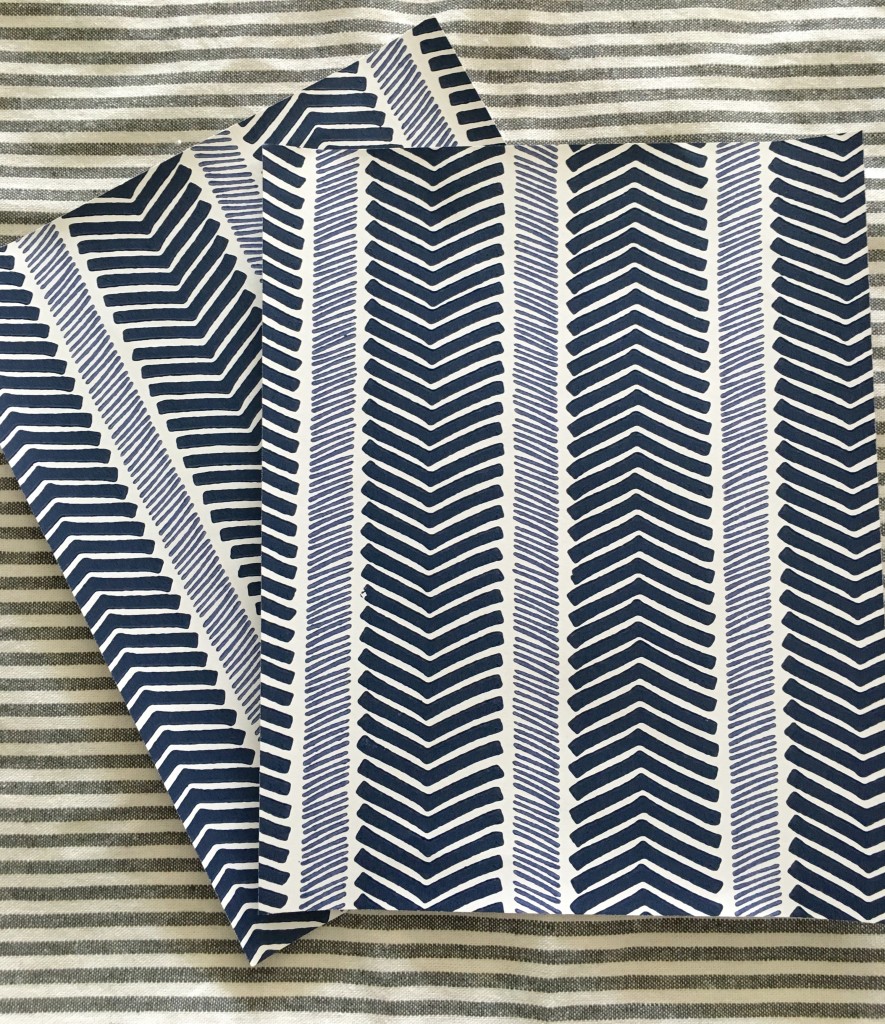

I love wallpaper samples because a} they’re free and b} you can choose any design that works for your décor. I personally love the patterns from Serena & Lily – and they allow you to order up to five samples free of charge {you don’t even have to pay for shipping!} – but plenty of other retailers also offer free samples. Choose your favorite pattern {or patterns!} and order a few. I like to keep a bunch of samples on hand so that I have different options for whenever the creative mood strikes.
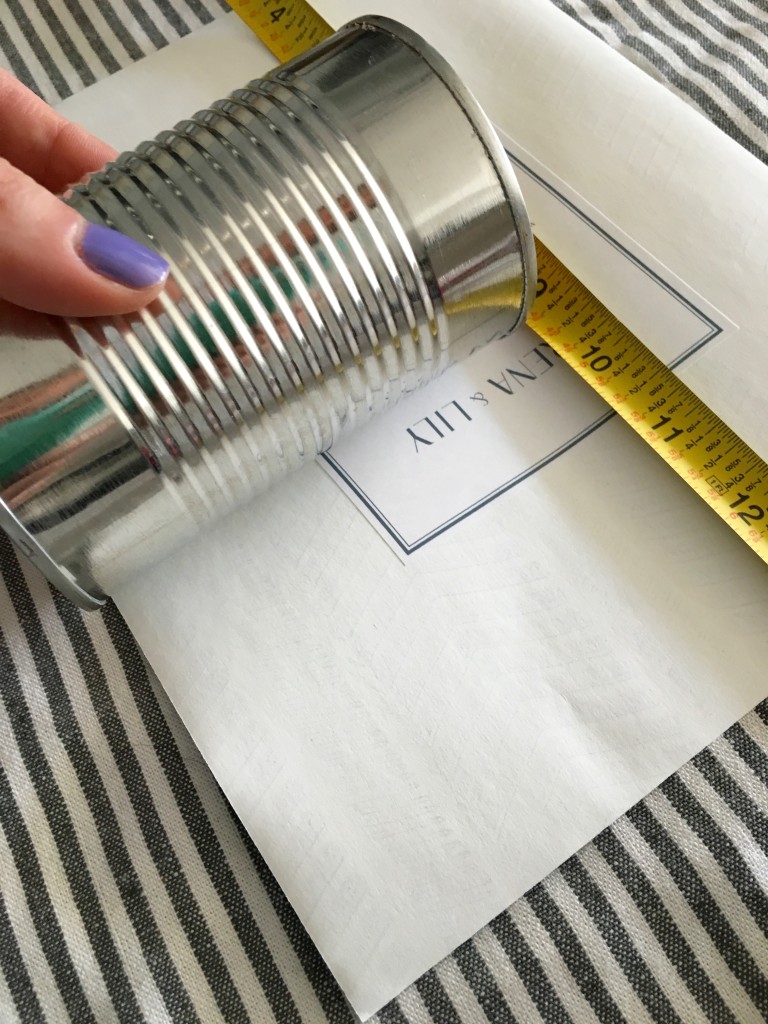
Choose the wallpaper sample that you’d like to work with and trace the width of the tin can along the back of the wallpaper.
Next, cut along your marking and affix to the tin using a small piece of tape.
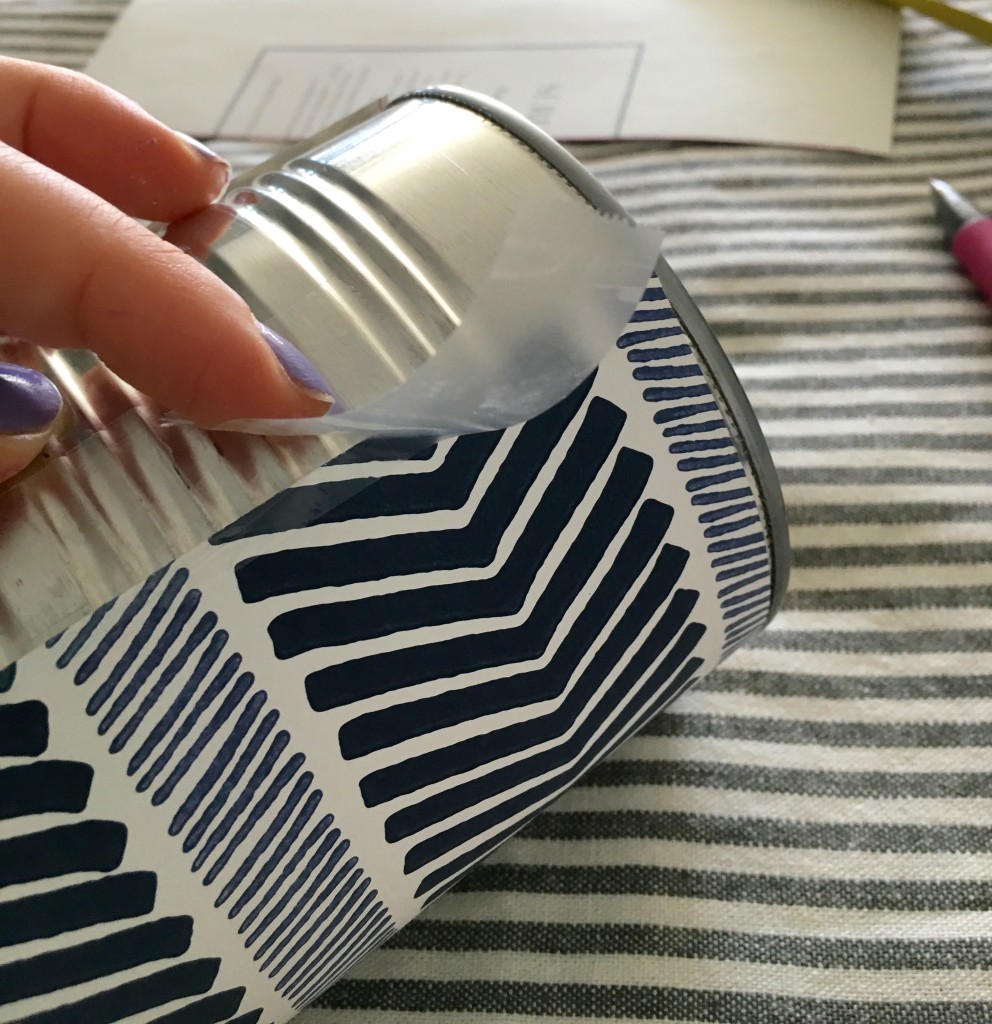
The tape is just to hold it perfectly in place while you wrap the wallpaper around the full surface of the tin can. When you’re happy with the paper’s placement, use a few small dabs of crazy glue to secure it into place and hold firmly for one minute.
Read: How to Create Your Own DIY Gallery Wall
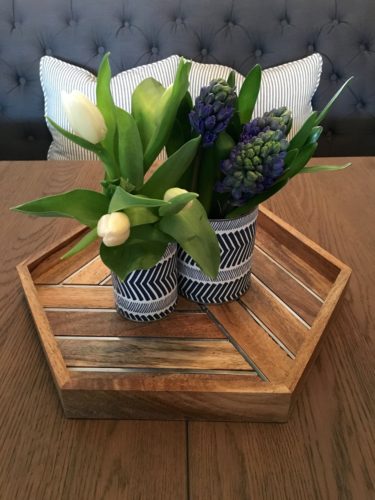
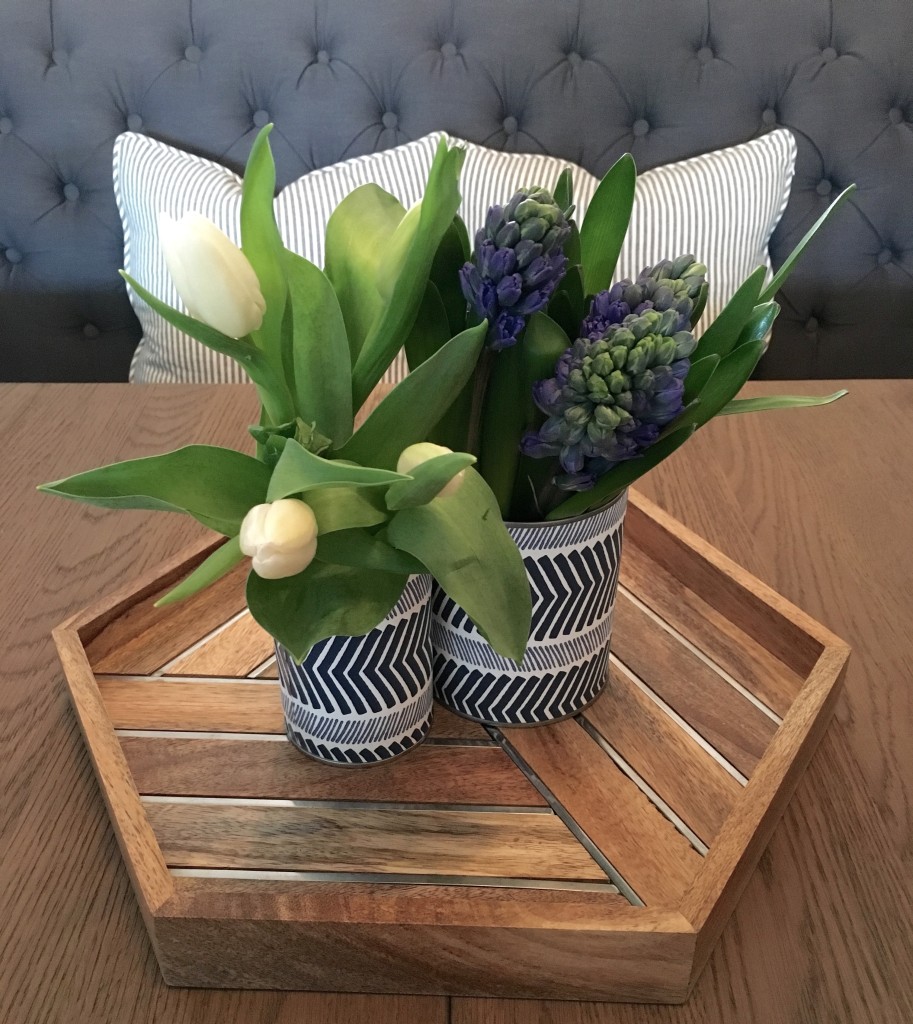
And there you have it! I made two “vases” using the same pattern of wallpaper and chose cans that were slightly varying in size.
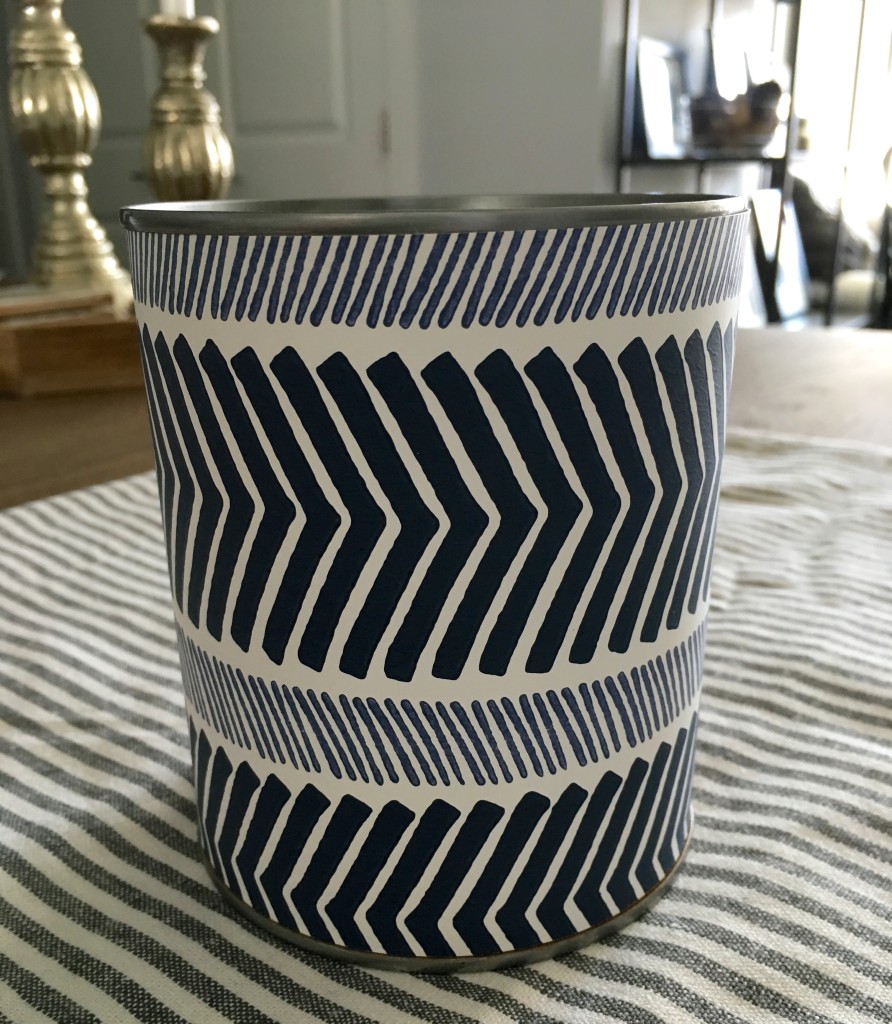
Grouping a few cans of different widths and heights together is a great way to add interest to your coffee table, shelves, or dining area. And if you can’t decide which pattern you like best, make a few! Group similar shades of colors or patterns together for a truly unique tablescape. Since this project doesn’t cost you a dime, you can make as many as you’d like and have them on-hand for dinner parties or simply to refresh your home every season.

We’d love to see what you guys create so tweet us your pics {@HobokenGirlBlog}! And for more DIY and design inspiration, check out Michelle’s design blog at GirlontheHudson.com.